How To’s & Suspension Installation Guides

TIP 1: RECORDING THE BASELINE RIDE HEIGHT
Aldan American recommends measuring and recording the ride height prior to disassembly. It is common to find that even though the car appears level it is not. When a car is lowered the tires are closer to the fenders. Any discrepancy is more noticeable. It is common that the OEM springs have lost tension and have sagged some. Some cars may have been crashed and not repaired correctly or at all. If the car is crooked now is the time to determine what the cause of it is.
- The first thing that you should do before disassembling your car is to record the baseline measurement.
- The car should have a minimum of ½ tank of gas, full is best. Tire heights left and right must be the same and inflated equally to achieve an accurate measurement.
- Drive or roll the car on a level surface with the steering wheel straight ahead to settle the suspension.
- Record and save these measurements, often older cars are less than perfect.
It is important to establish the base line prior to modifications.
- If your car measures more than a ¼” variance a couple of areas to look at first is are the tires the same diameter side to side?
- While the car is still on the ground measure the distance from the suspension bump stop and the frame.
- Aldan American Technical Department is available to answer questions during normal business hours if you have questions.
TIP 2: ASSEMBLING A COILOVER SHOCK
Single Adjustable – Rebound
- After un-boxing your coilover shocks and coilover springs, it’s a good idea to lay everything on your assembly table to take inventory and begin assembling your coilover shocks.
- Once all of your shock parts are accounted for and laid out, make sure your coilover threads on the shock body and spring retainers are clean and ready to apply anti-seize.
- The threads must have anti-seize on the coilover threads to prevent the aluminum from galling. We recommend a copper based anti-seize for best results with aluminum coilover shocks and shock hardware.

- For easier assembly, place the top of the coilover shock in a vise. Protect the coilover mount from the vise jaws by placing a rag, or something to protect and prevent metal-to-metal contact on your new coilover shocks. With the coilover turned upside down in the vise, the coil spring will install from the bottom of the coilover shock. Line up the upper spring retainer to seat the coilspring into place.
- With the coil spring seated in the upper spring retainer, begin screwing on the lower spring seat (spring retainer). The spring should not need to be compressed if the shock and spring lengths are matched correctly. For even easier adjustment, consider running thrust or Torrington style adjustment bearings at the base of your coilover springs. Thrust bearings allow the coilspring to ride on a bearing making fine tune spring adjustments extremely easy. Search part # ALD-26 from Aldan American for high quality Thrust Bearings).
- We recommend running a long bolt or screwdriver through the lower shock eyelet when tightening the spring tension with an adjustable spanner wrench (highly recommended – Part # ALD-1 from Aldan American).

- The final spring preload adjustment will be determined after the coilover is installed on the car and compared to your base line measurement.
- With the coil spring installed, now you can install the polyurethane shock bushings or spherical bearings and snap rings to complete your coilover shock assembly. With the spring set and hardware installed, your coilovers are now ready to install on your vehicle.

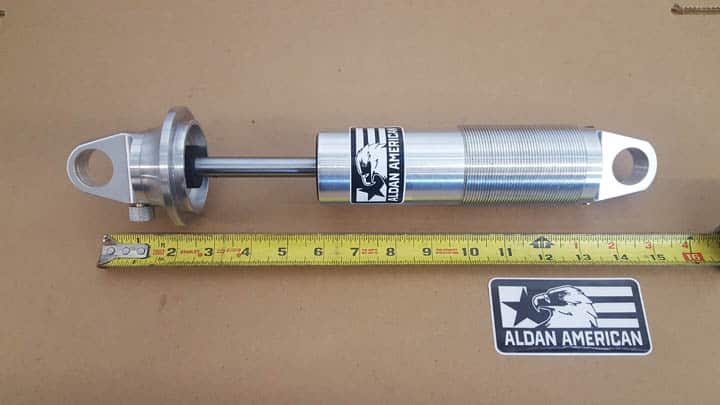
TIP 3: HOW TO MEASURE A SHOCK
- The extended or open length of a shock is measured from the center to center of the loops or bolt holes.
a) Extend the so the shock is fully extended.
b) Use a tape measure to measuree the center to center of the holes. - The extended length of a post style shock is measured from the base of the post not including the bushing. If the opposite side is a loop style that uses a bolt it will be to the center. If the opposite side is a post it will also be the base without the bushing.
a) Pull shock out to make sure the shock is fully extended.
b) Use a tape measure to determine the base of post to center of the bolt holes.
c) Use a tape measure to determine the base of post to base of post. - Shock travel is difference between the extended and compressed lengths.
- Aldan recommends measuring the shocks off of the car because the shock may have additional travel when the suspension is at droop.
- Aldan recommends that the shock not be used for a suspension limiter for either, extended or compression to avoid broken or damaged shocks.