Ranchero – DIY Front Install
This week the at the Aldan American Shock Lab, Charlie Rivers, an LA local dropped off his 1970 Ford Ranchero for the Aldan American experience.
Our Aldan American Bolt-On & Go! coil over solutions allow you to easily improve the looks and handling of your car.
For more detailed step-by-step instructions follow us on YouTube to stay up to date on this build!
With new suspension, the collectible is well on its way to becoming a restored classic (Aldan) American car.
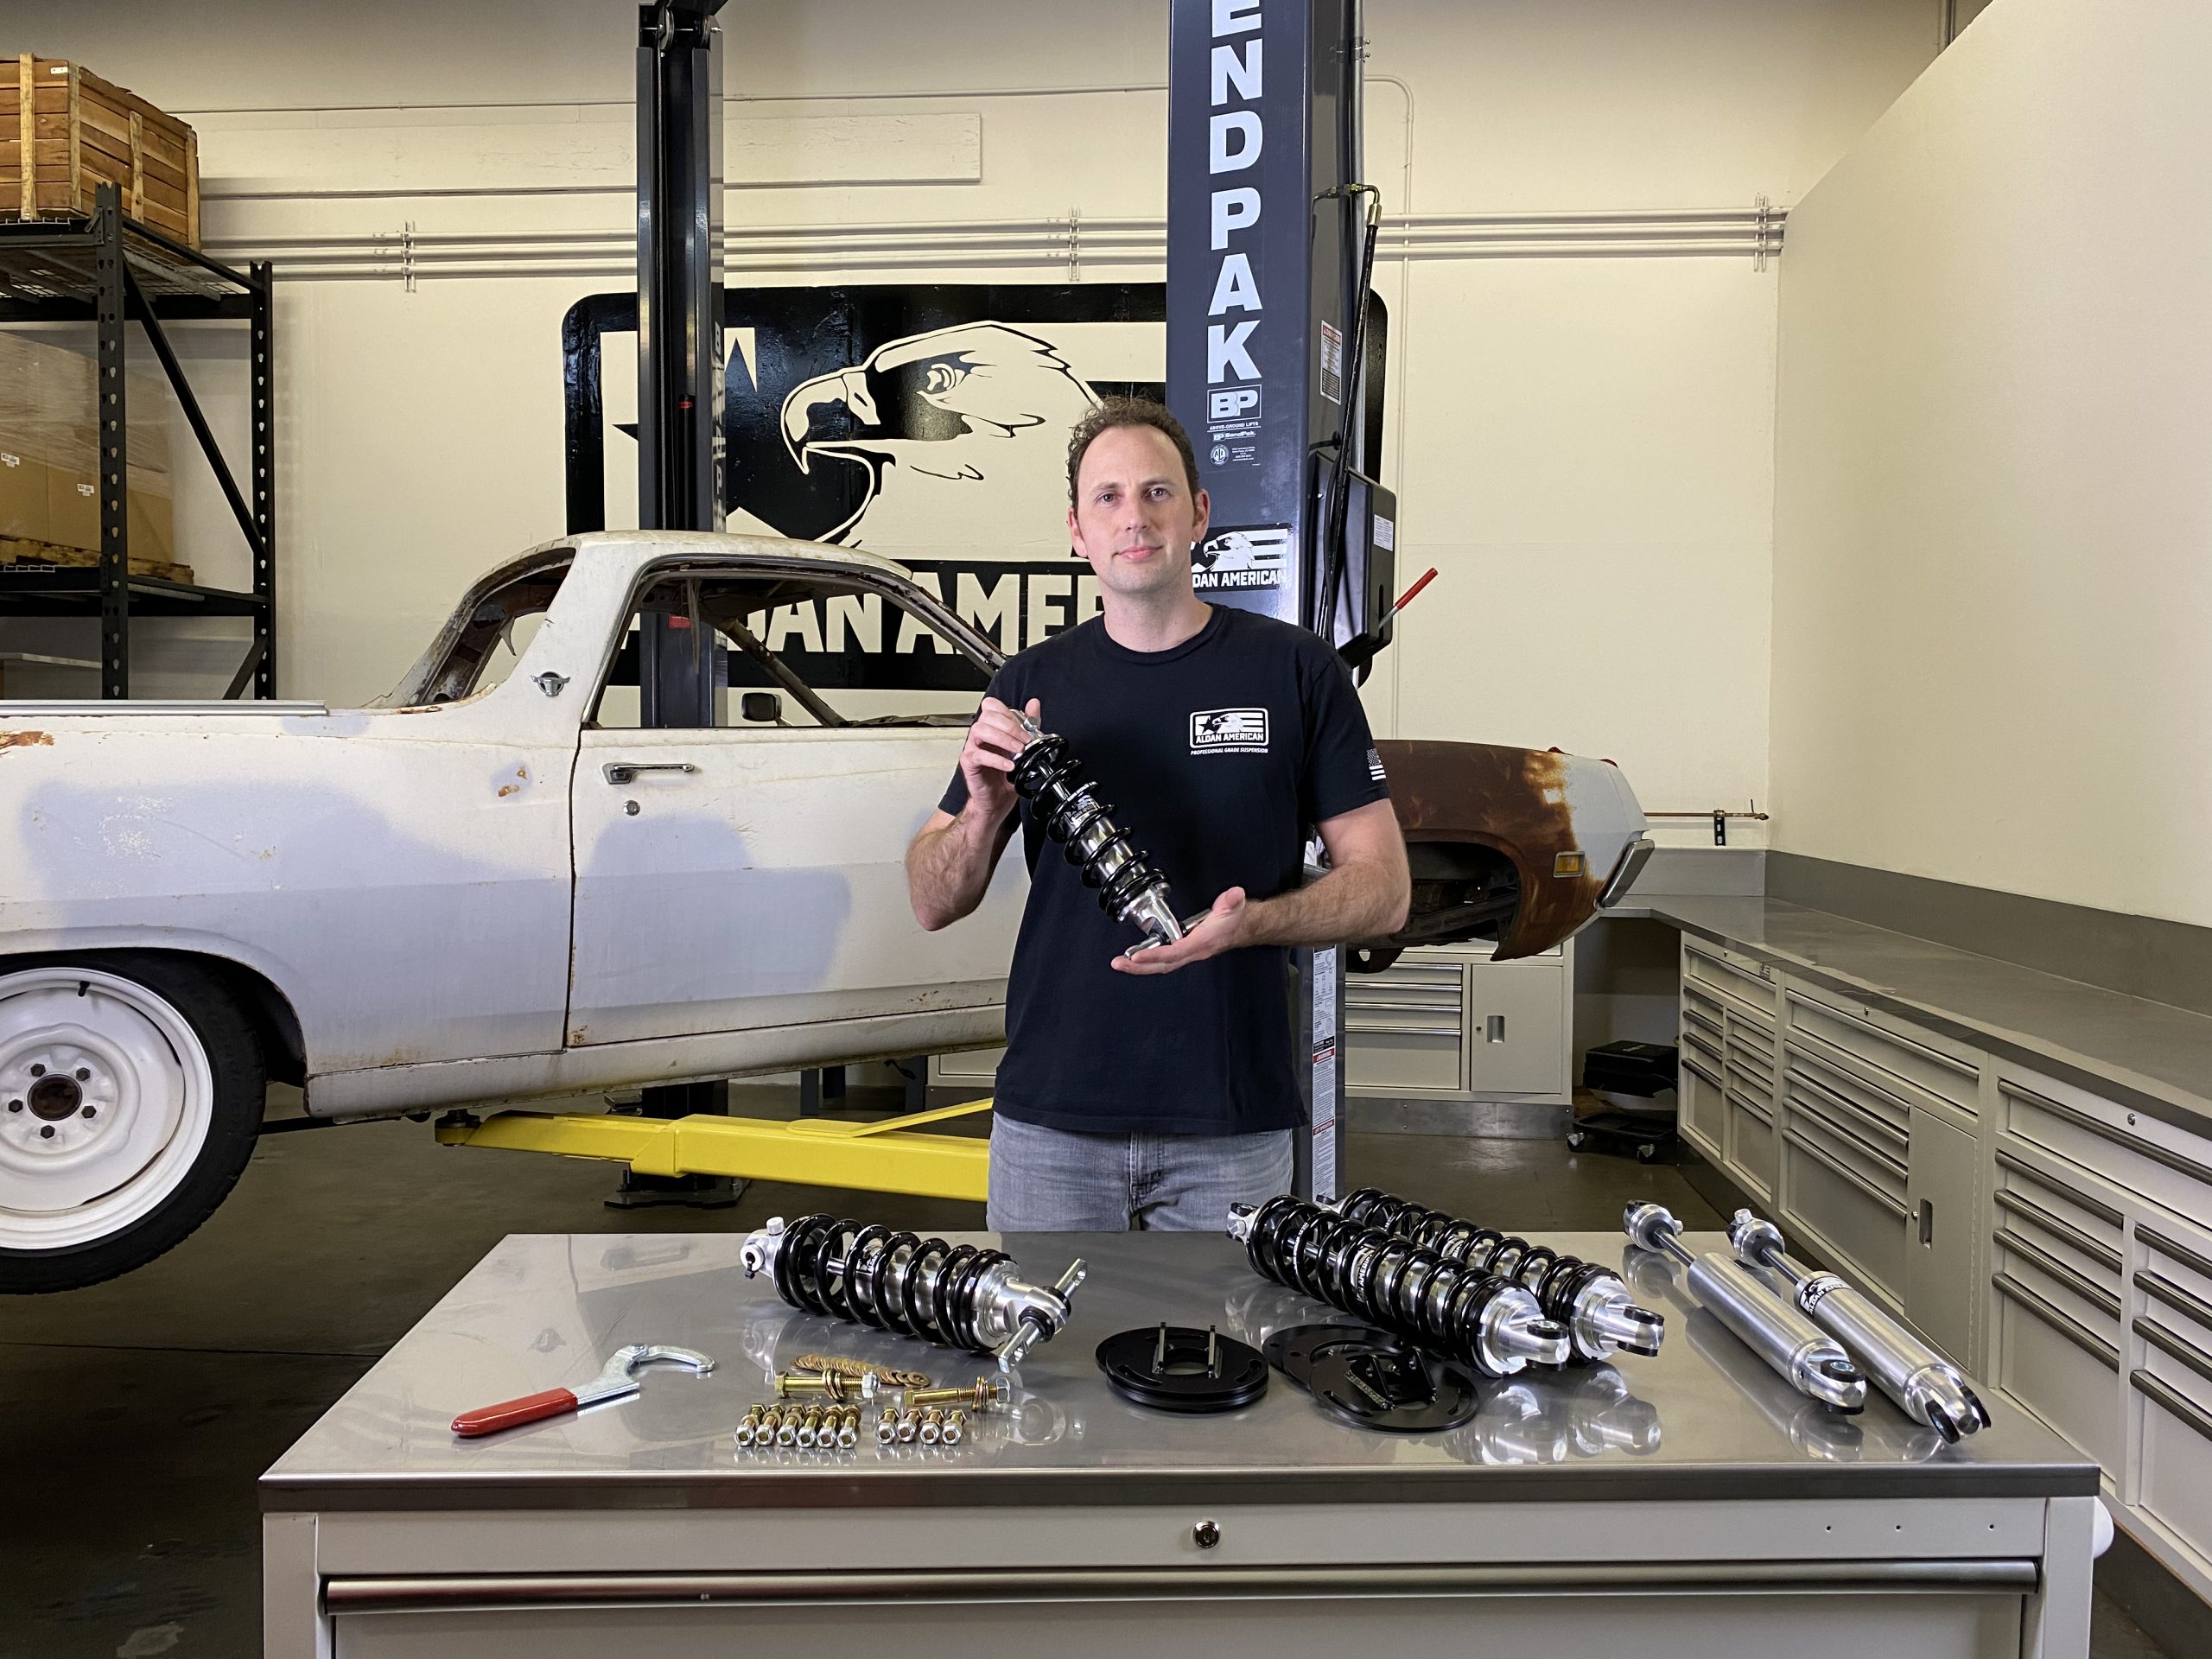
Step By Step Front Install
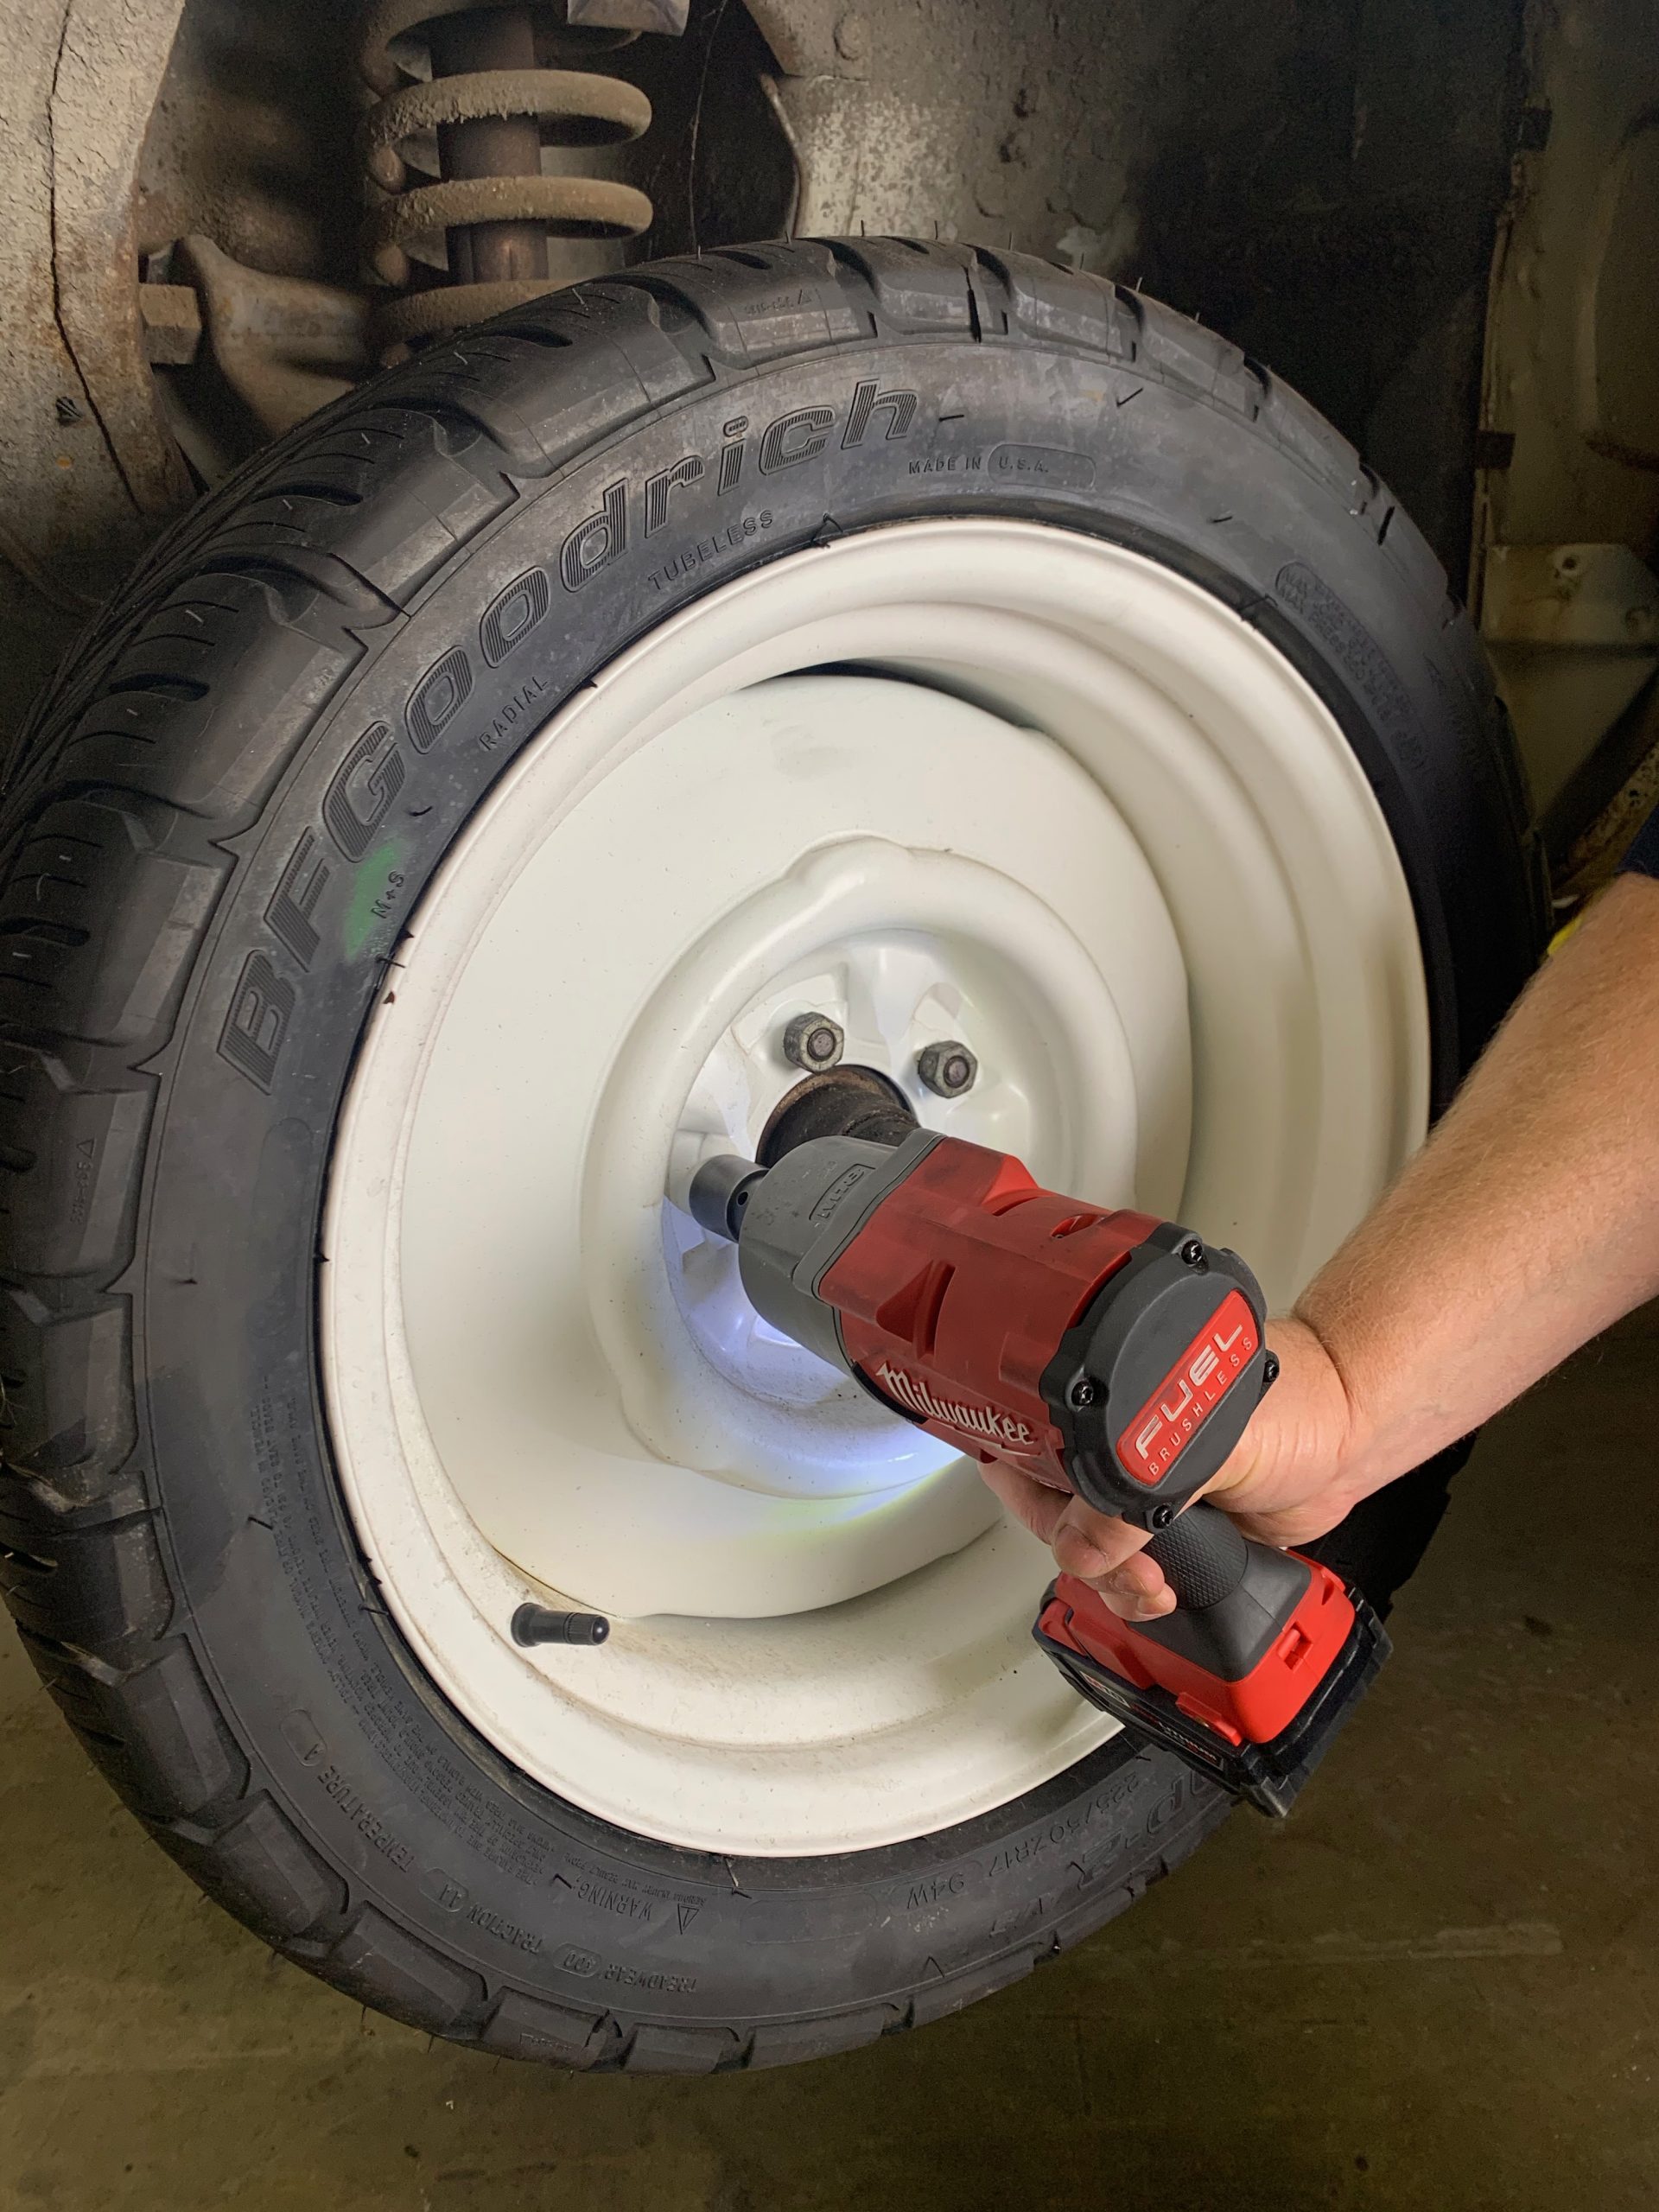
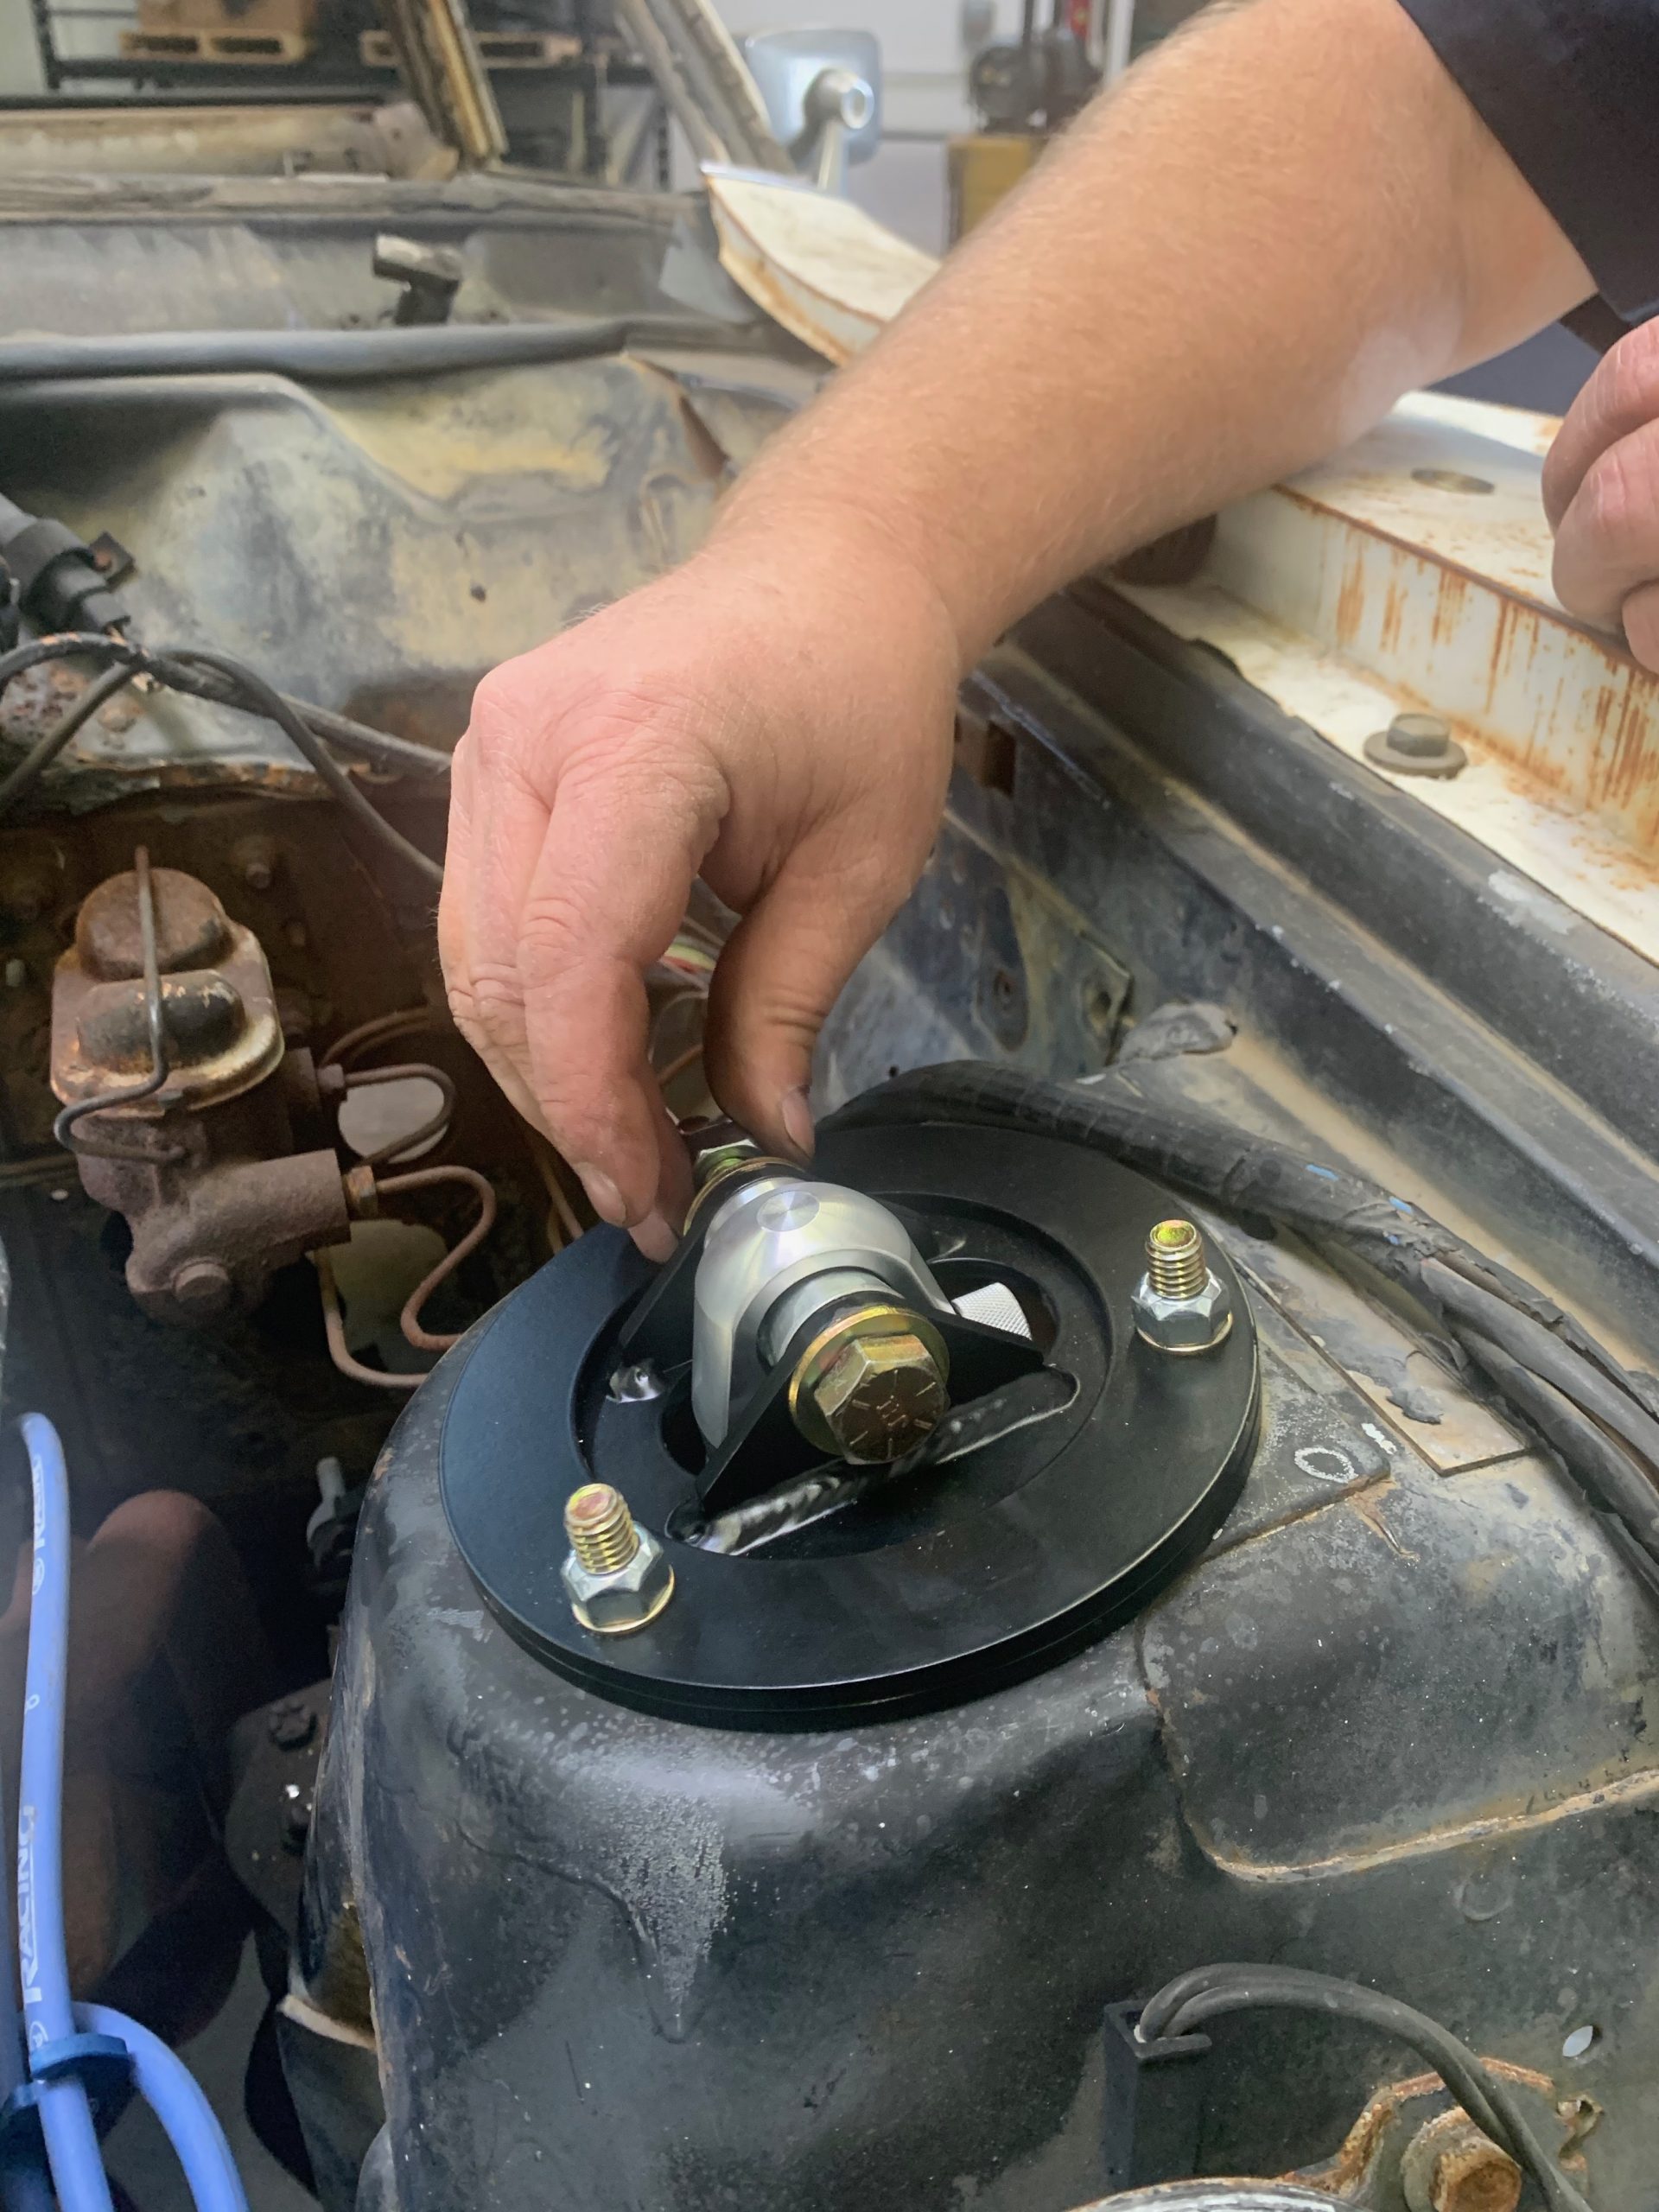
Step 1: Remove tire and brakes.
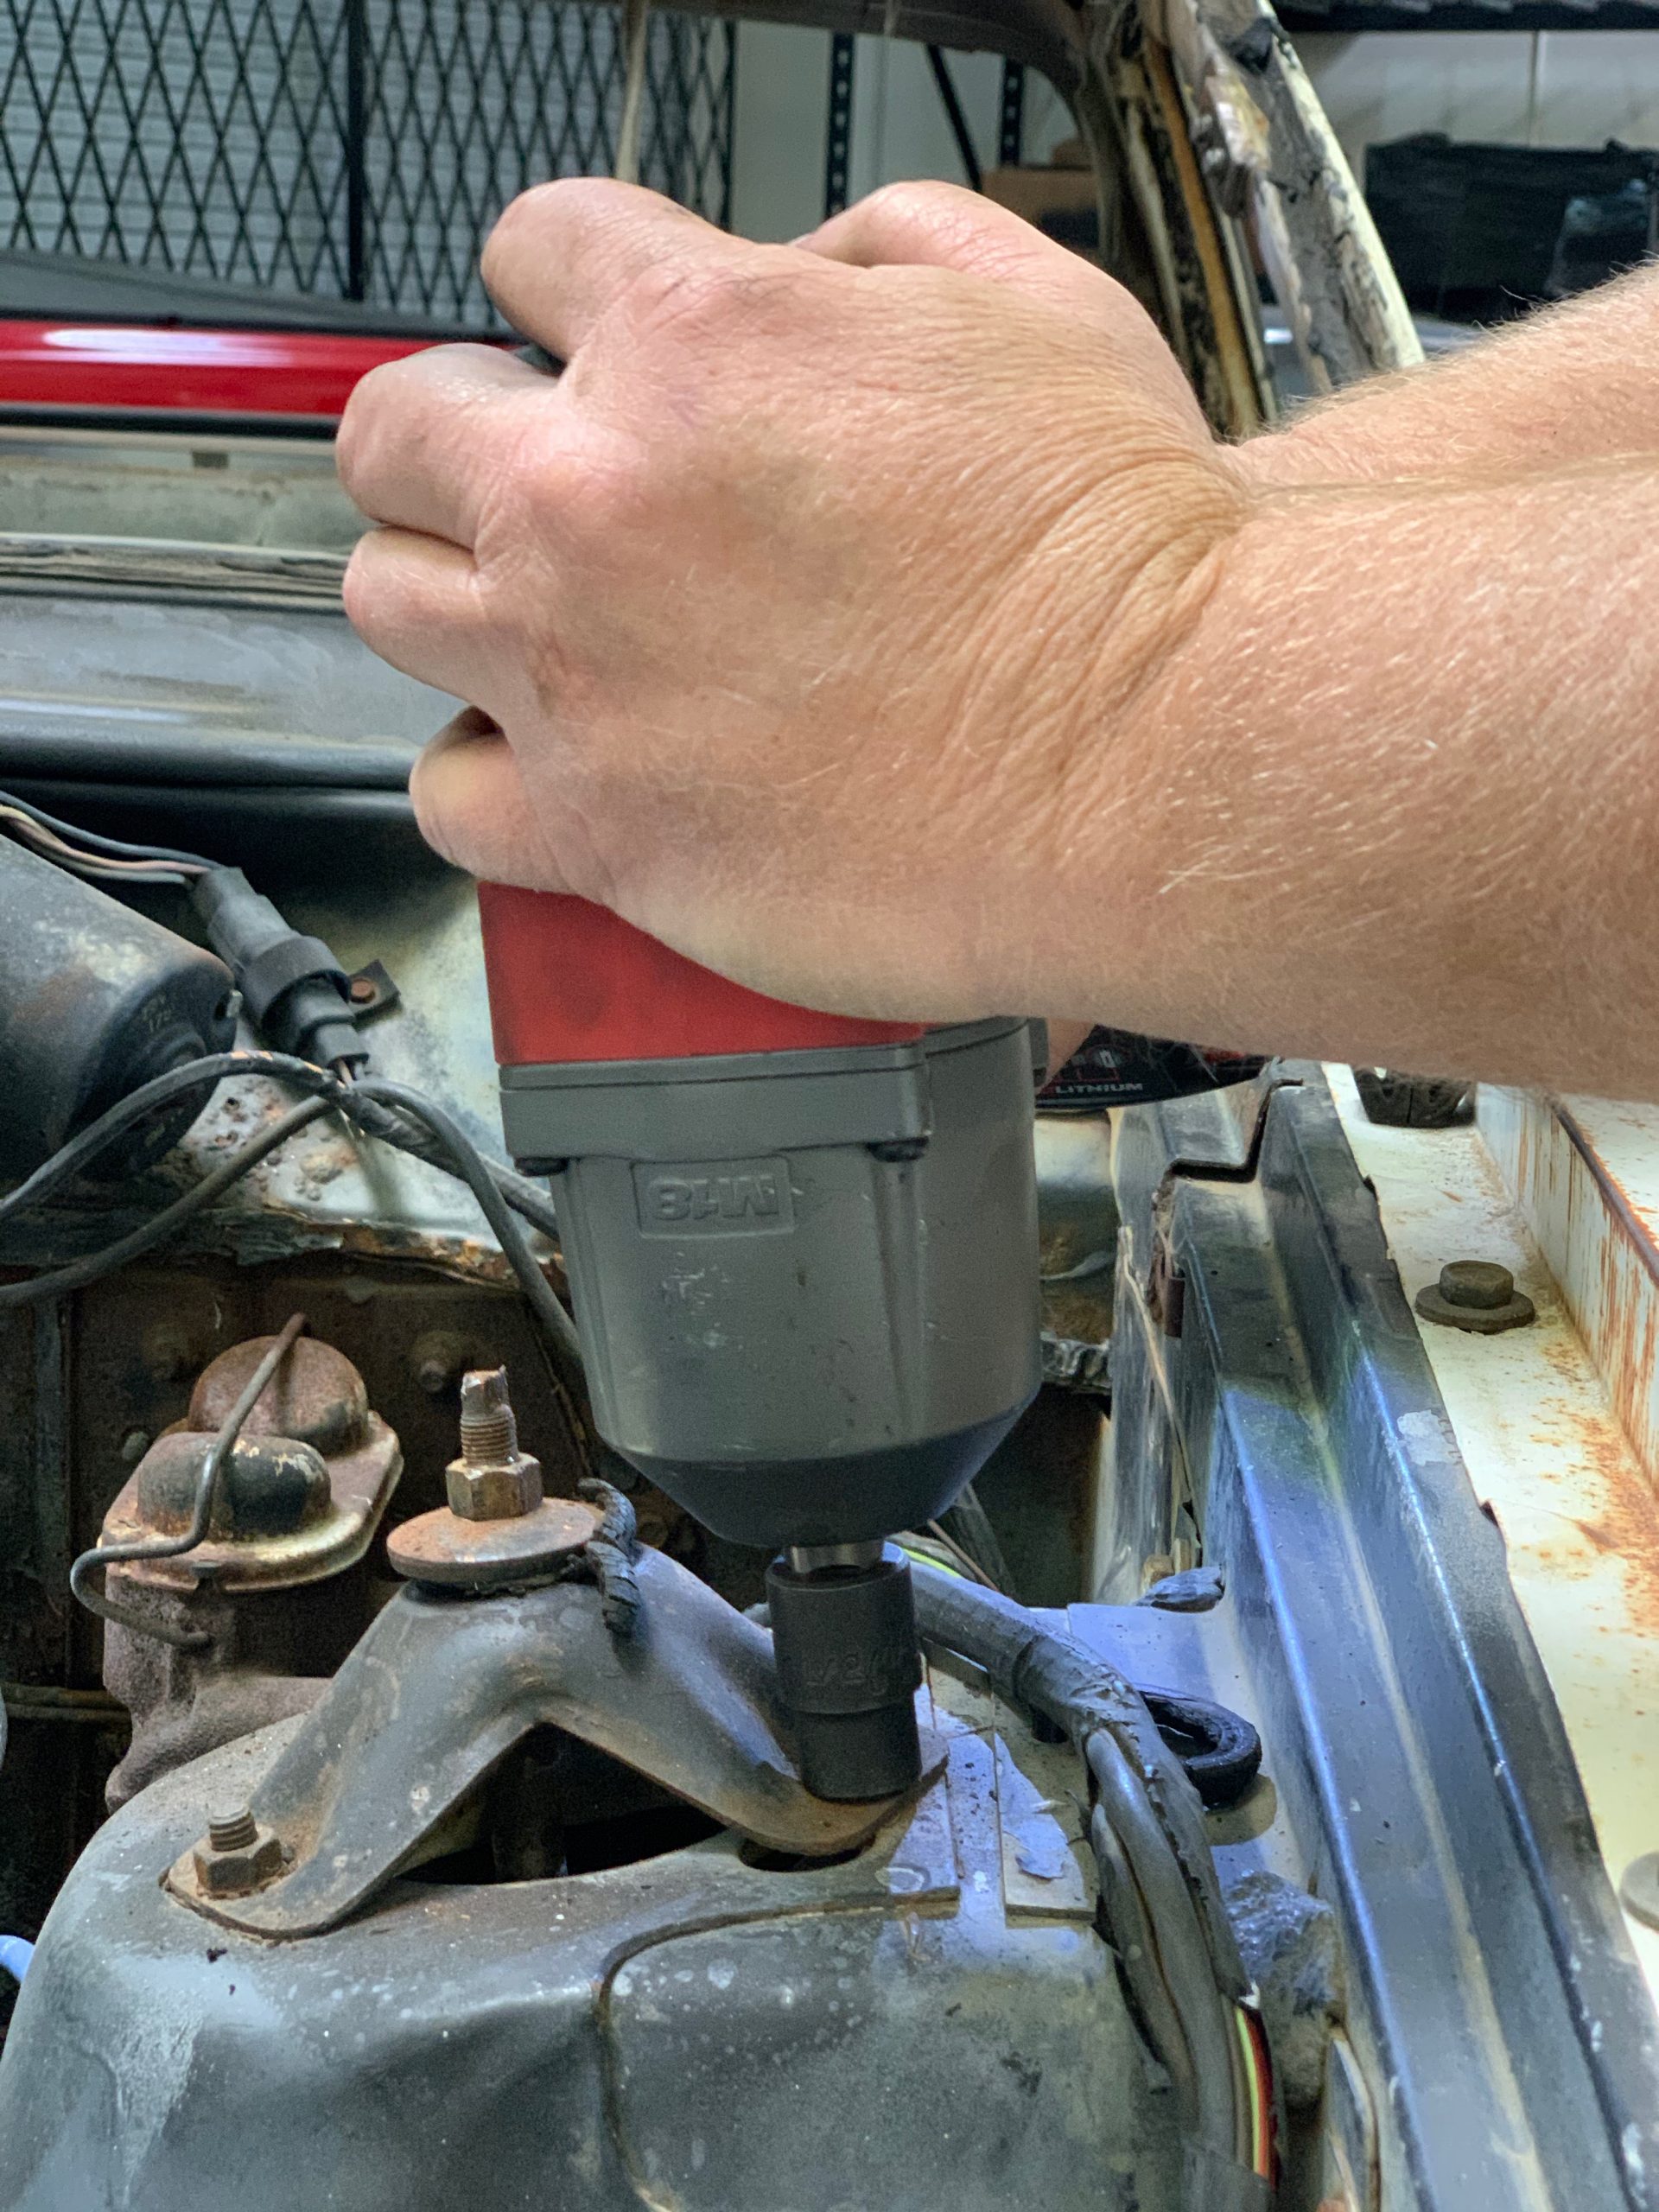
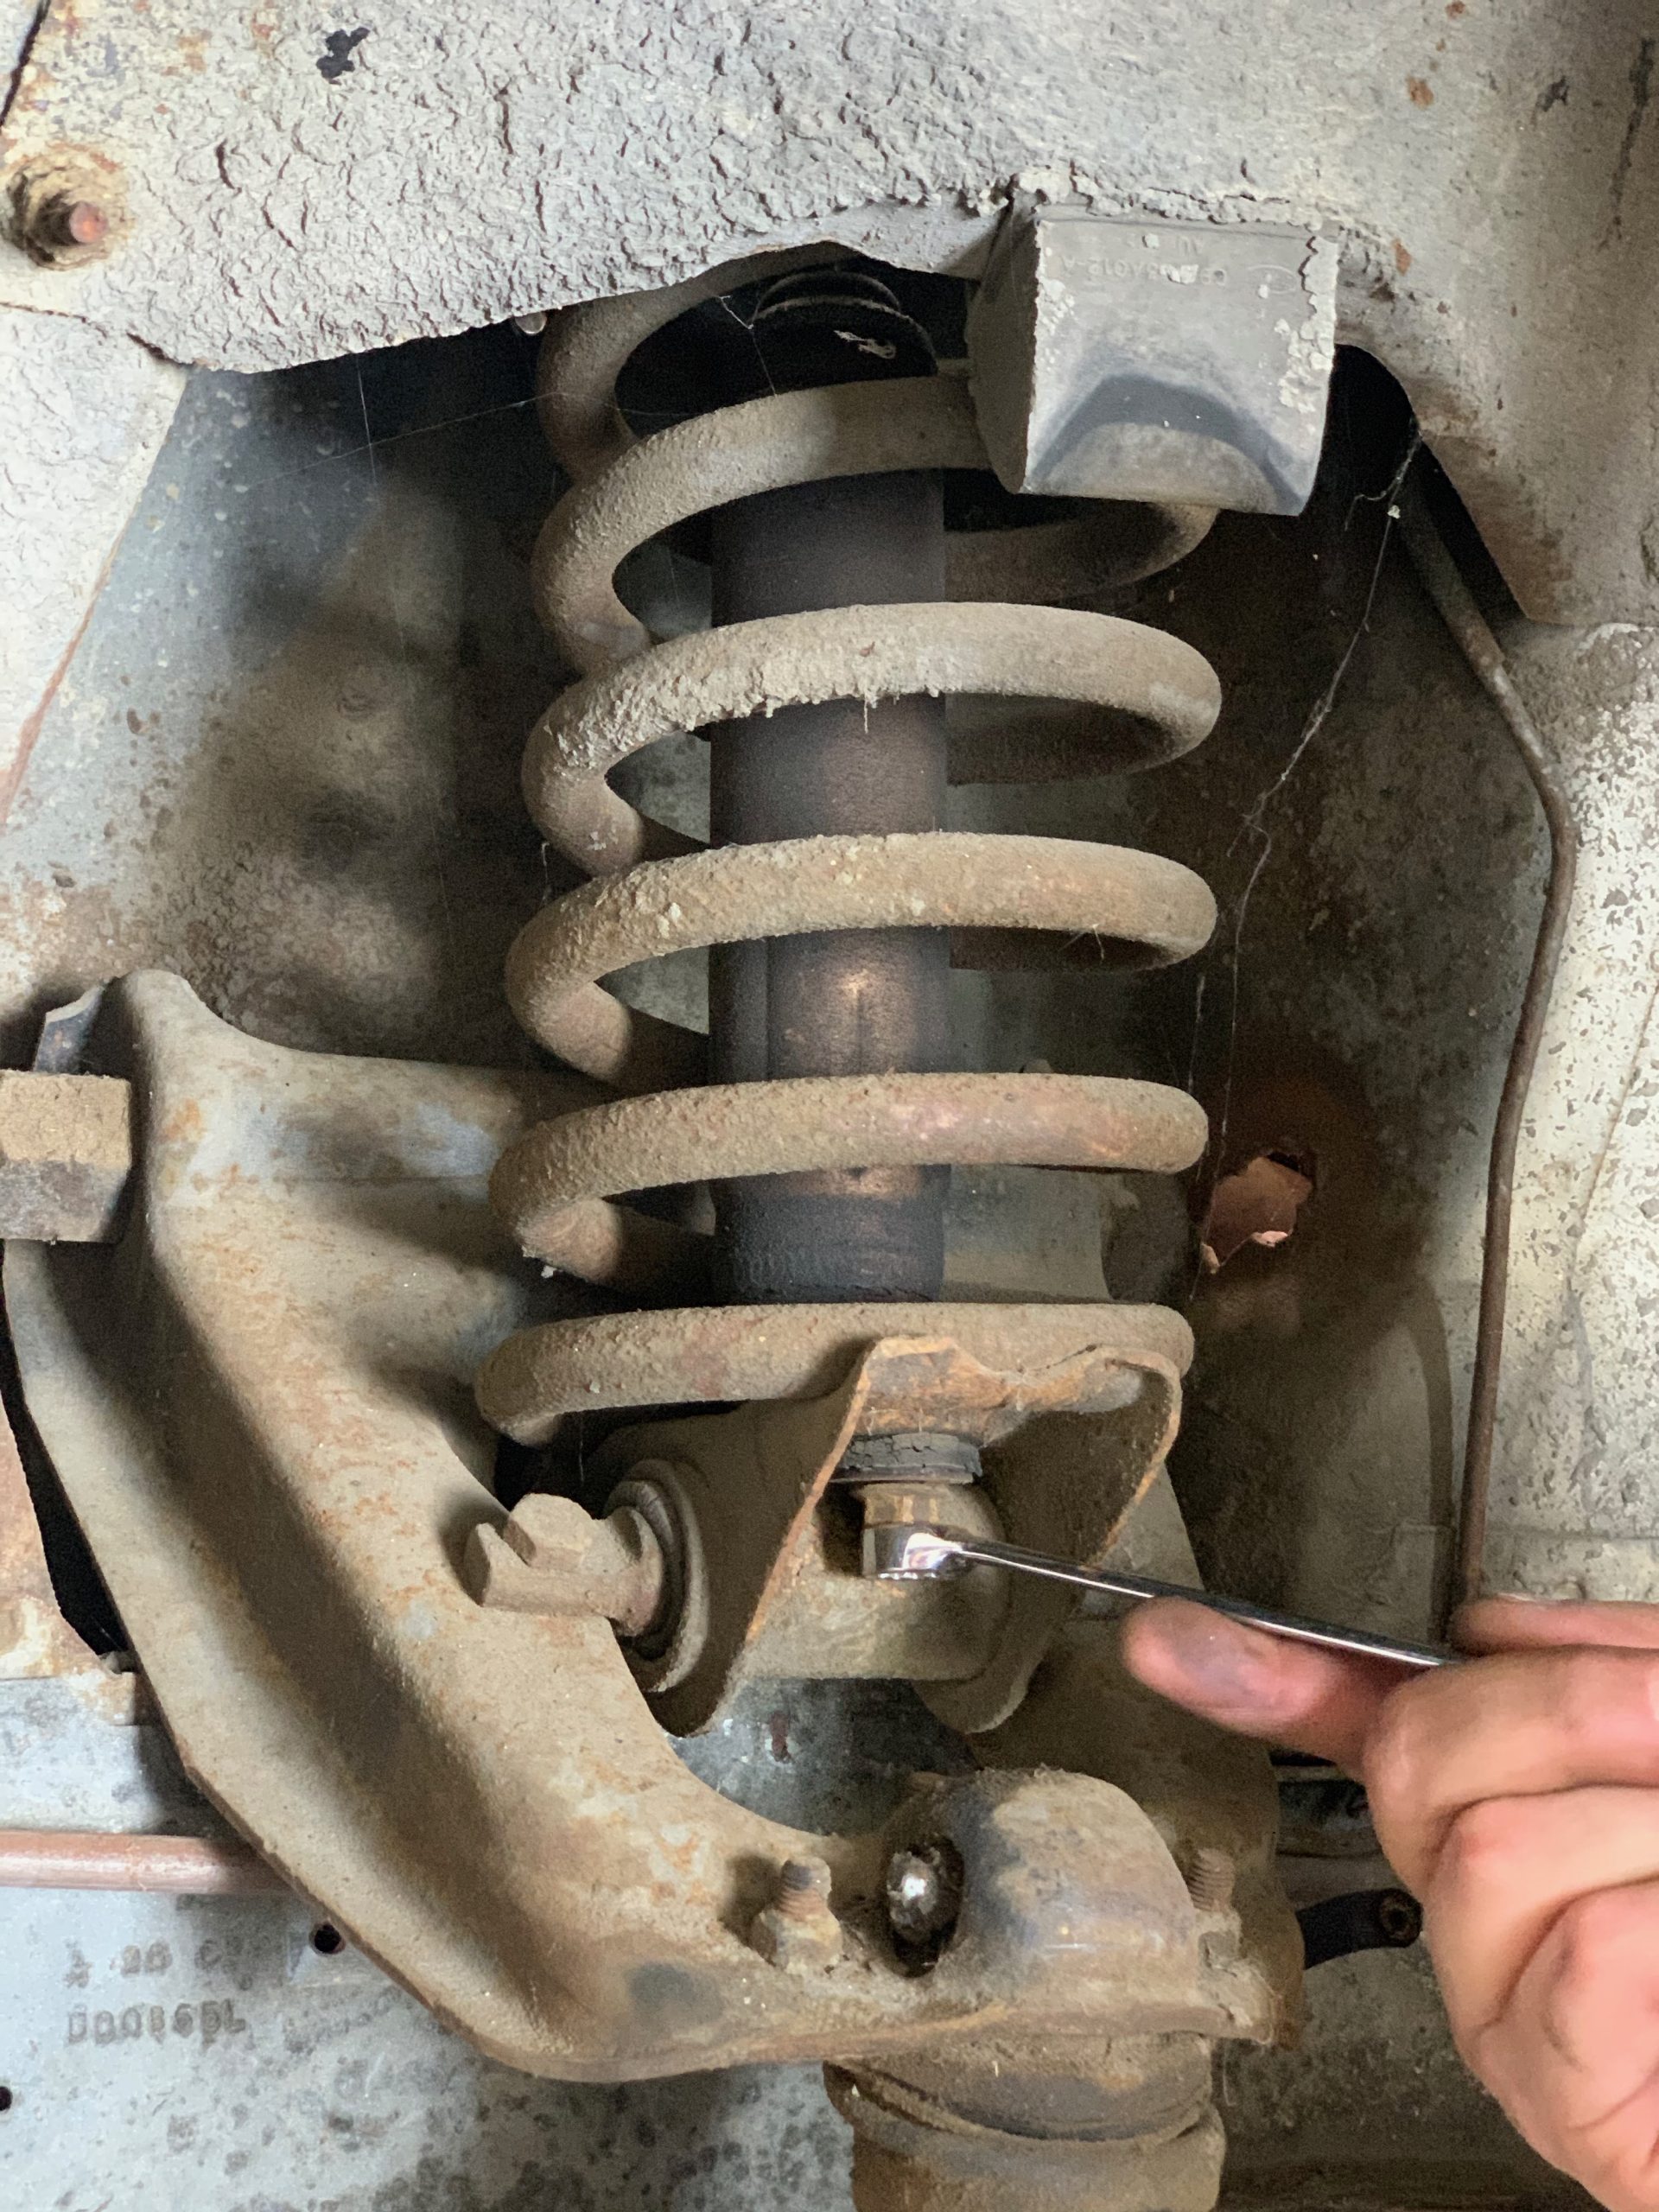
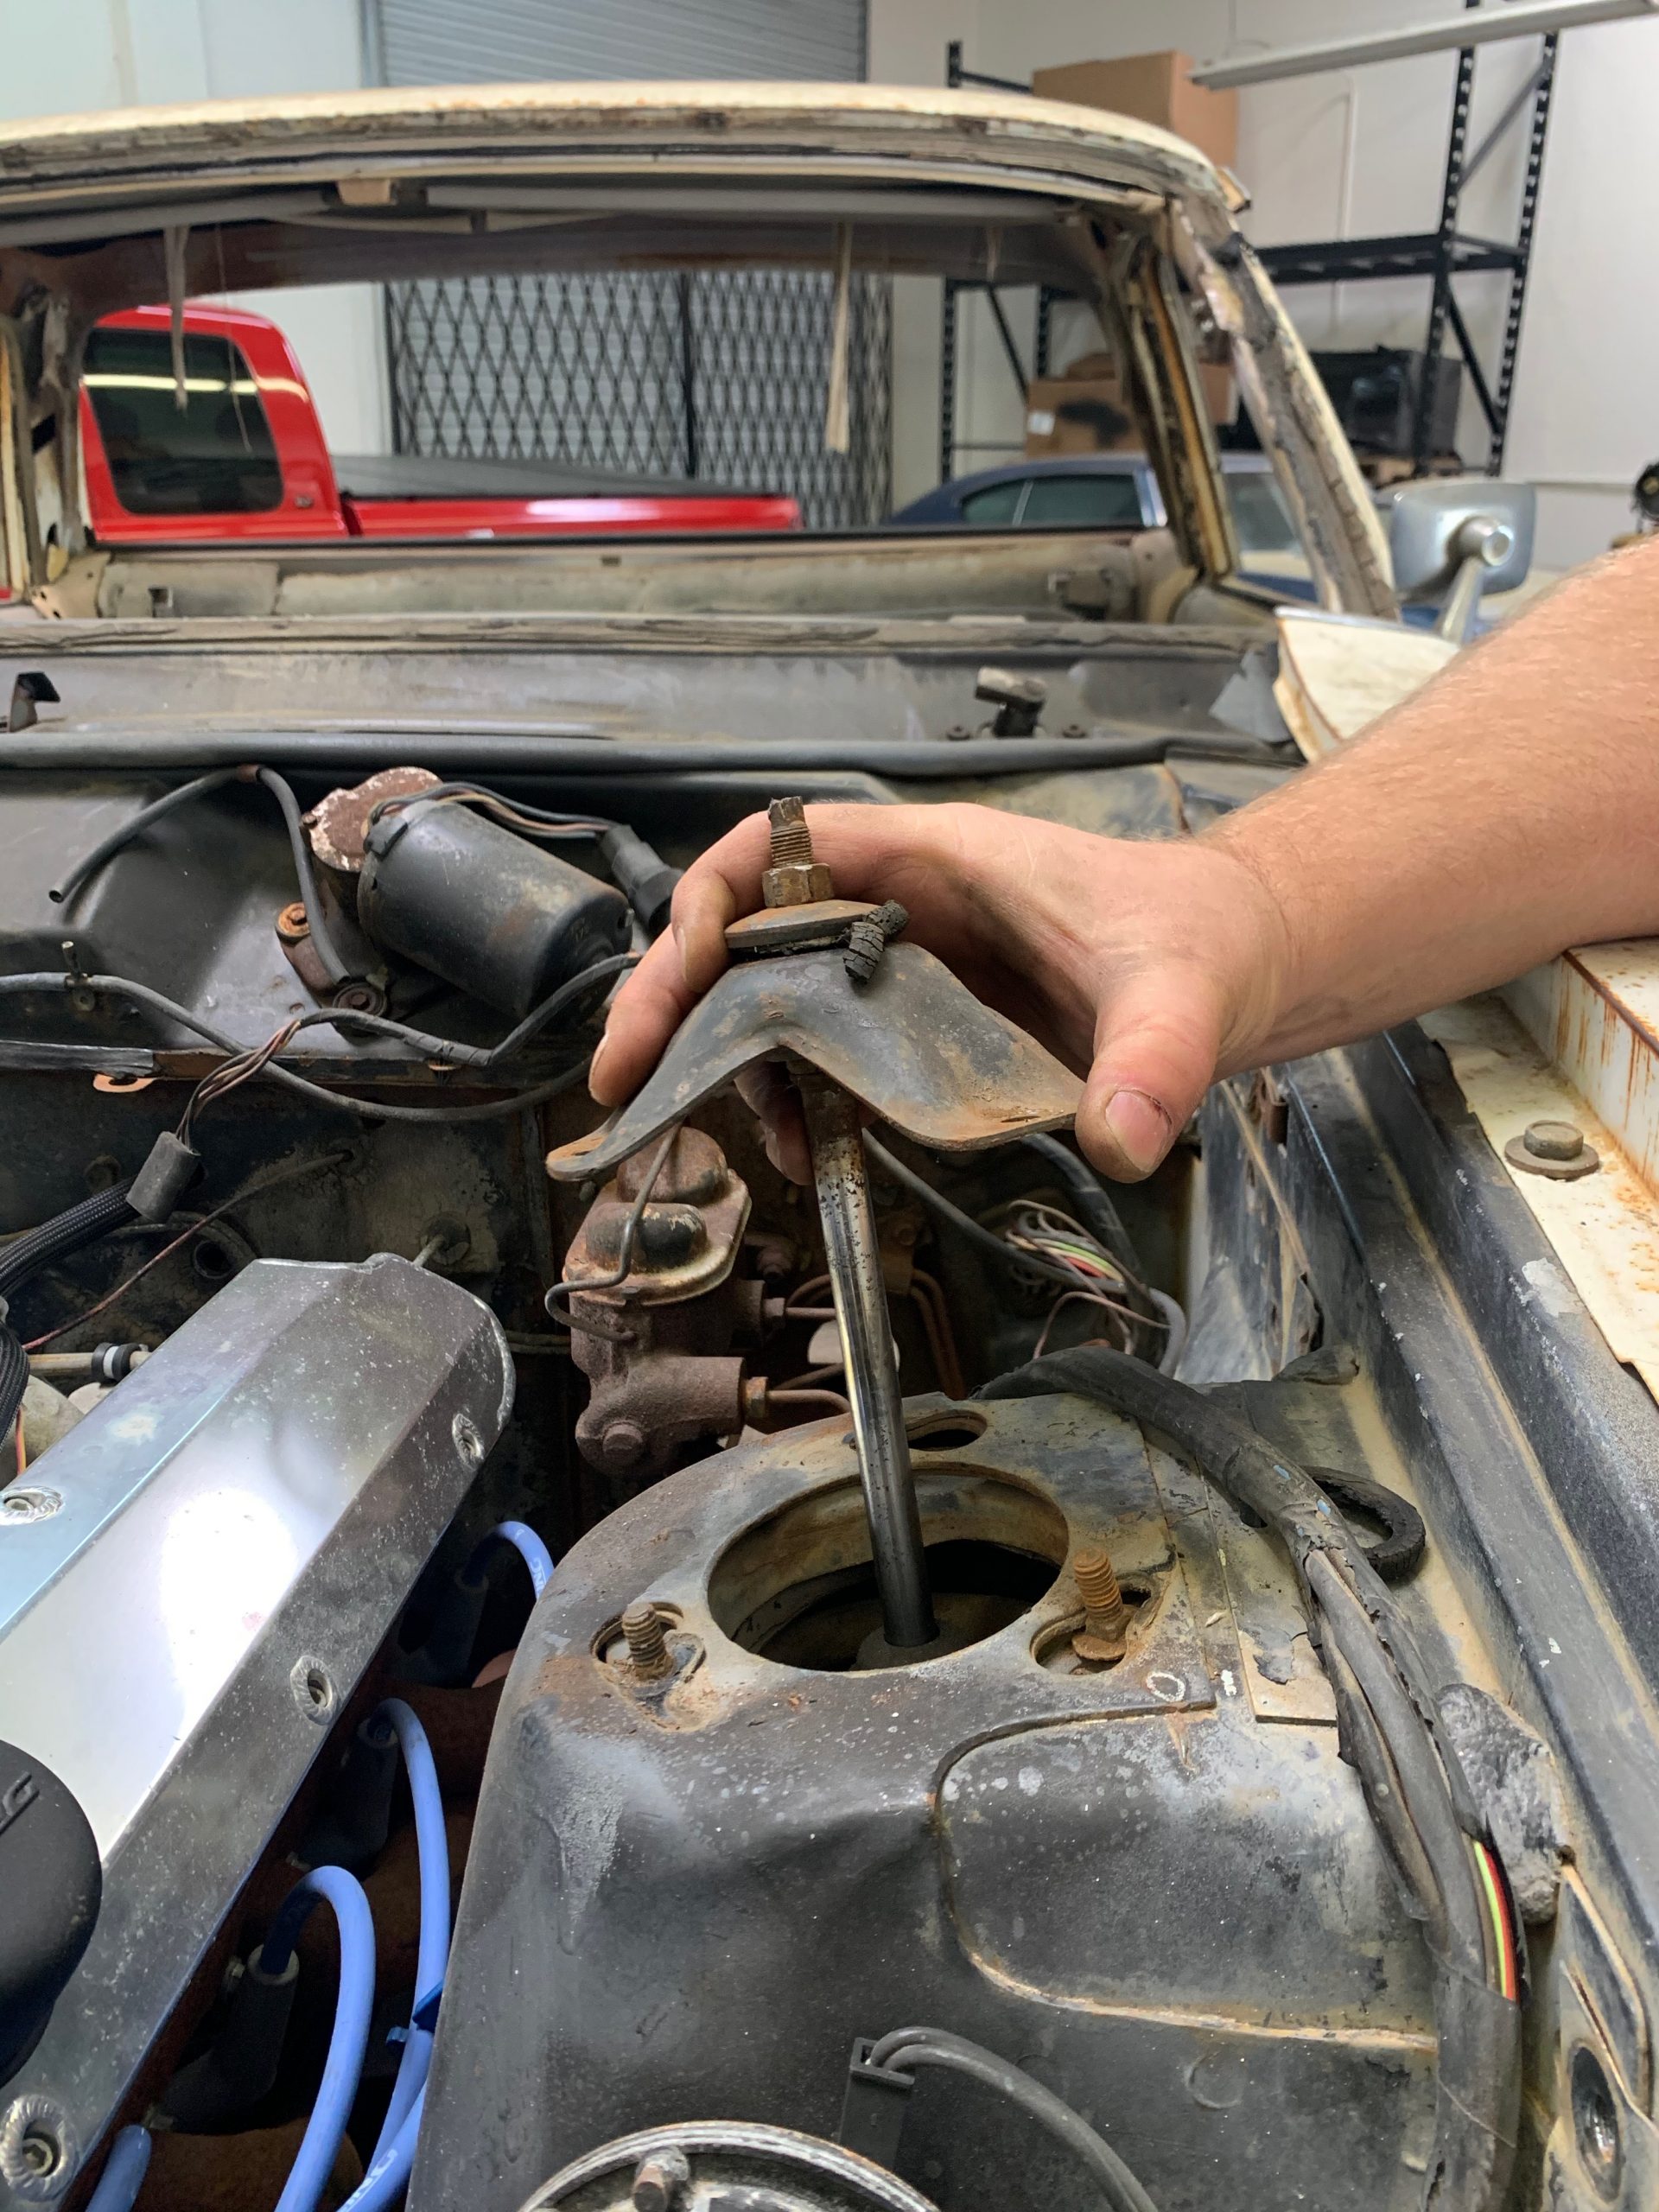
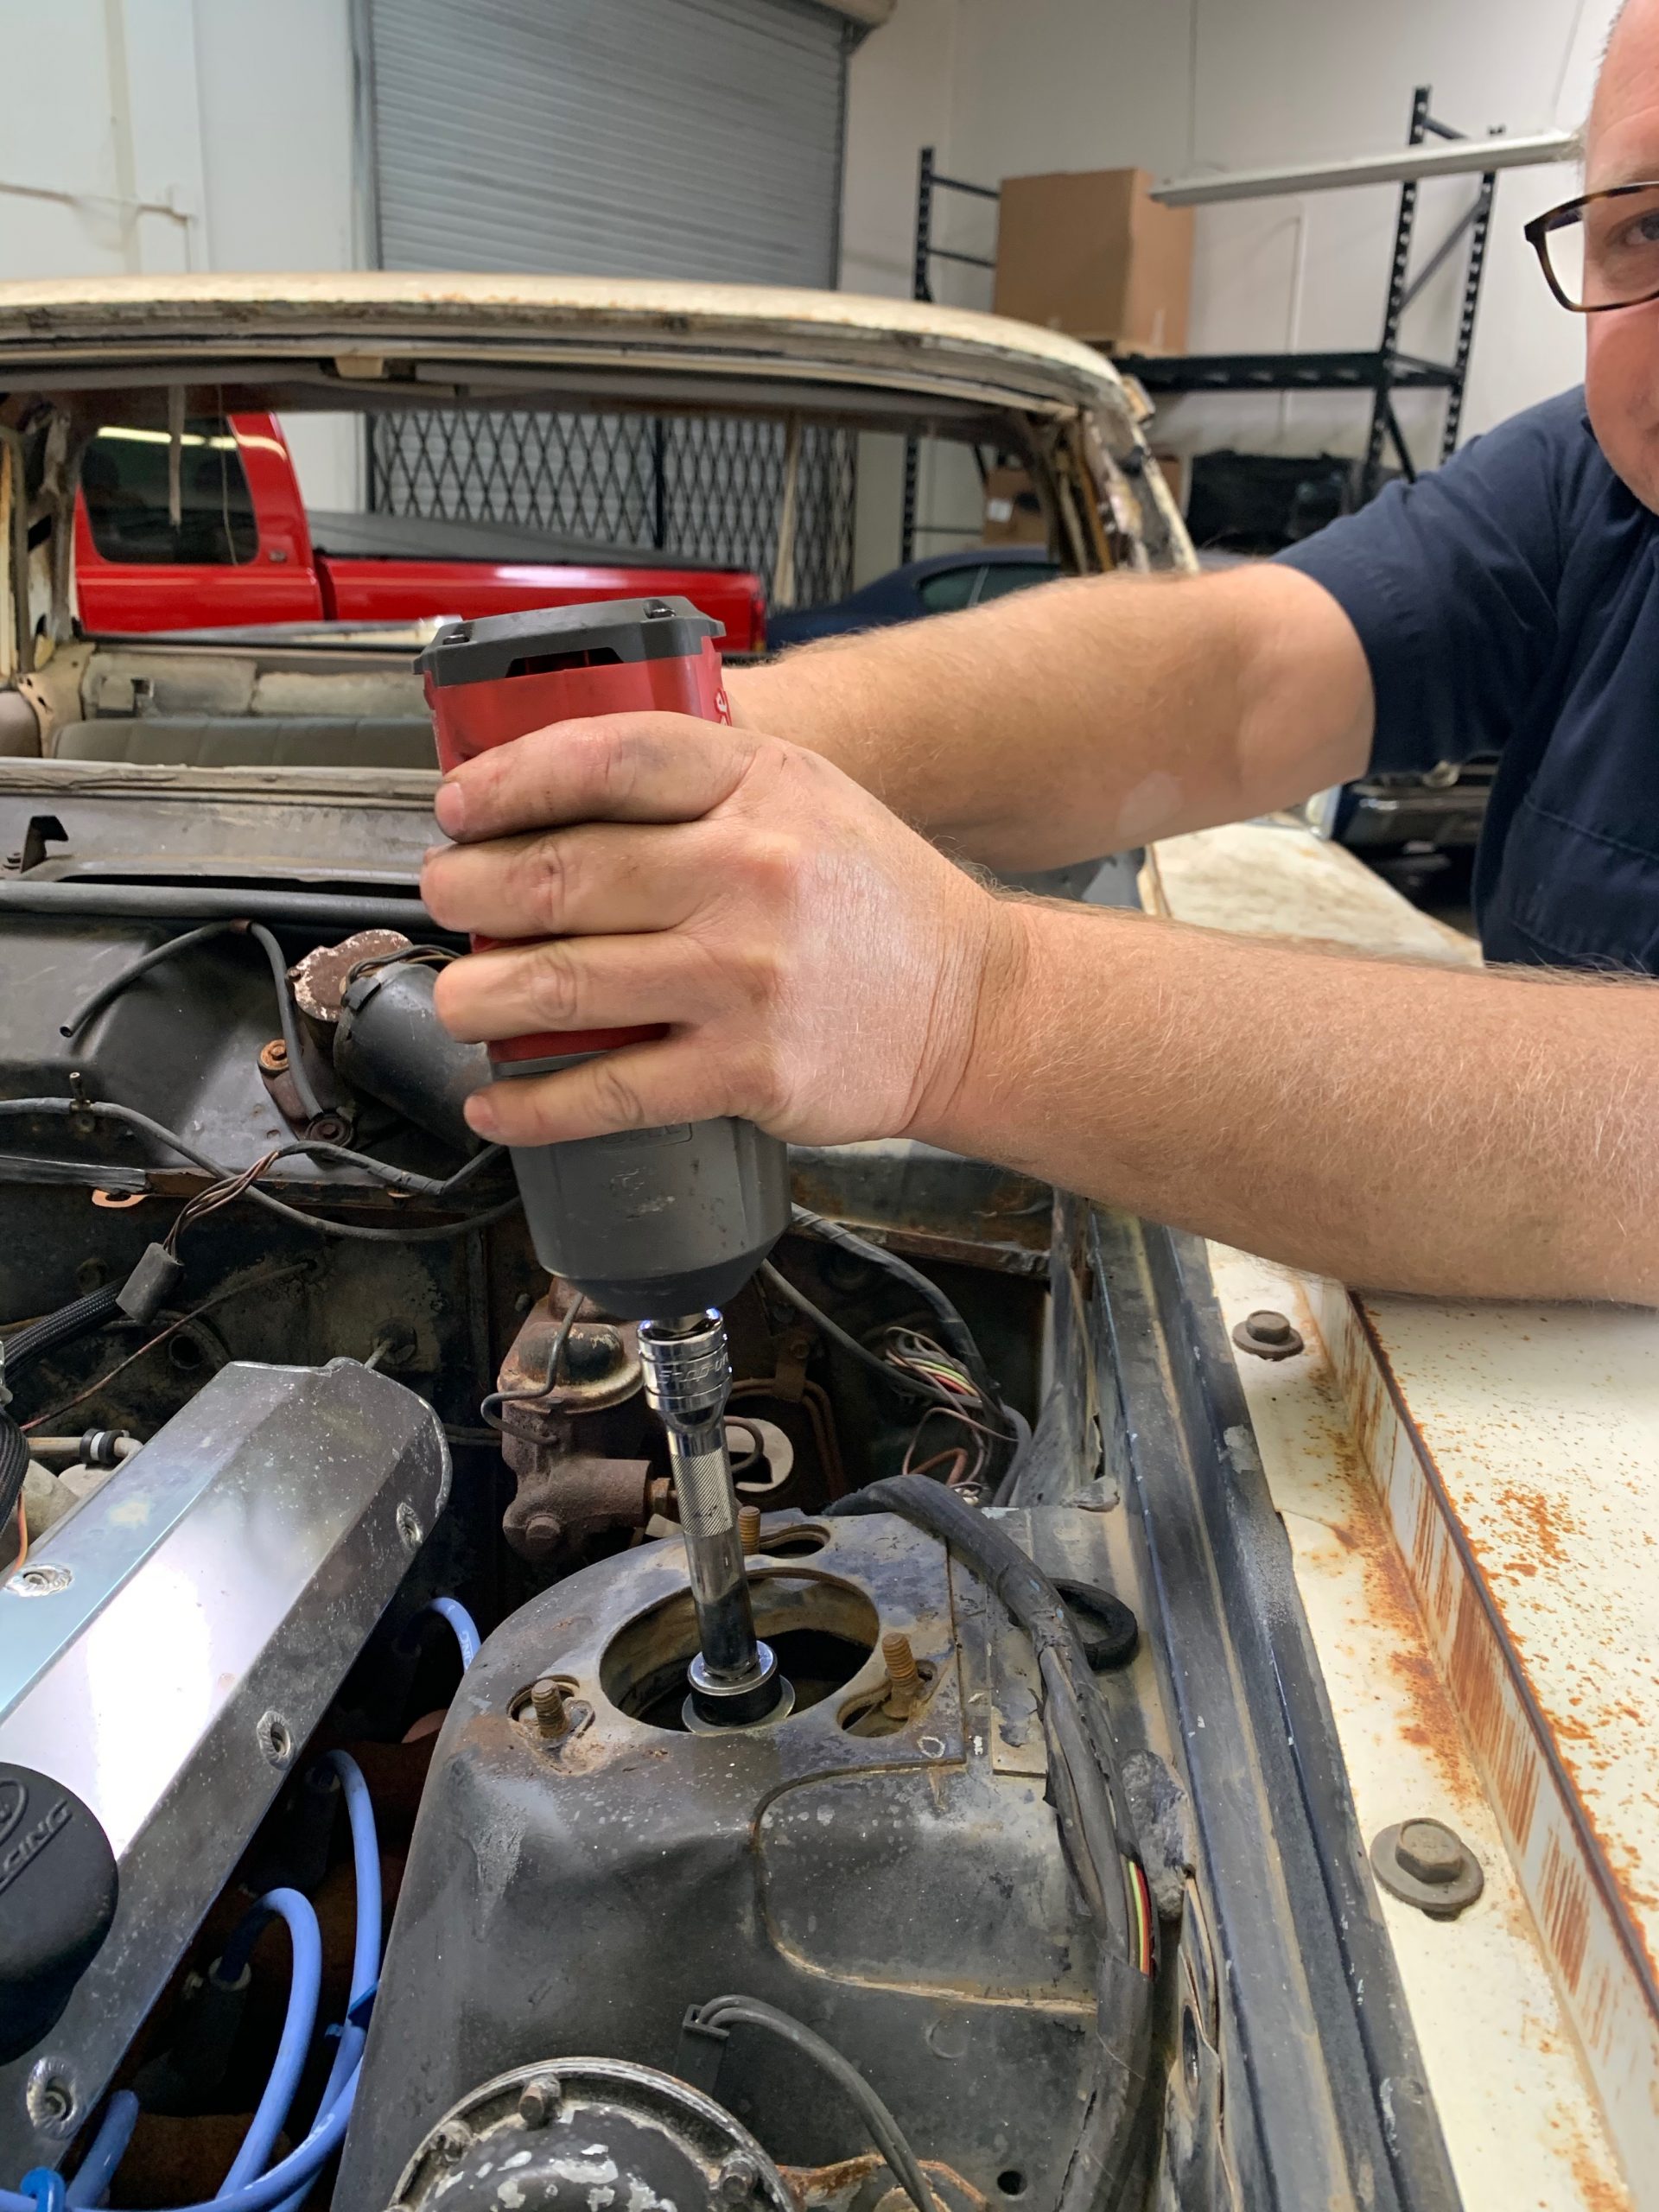
Step 2: Remove upper and lower shock mount
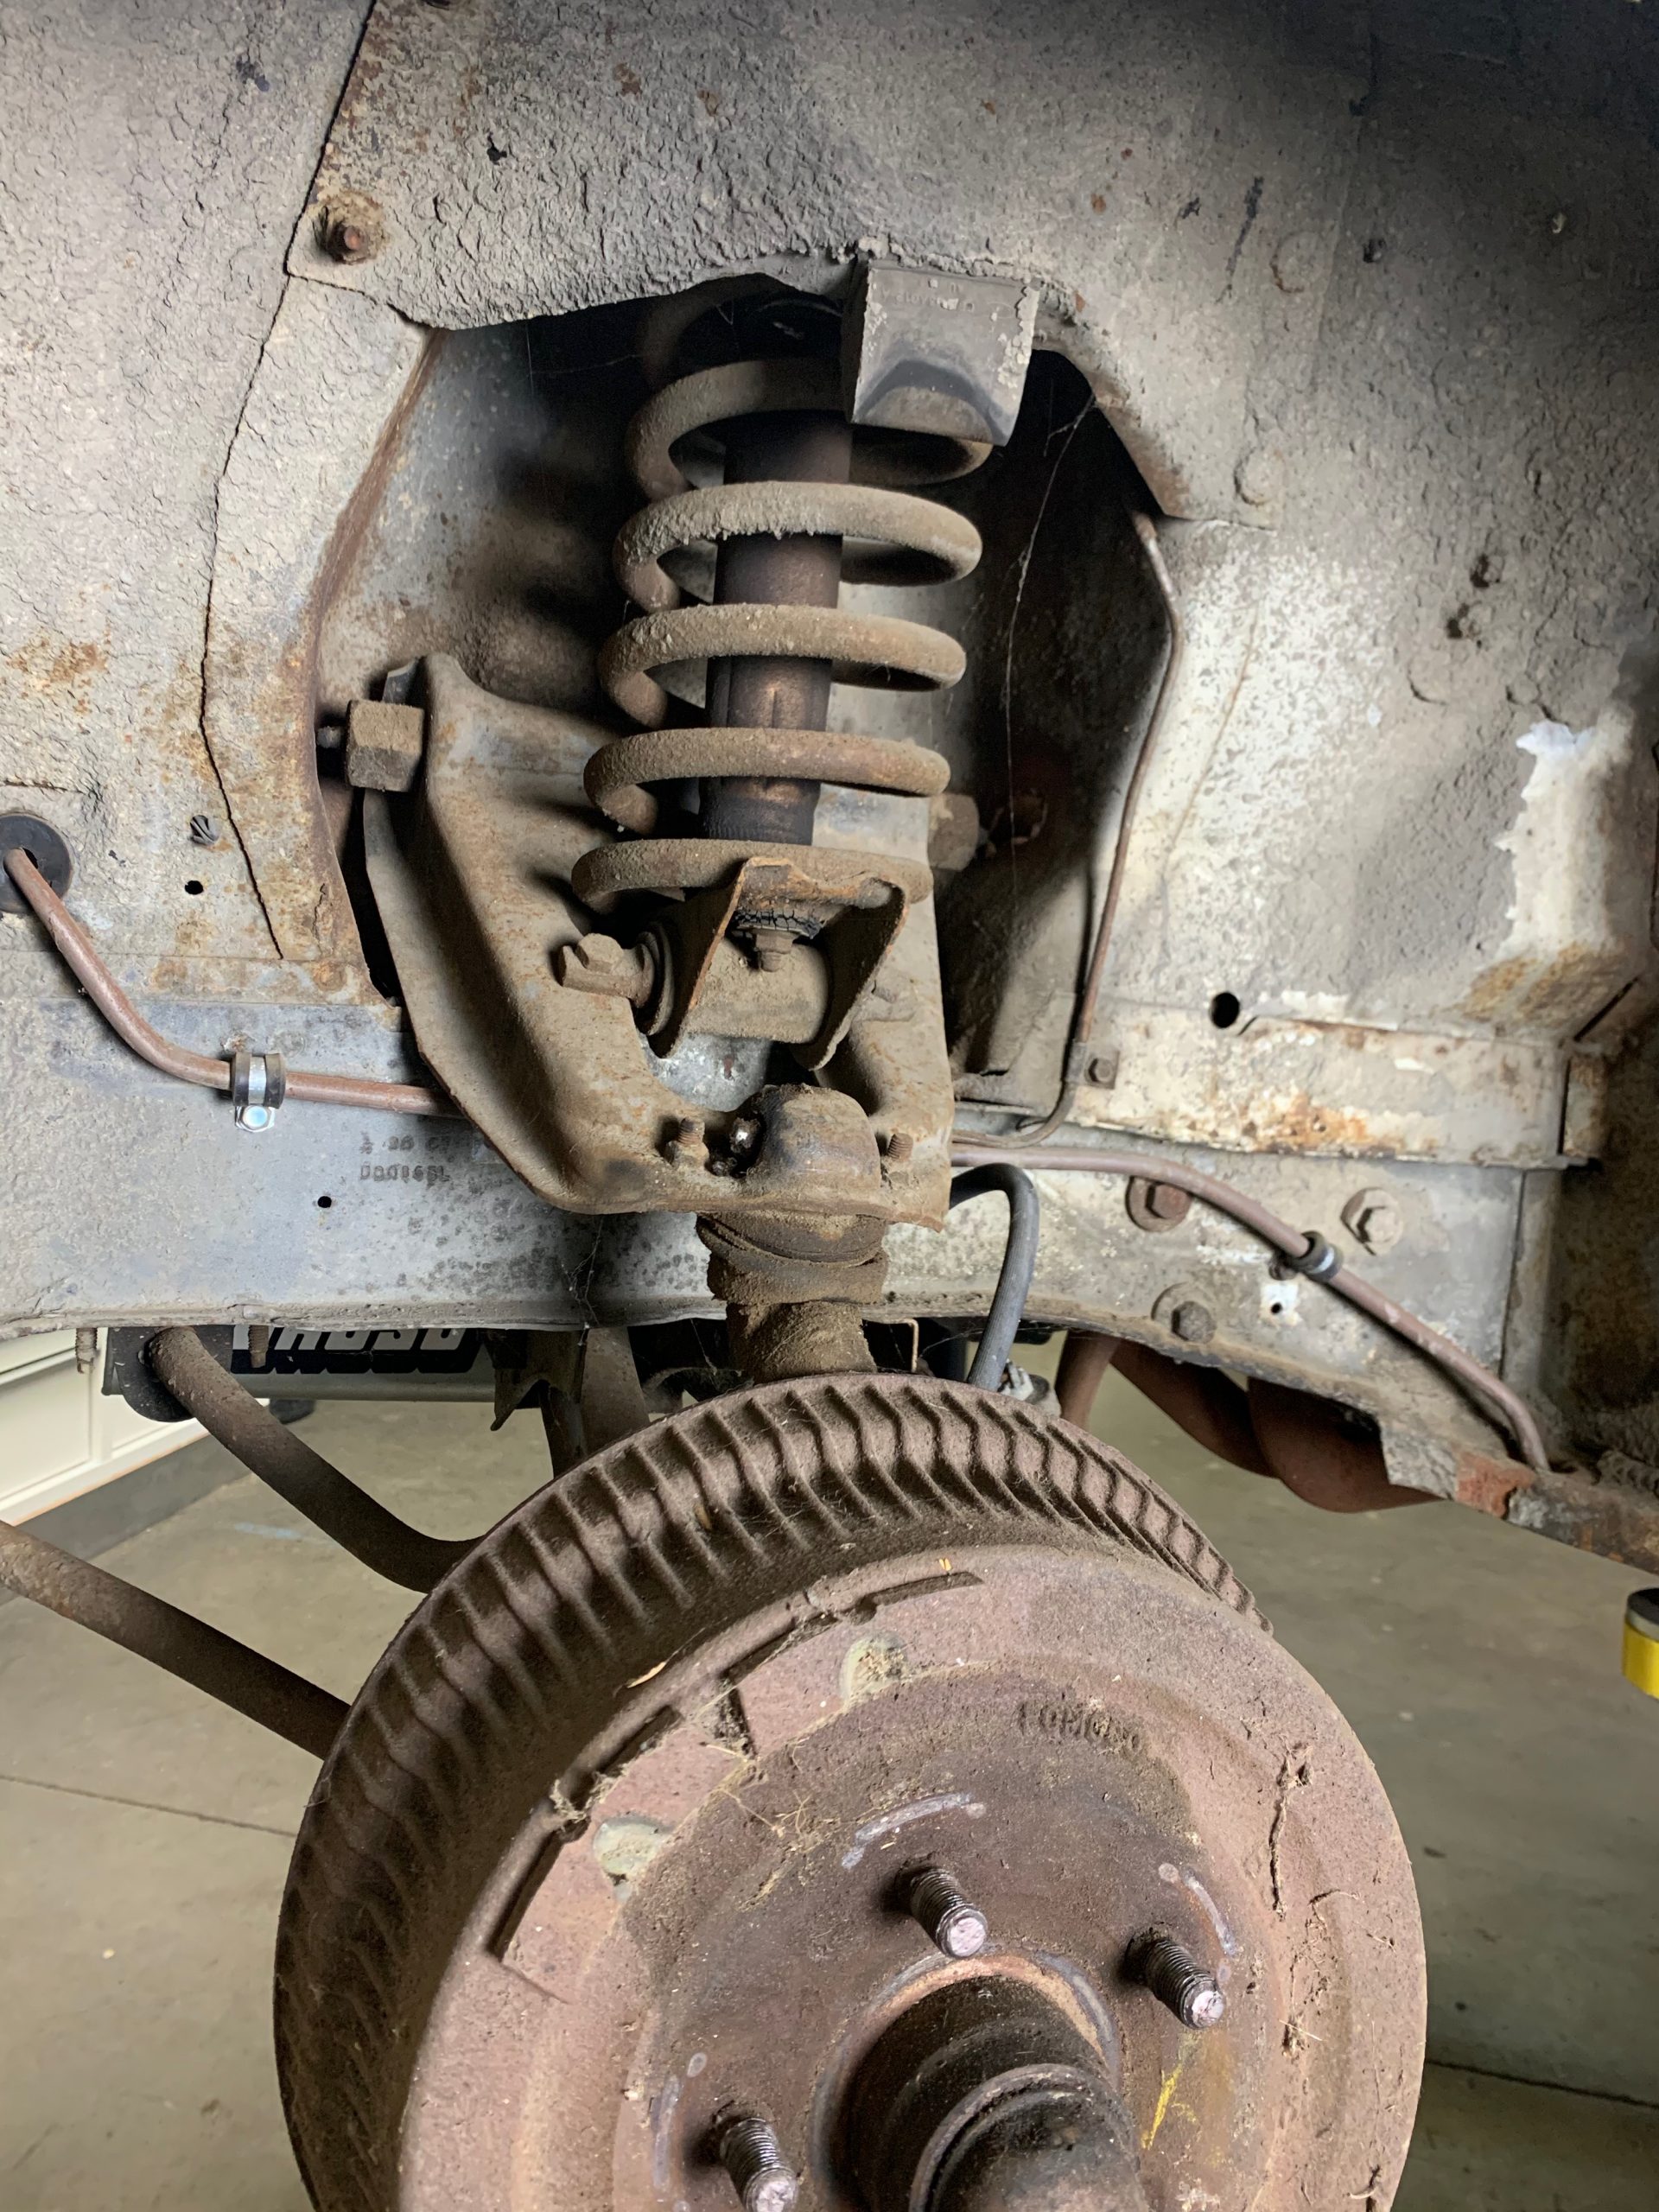
Step 3: Remove Inner Shield
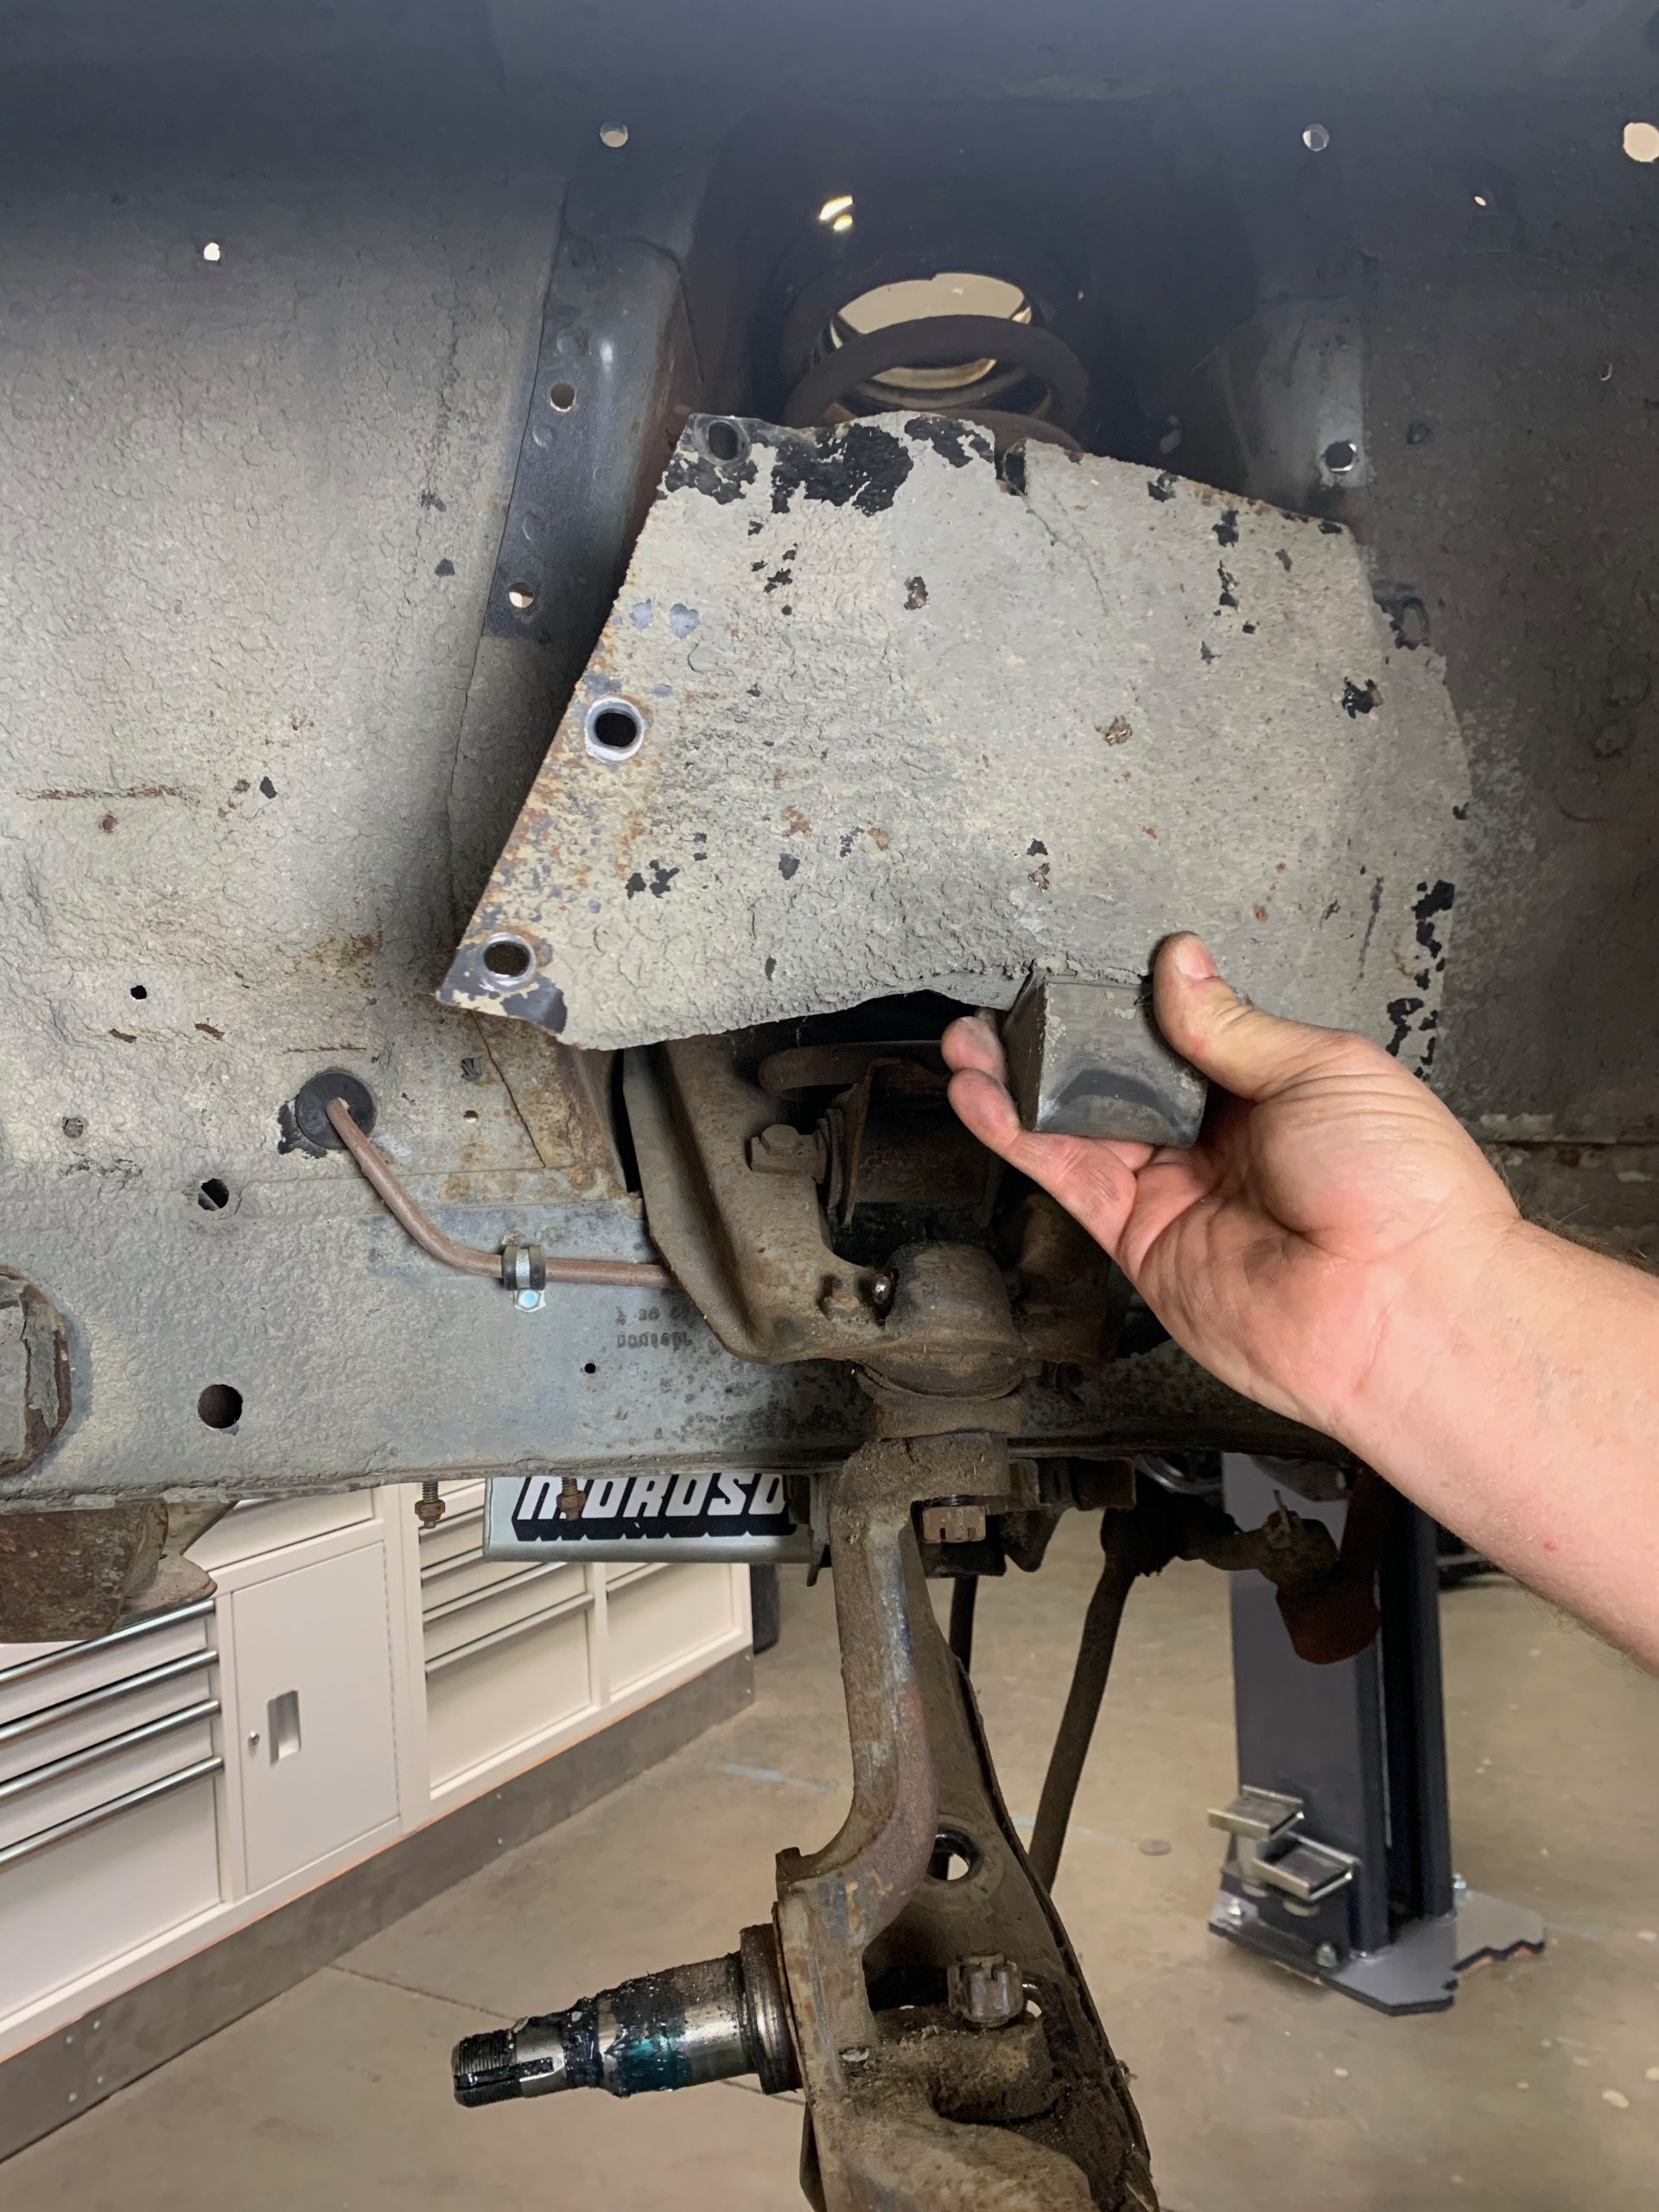
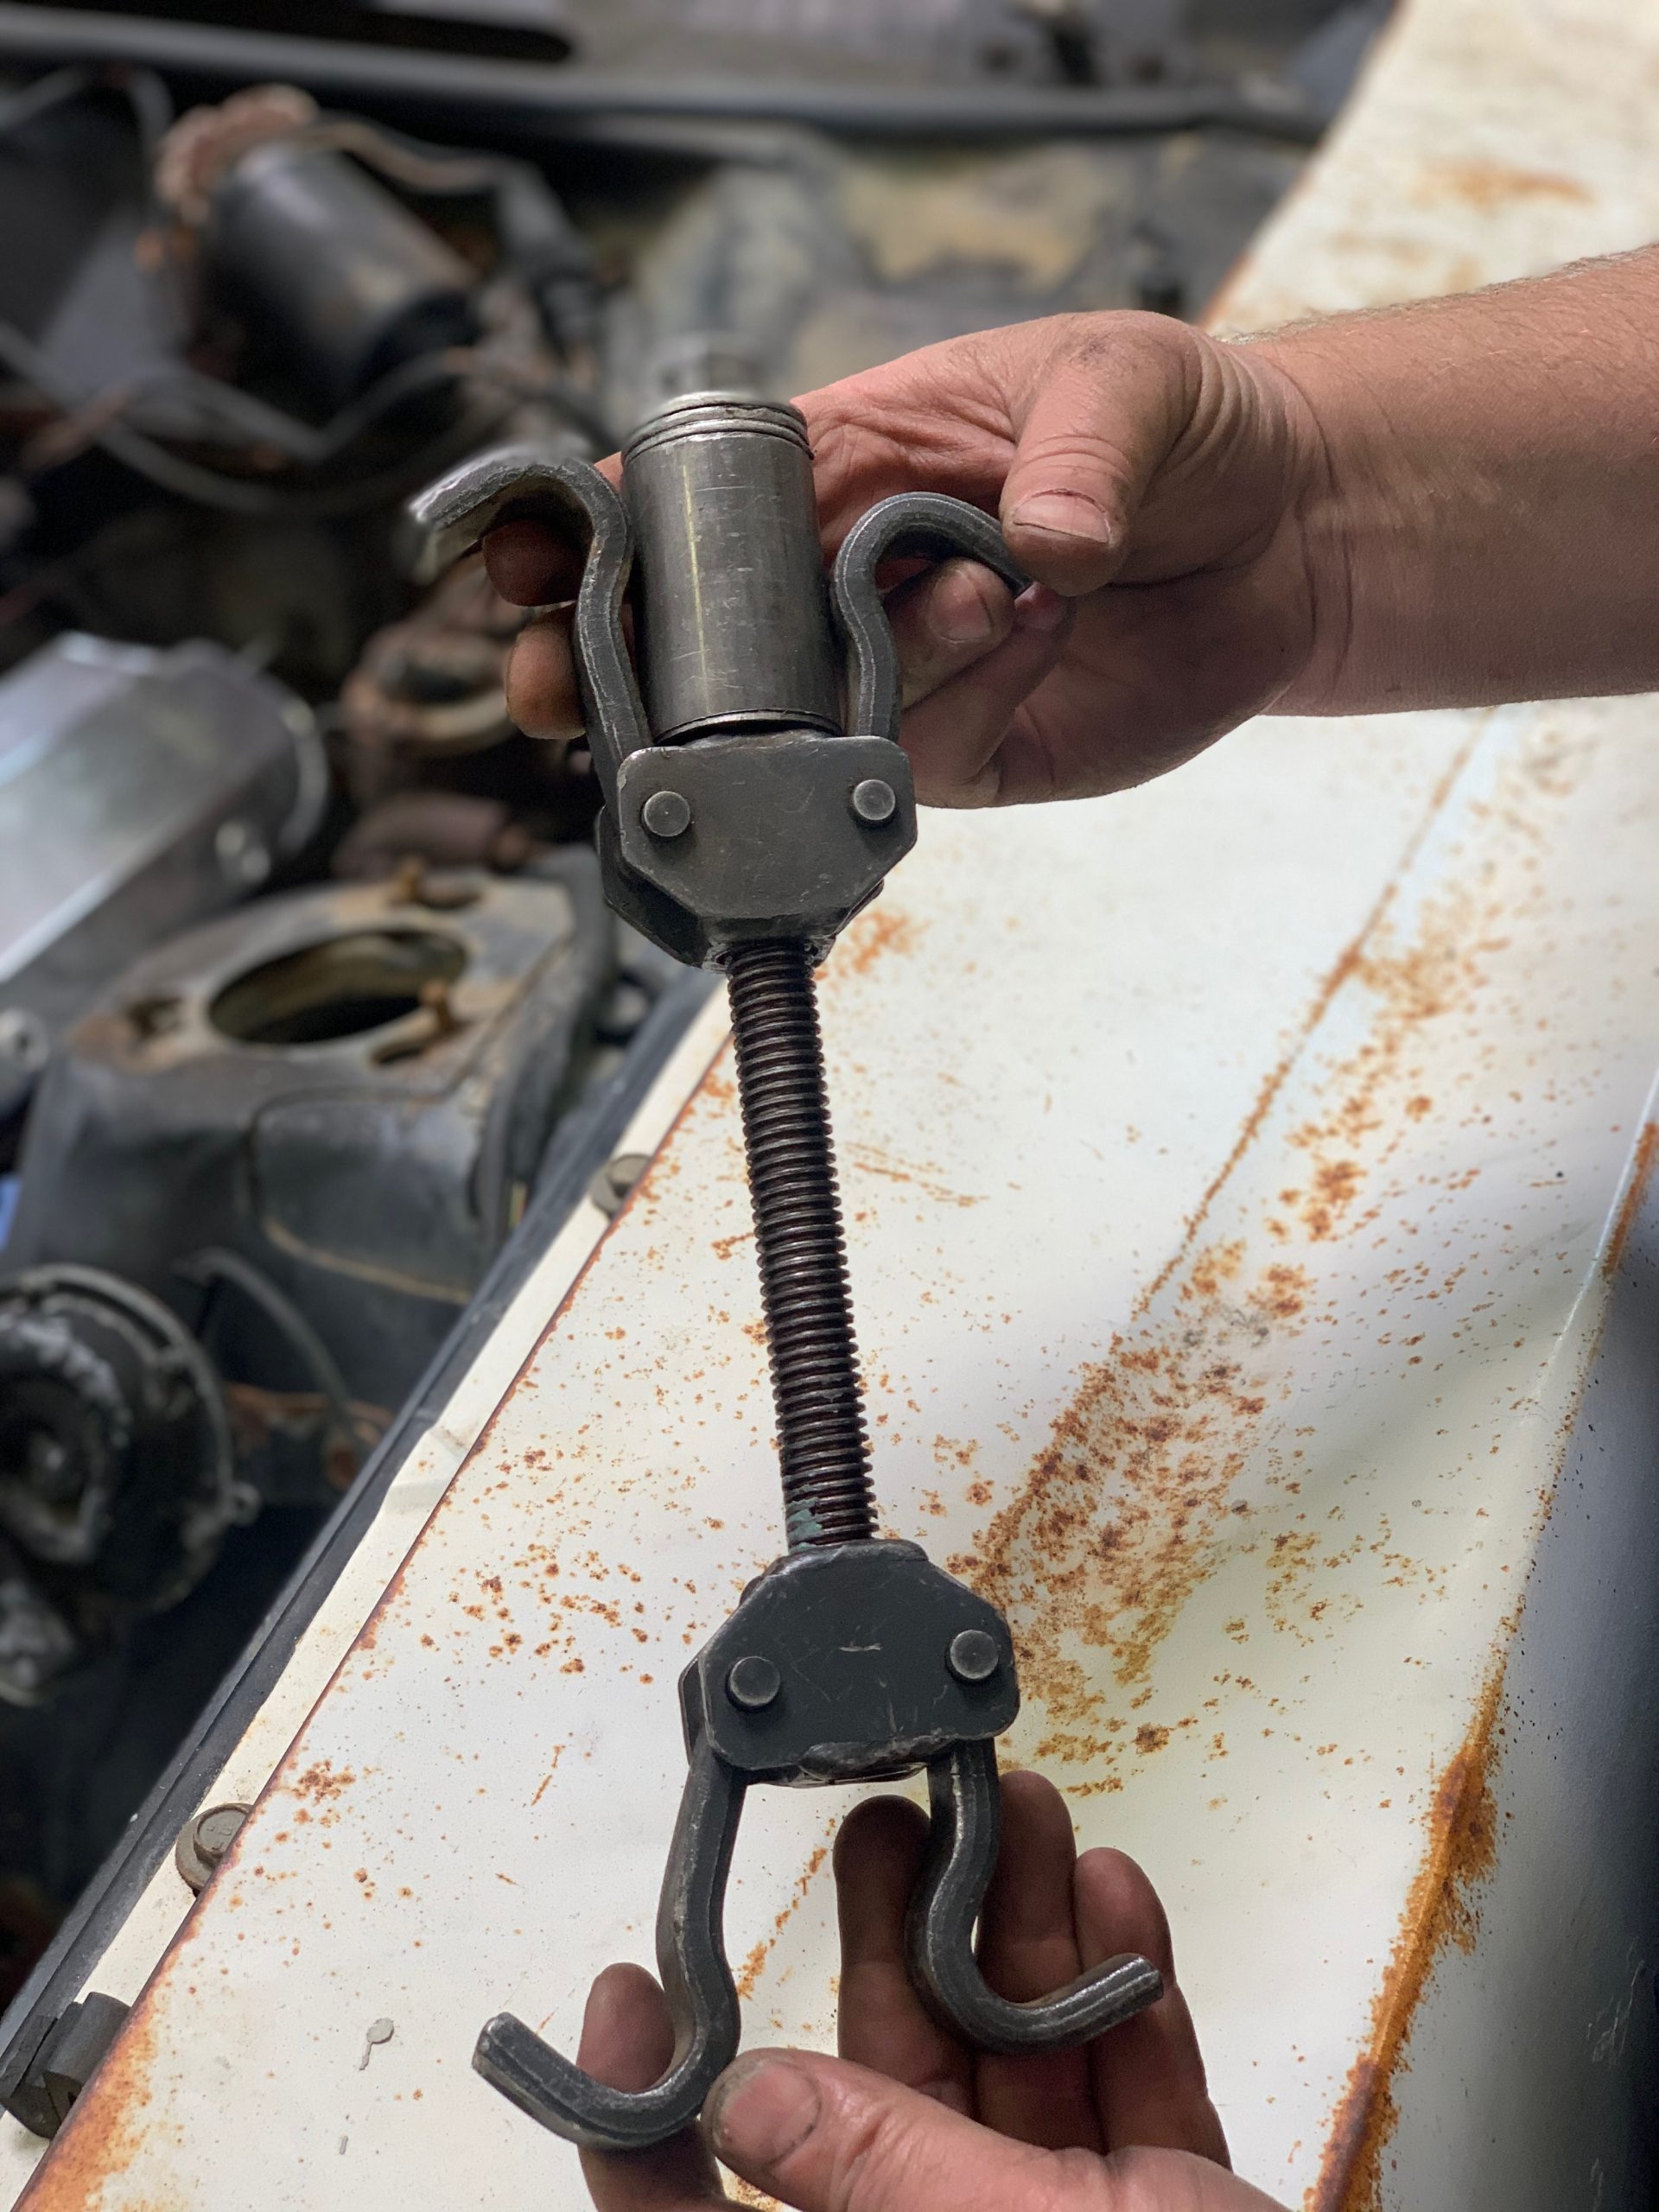
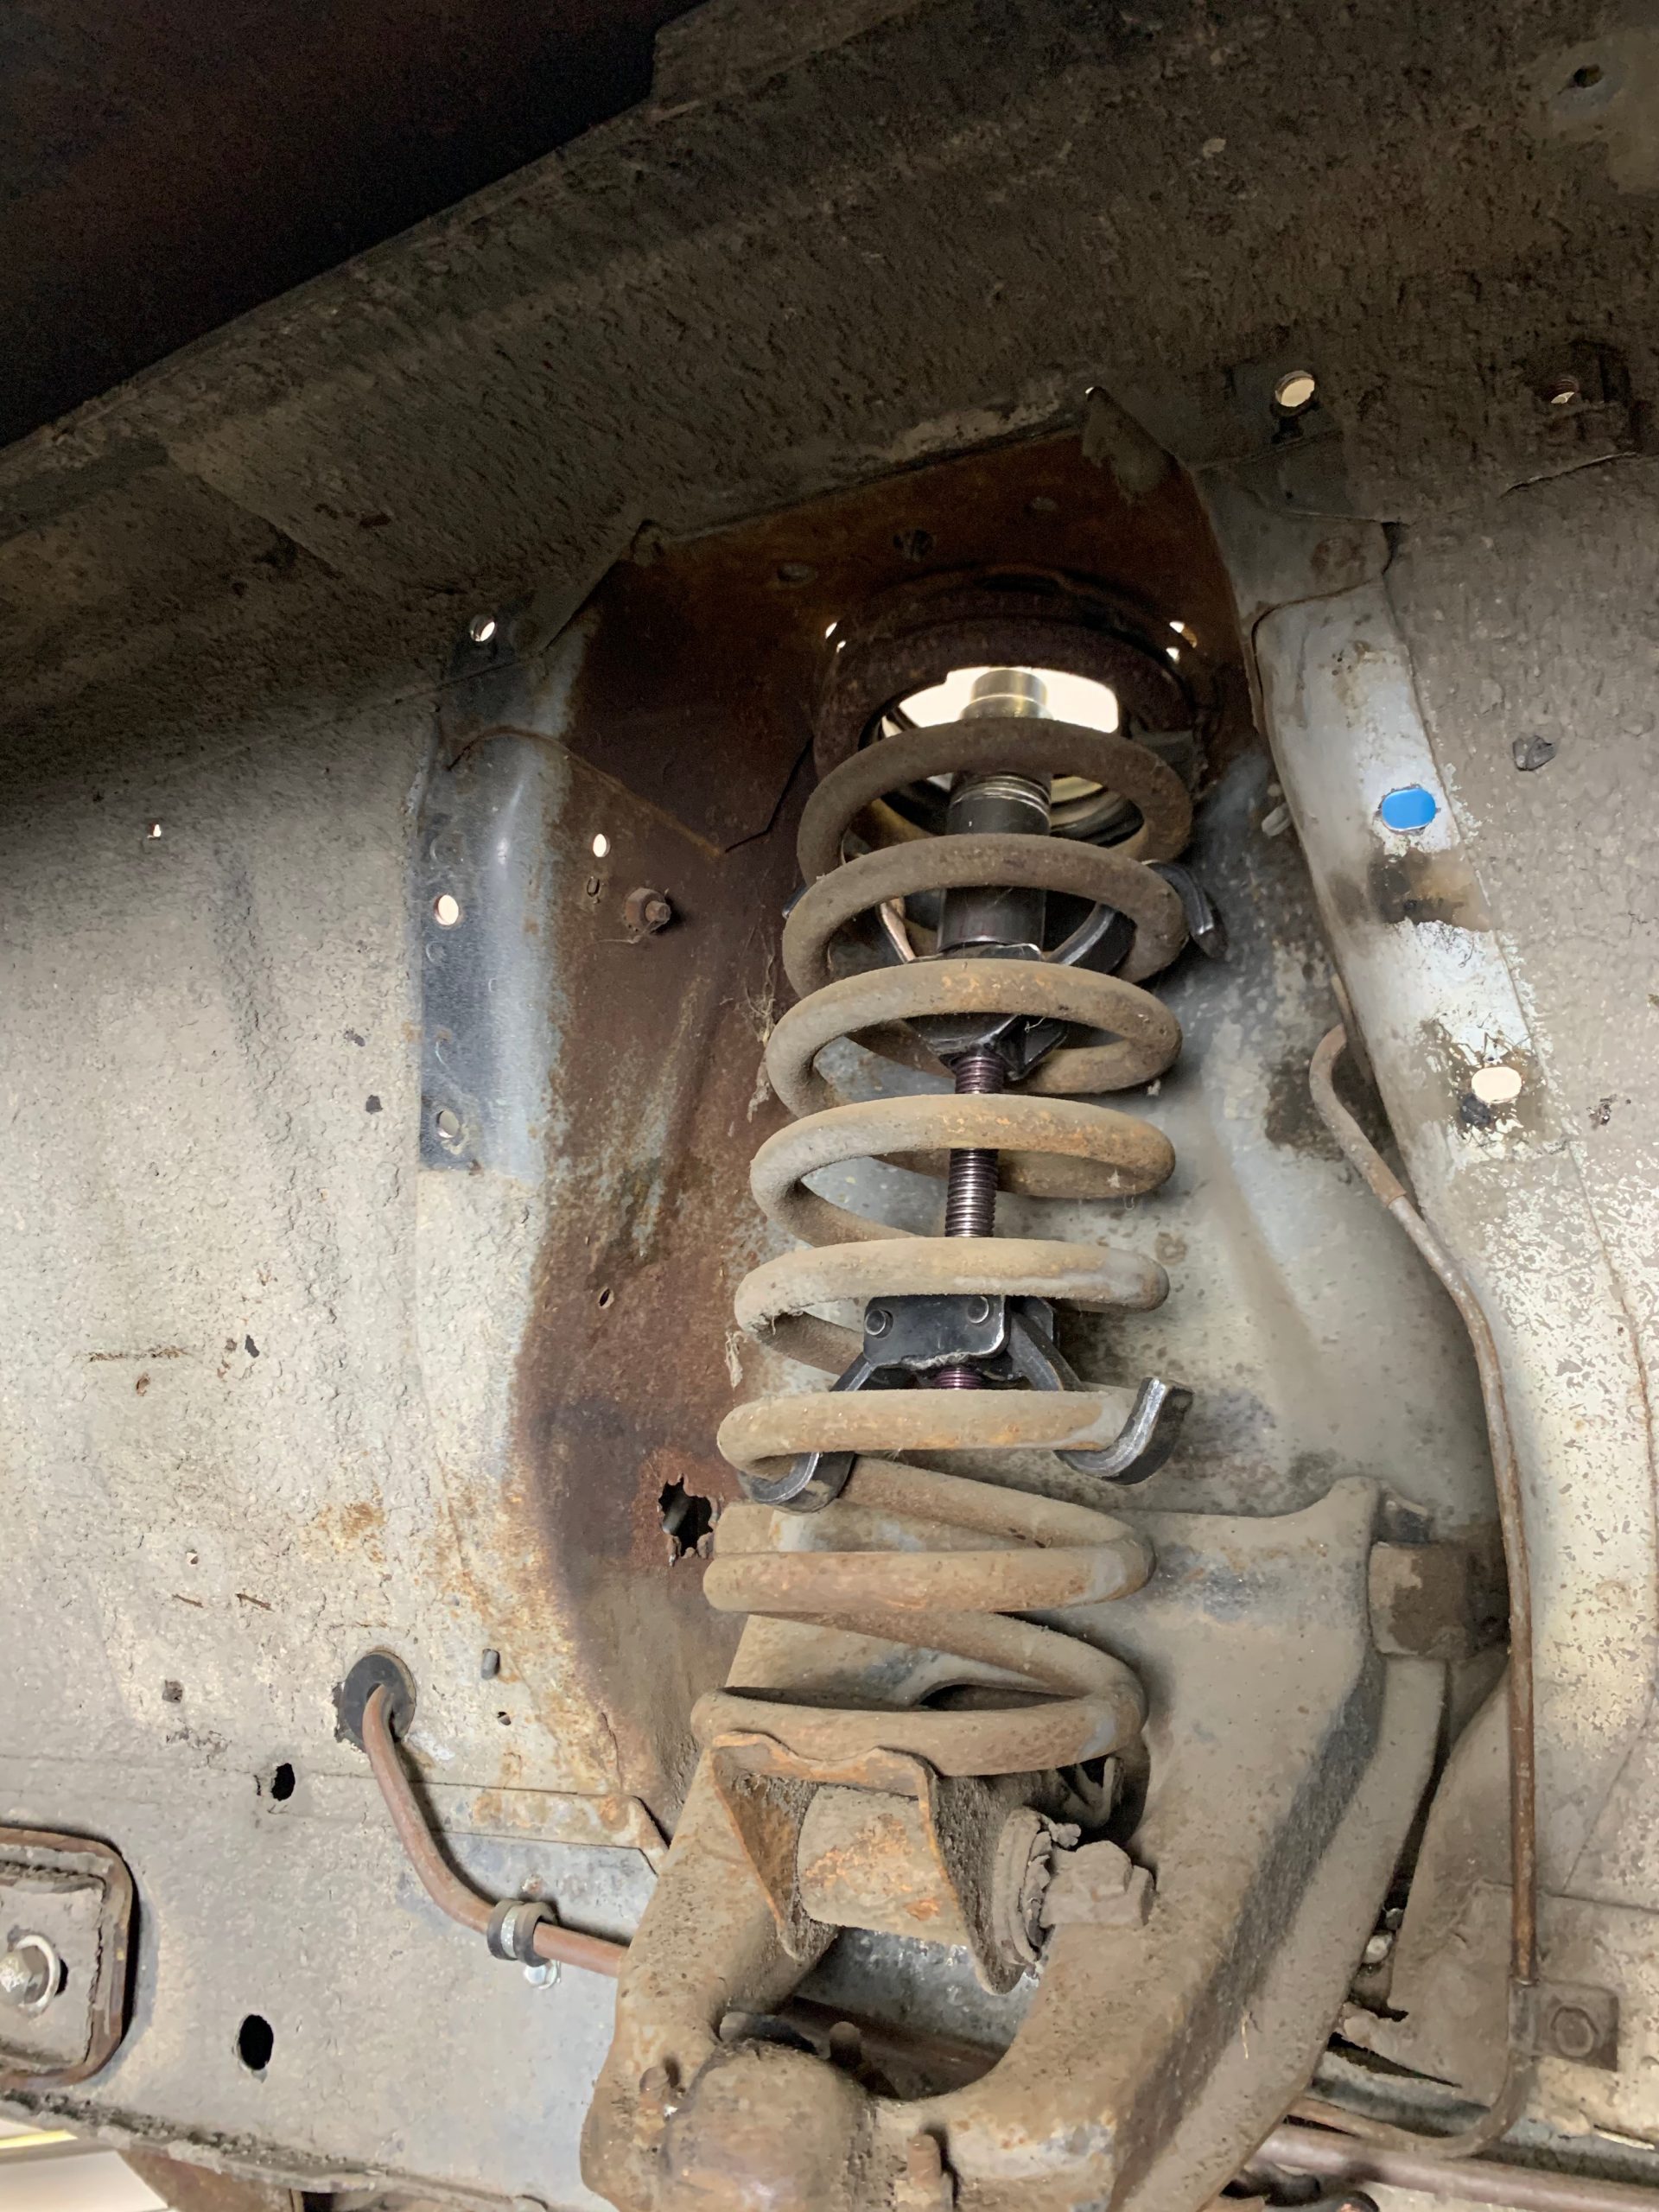
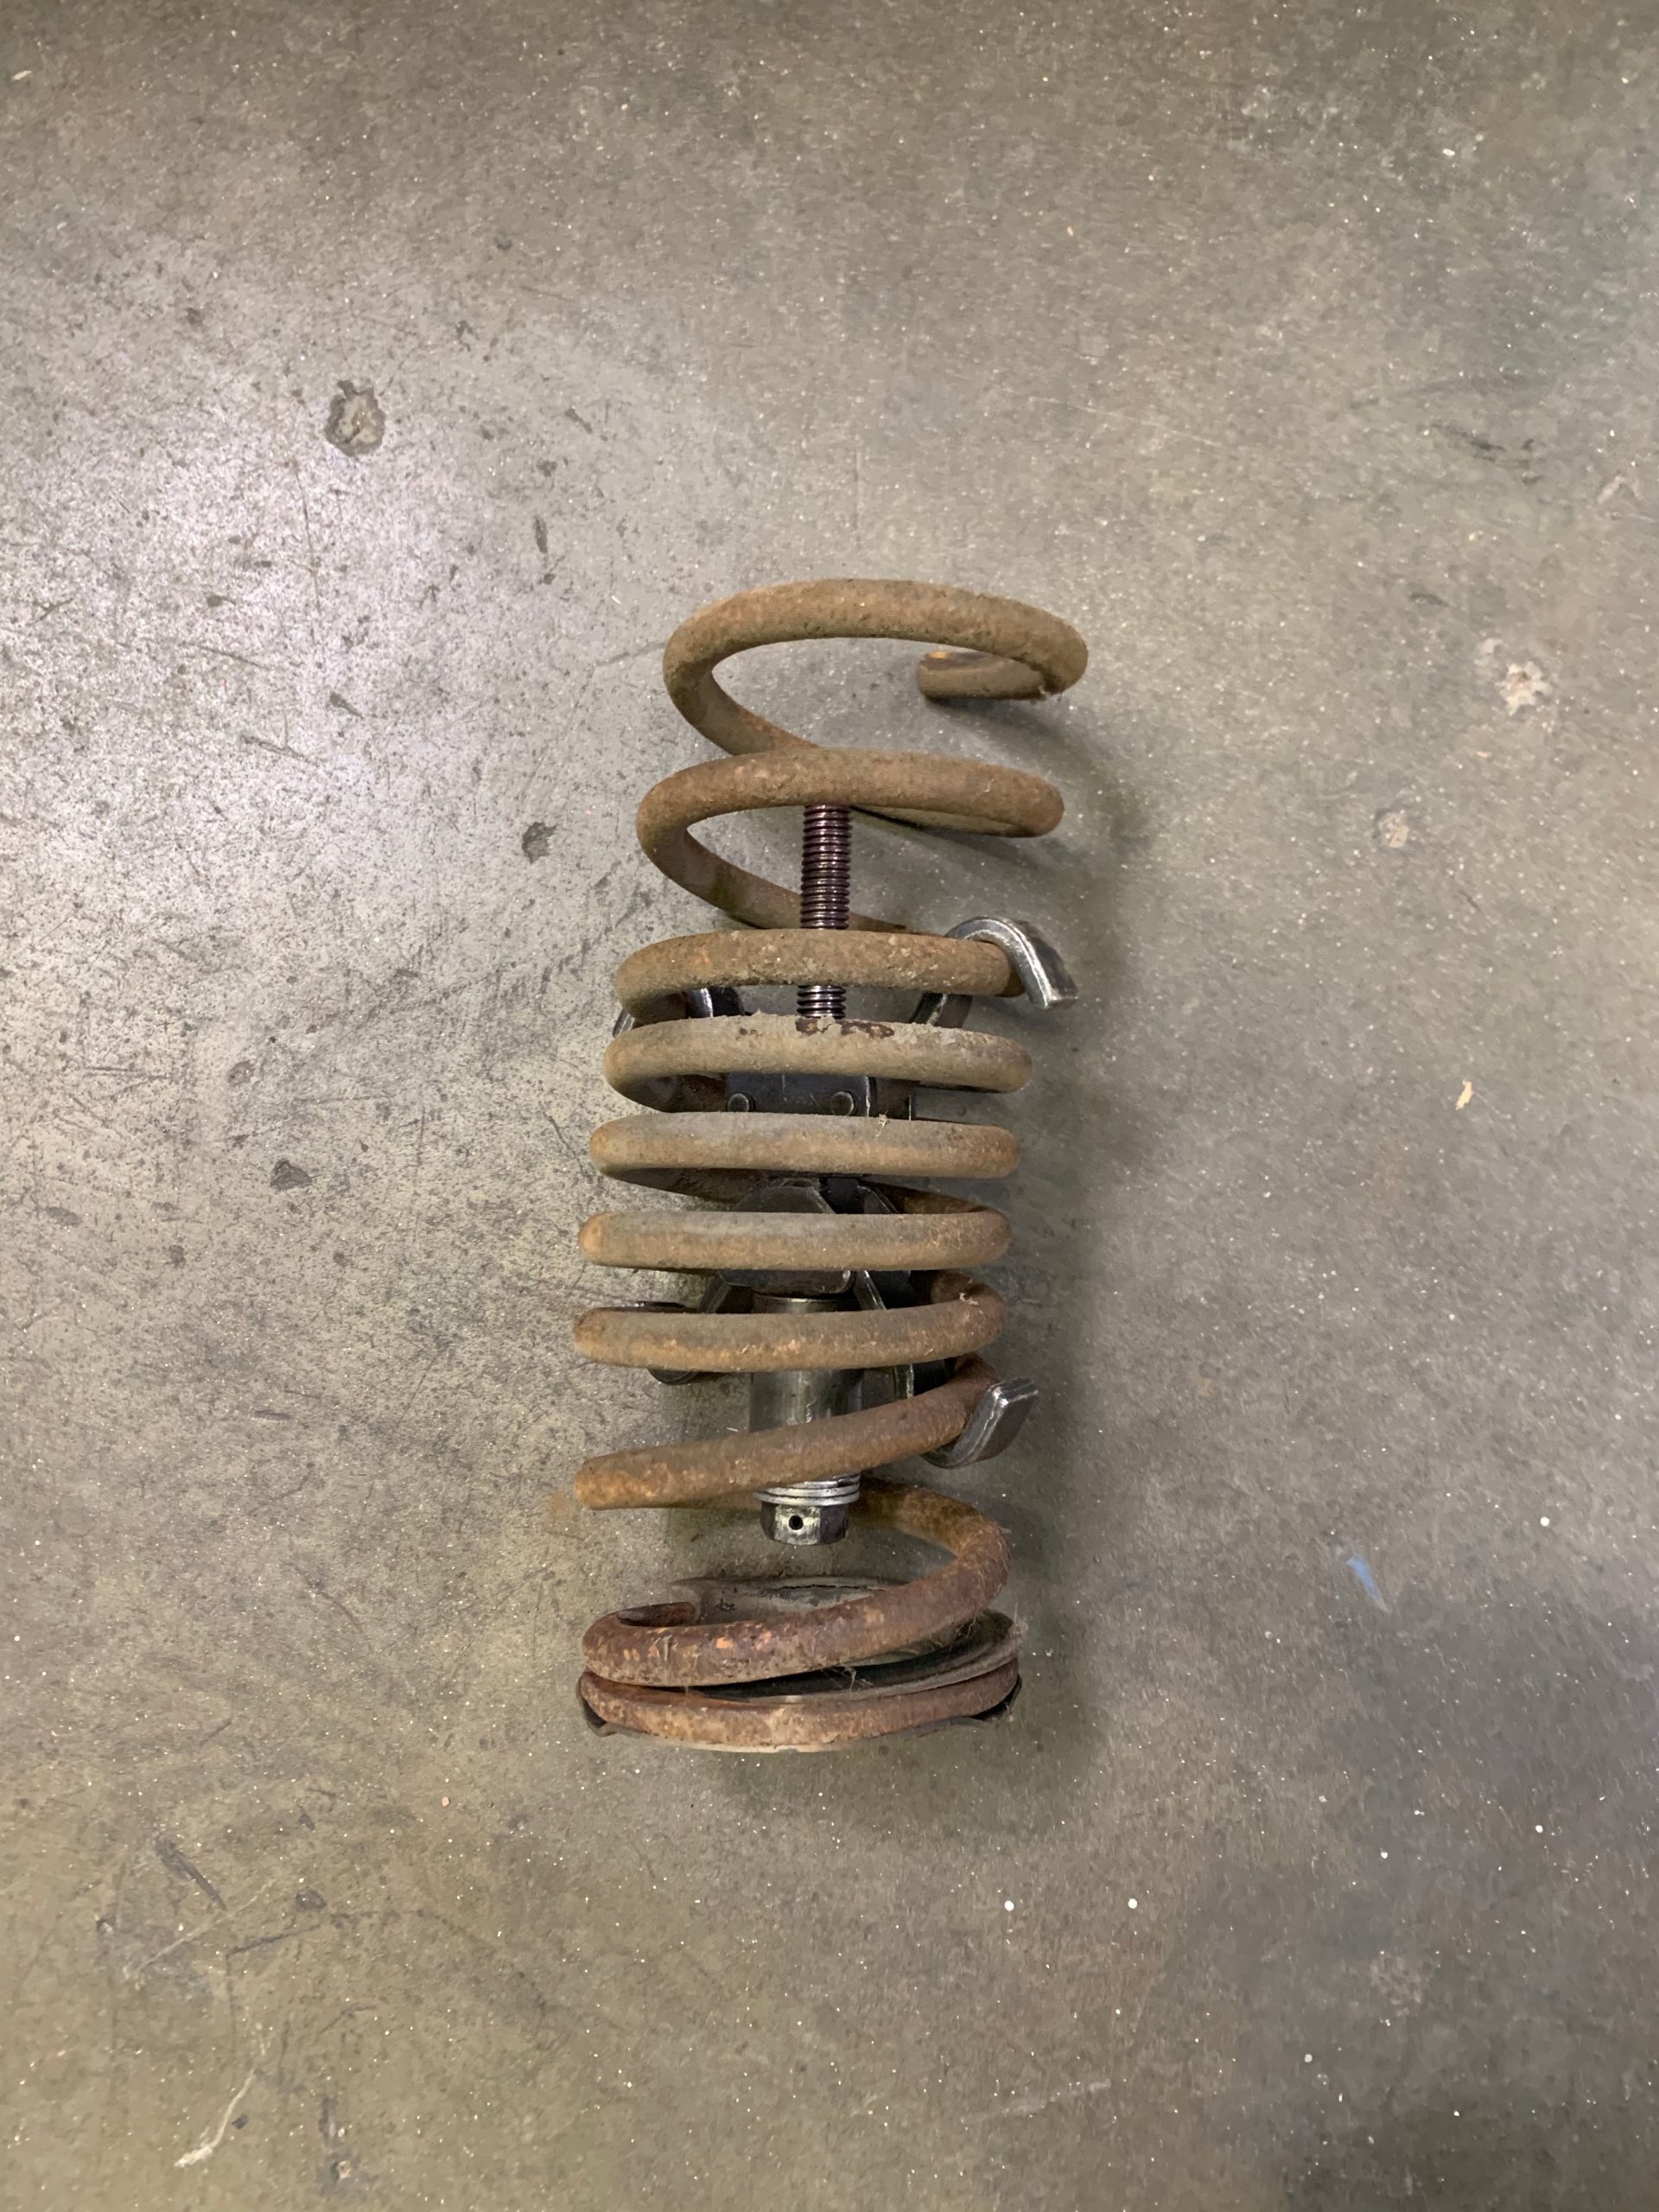
Step 4: Remove coil spring with spring compressor
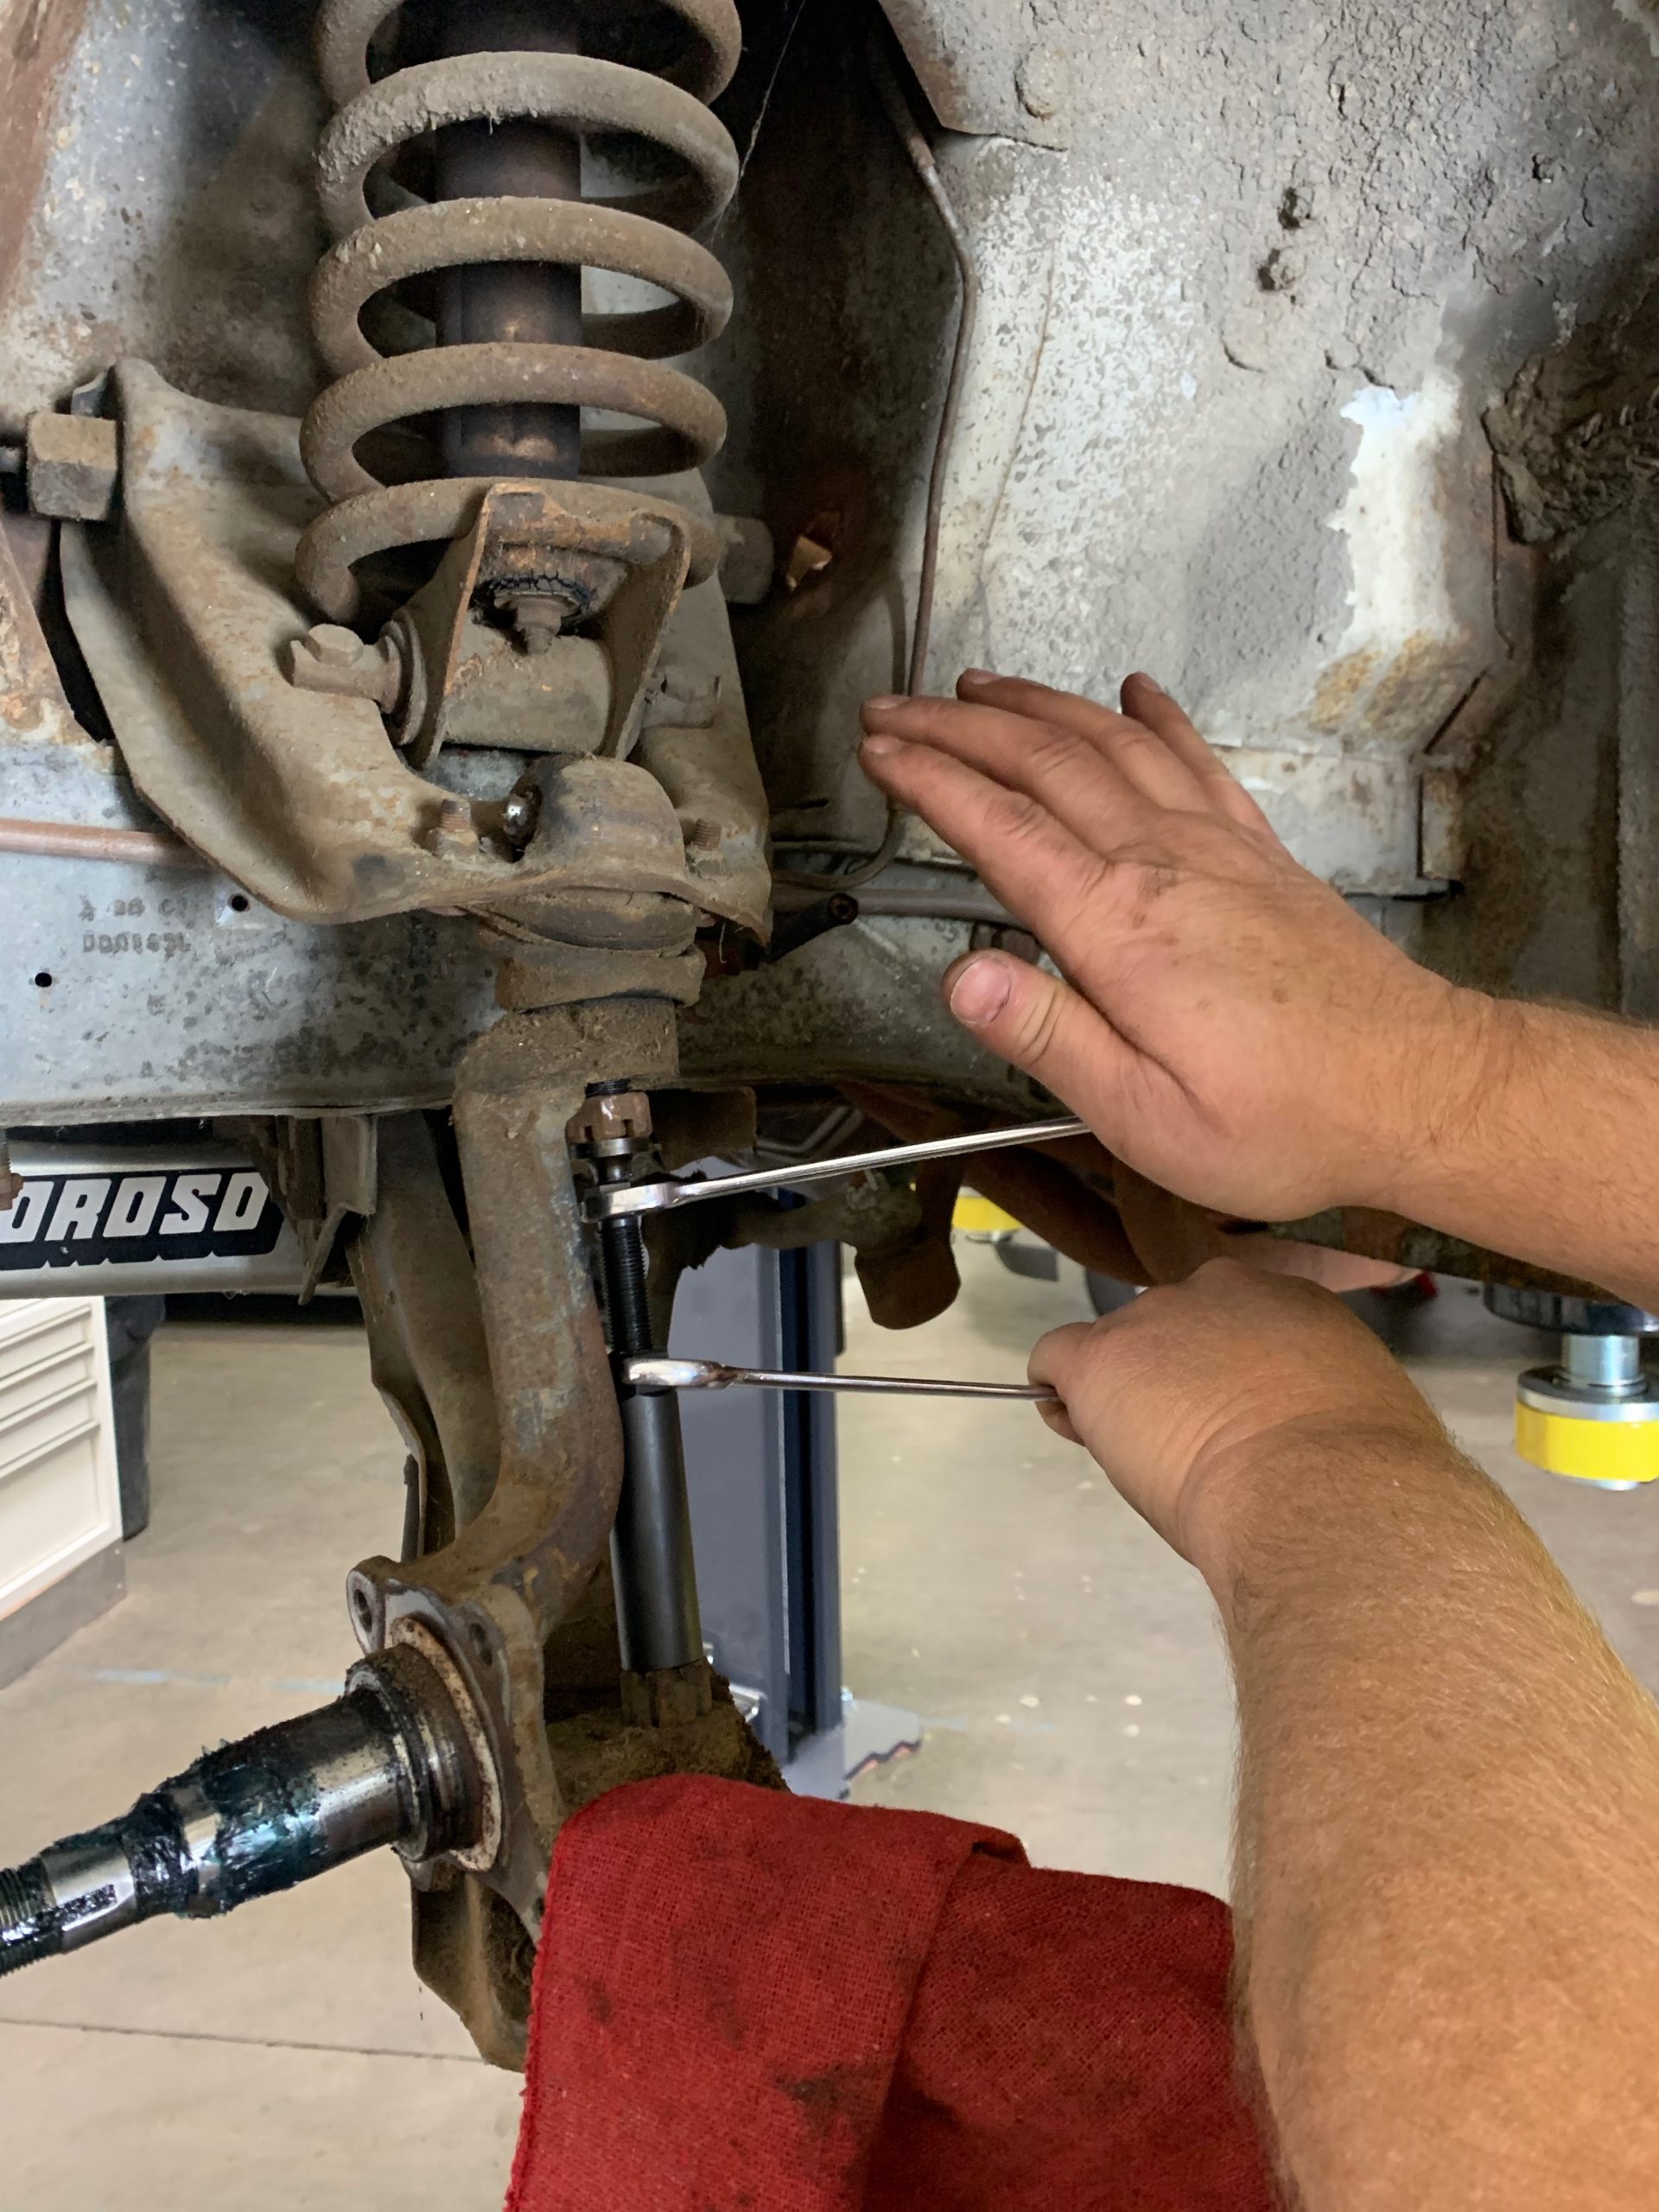
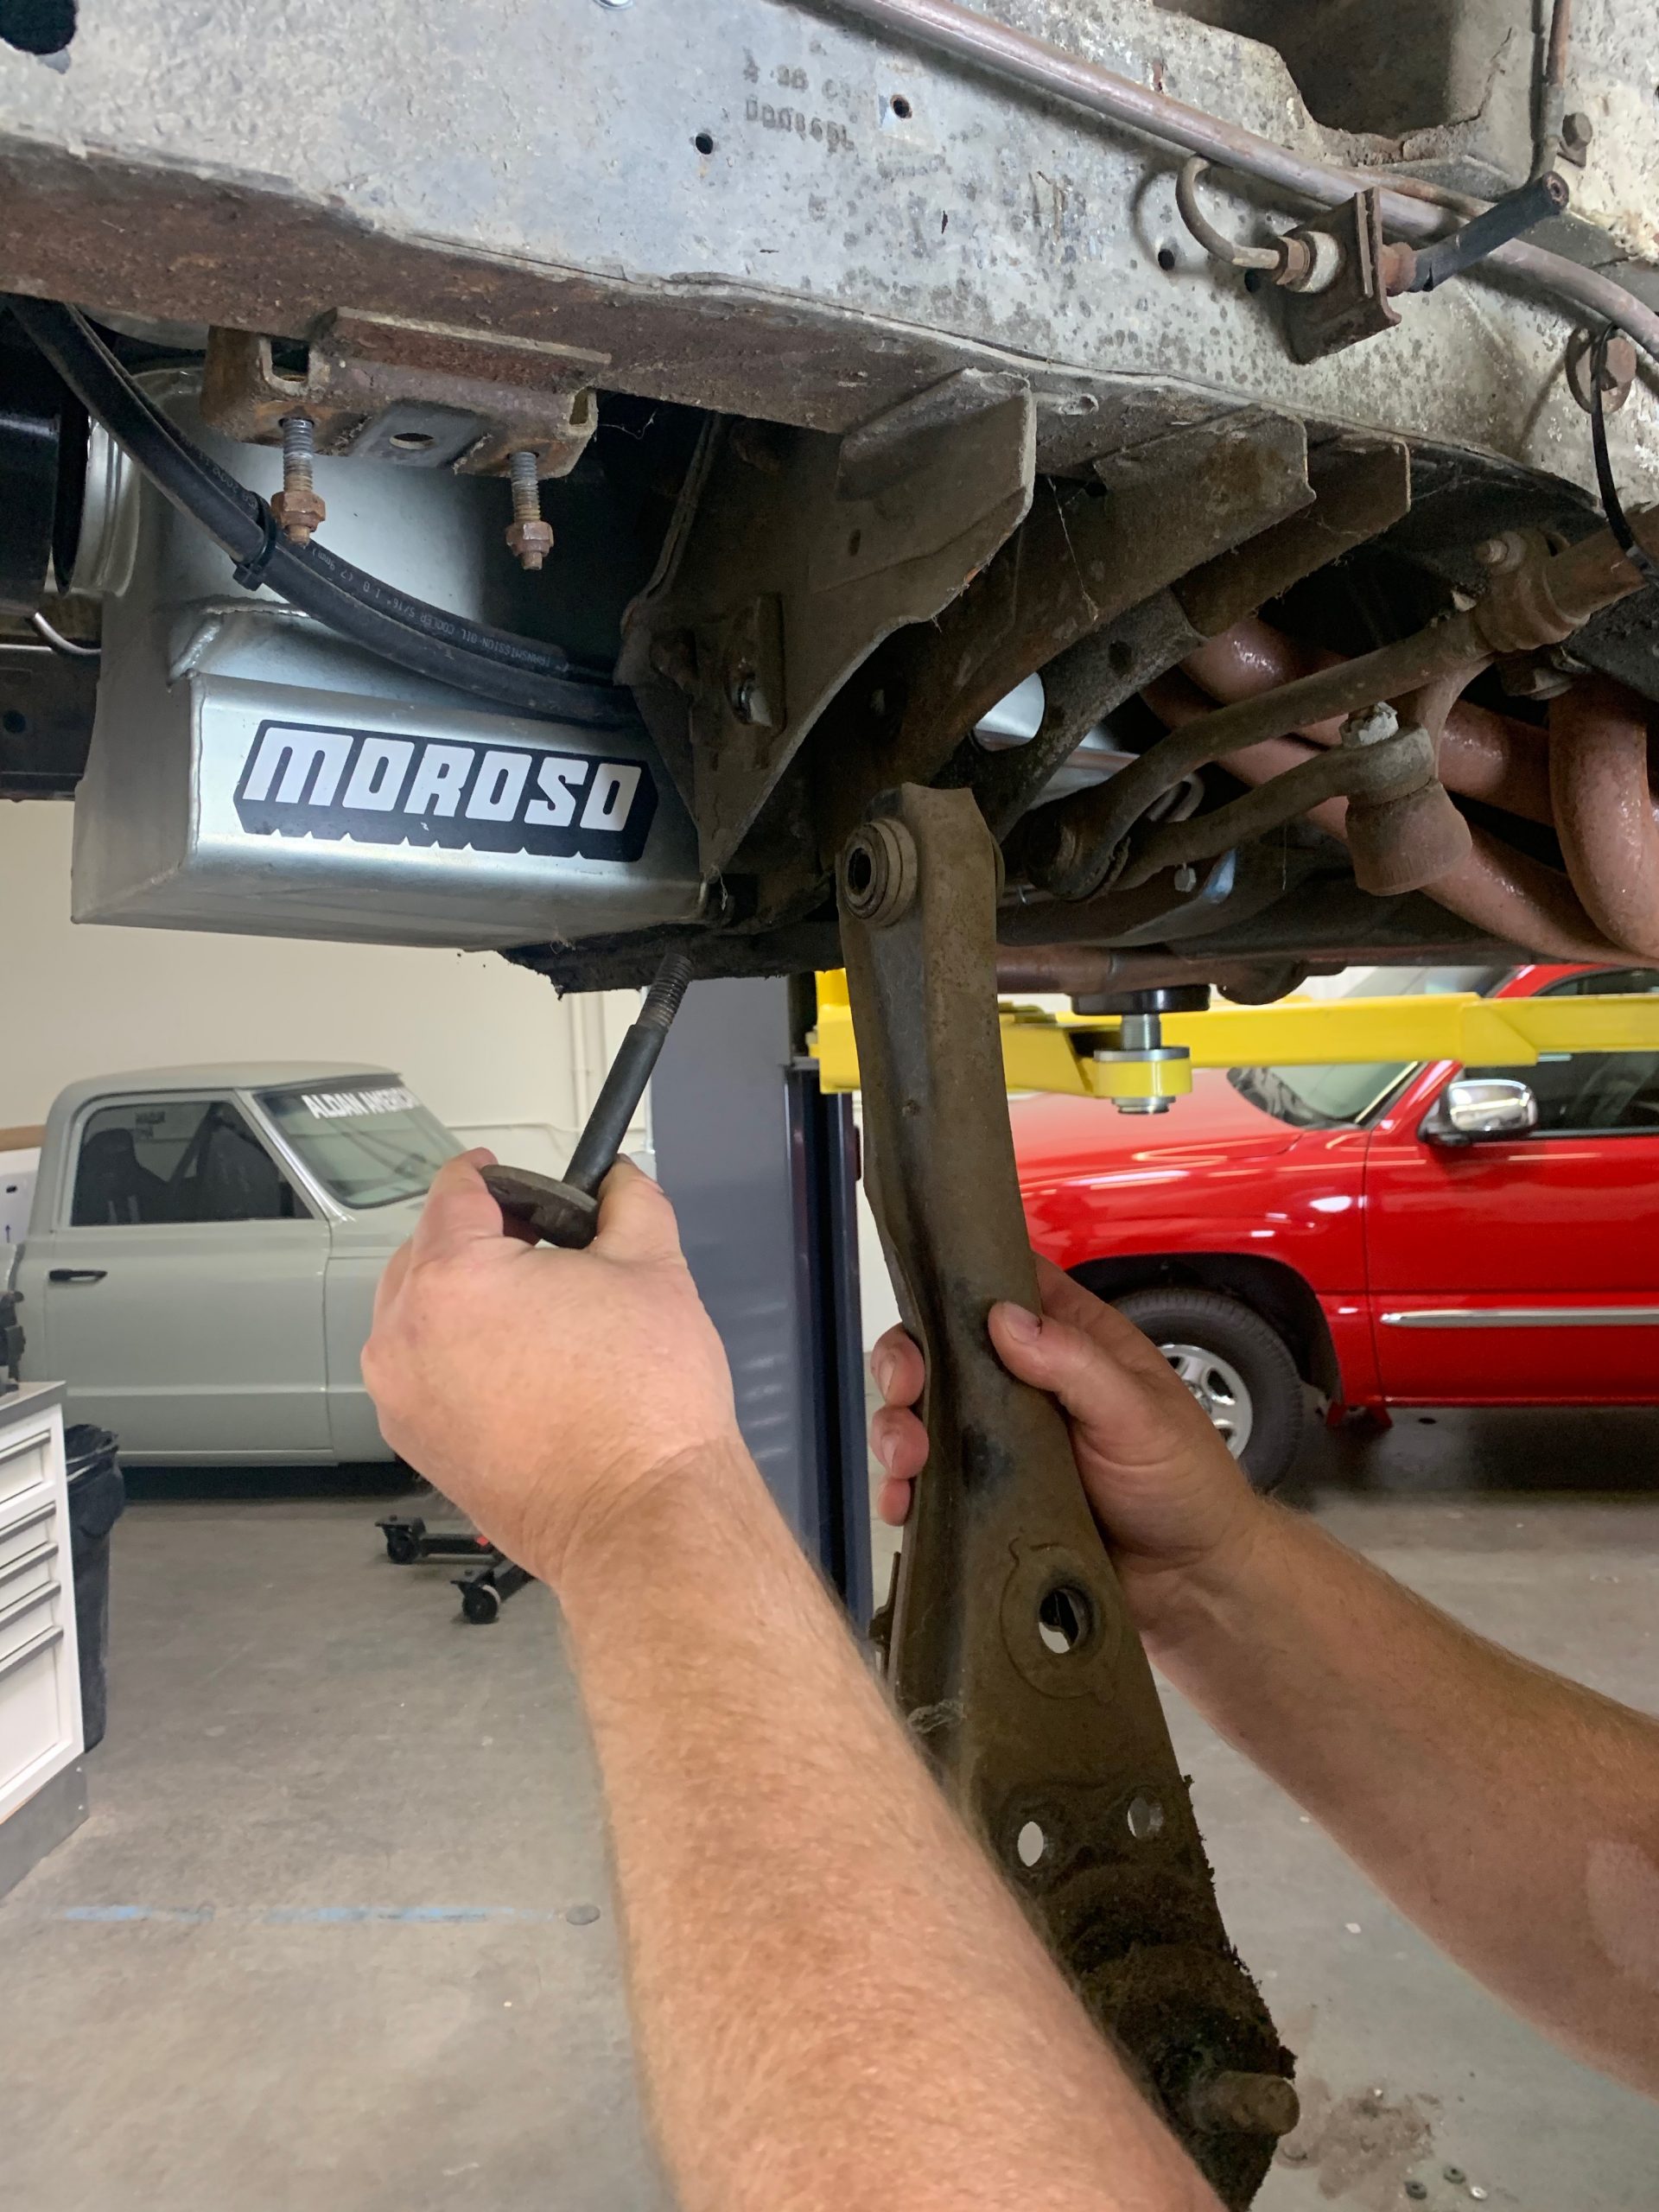
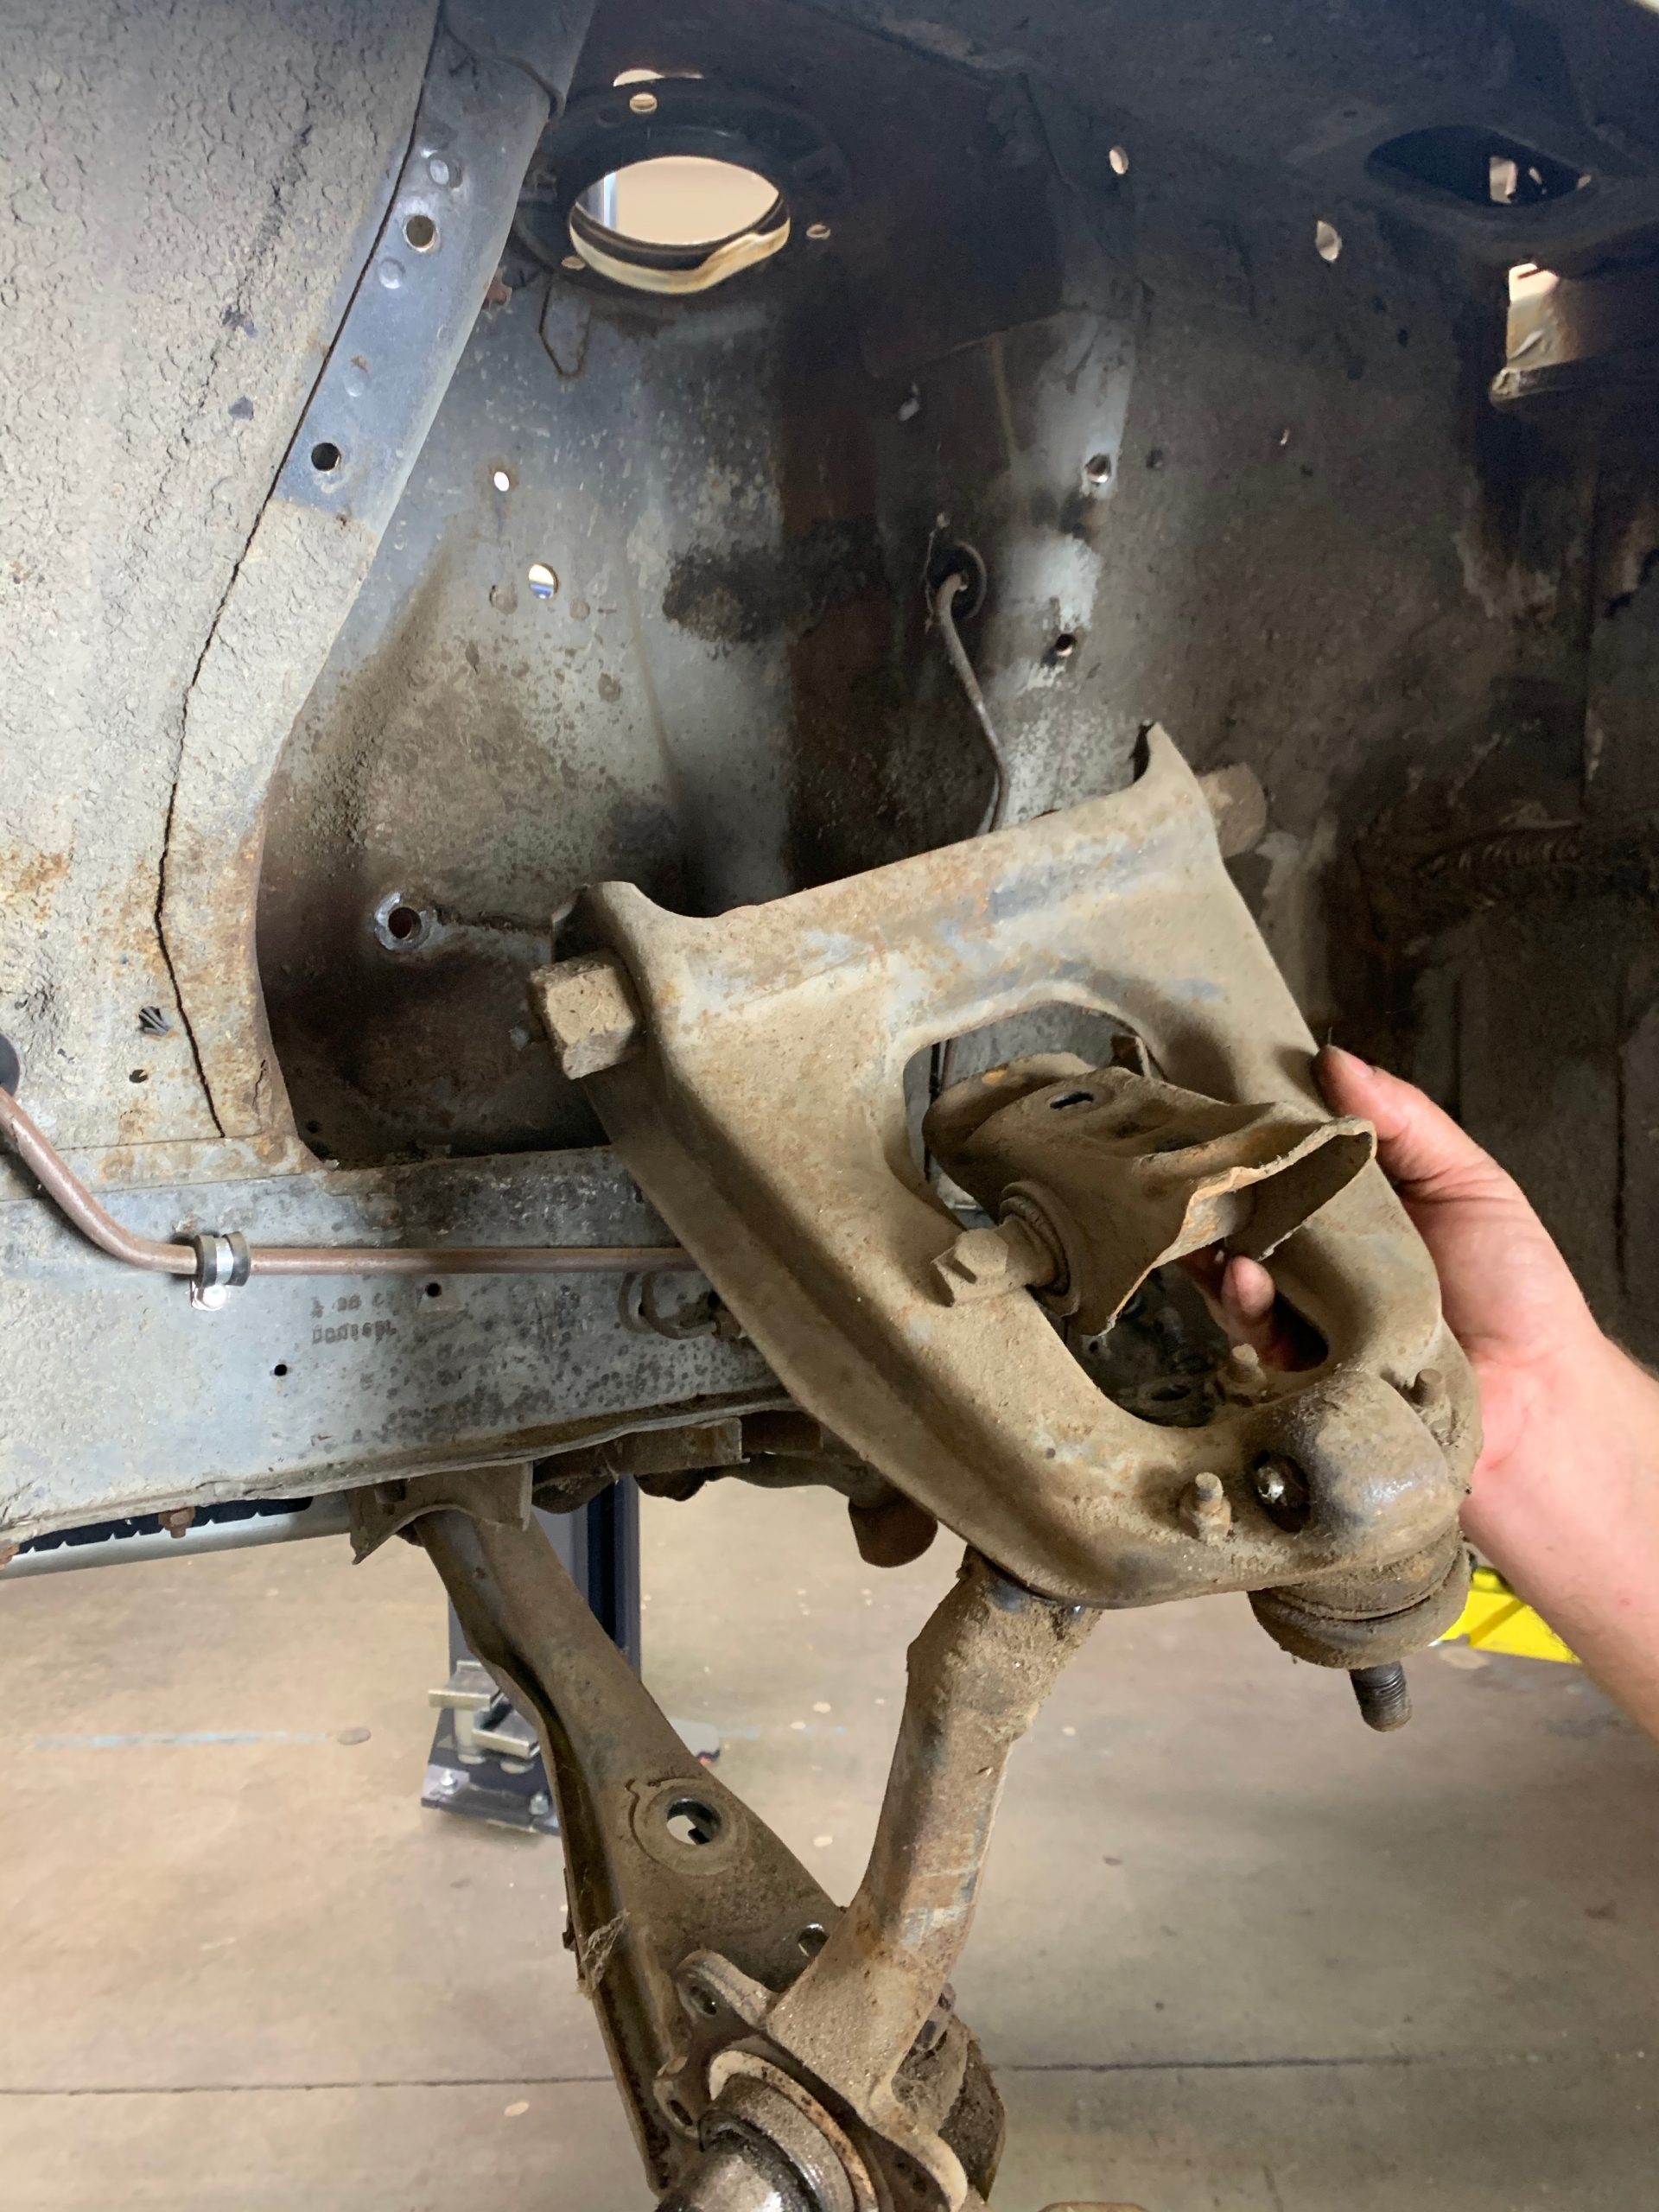
Step 5: We are replacing the upper and lower control arms so we removed them.
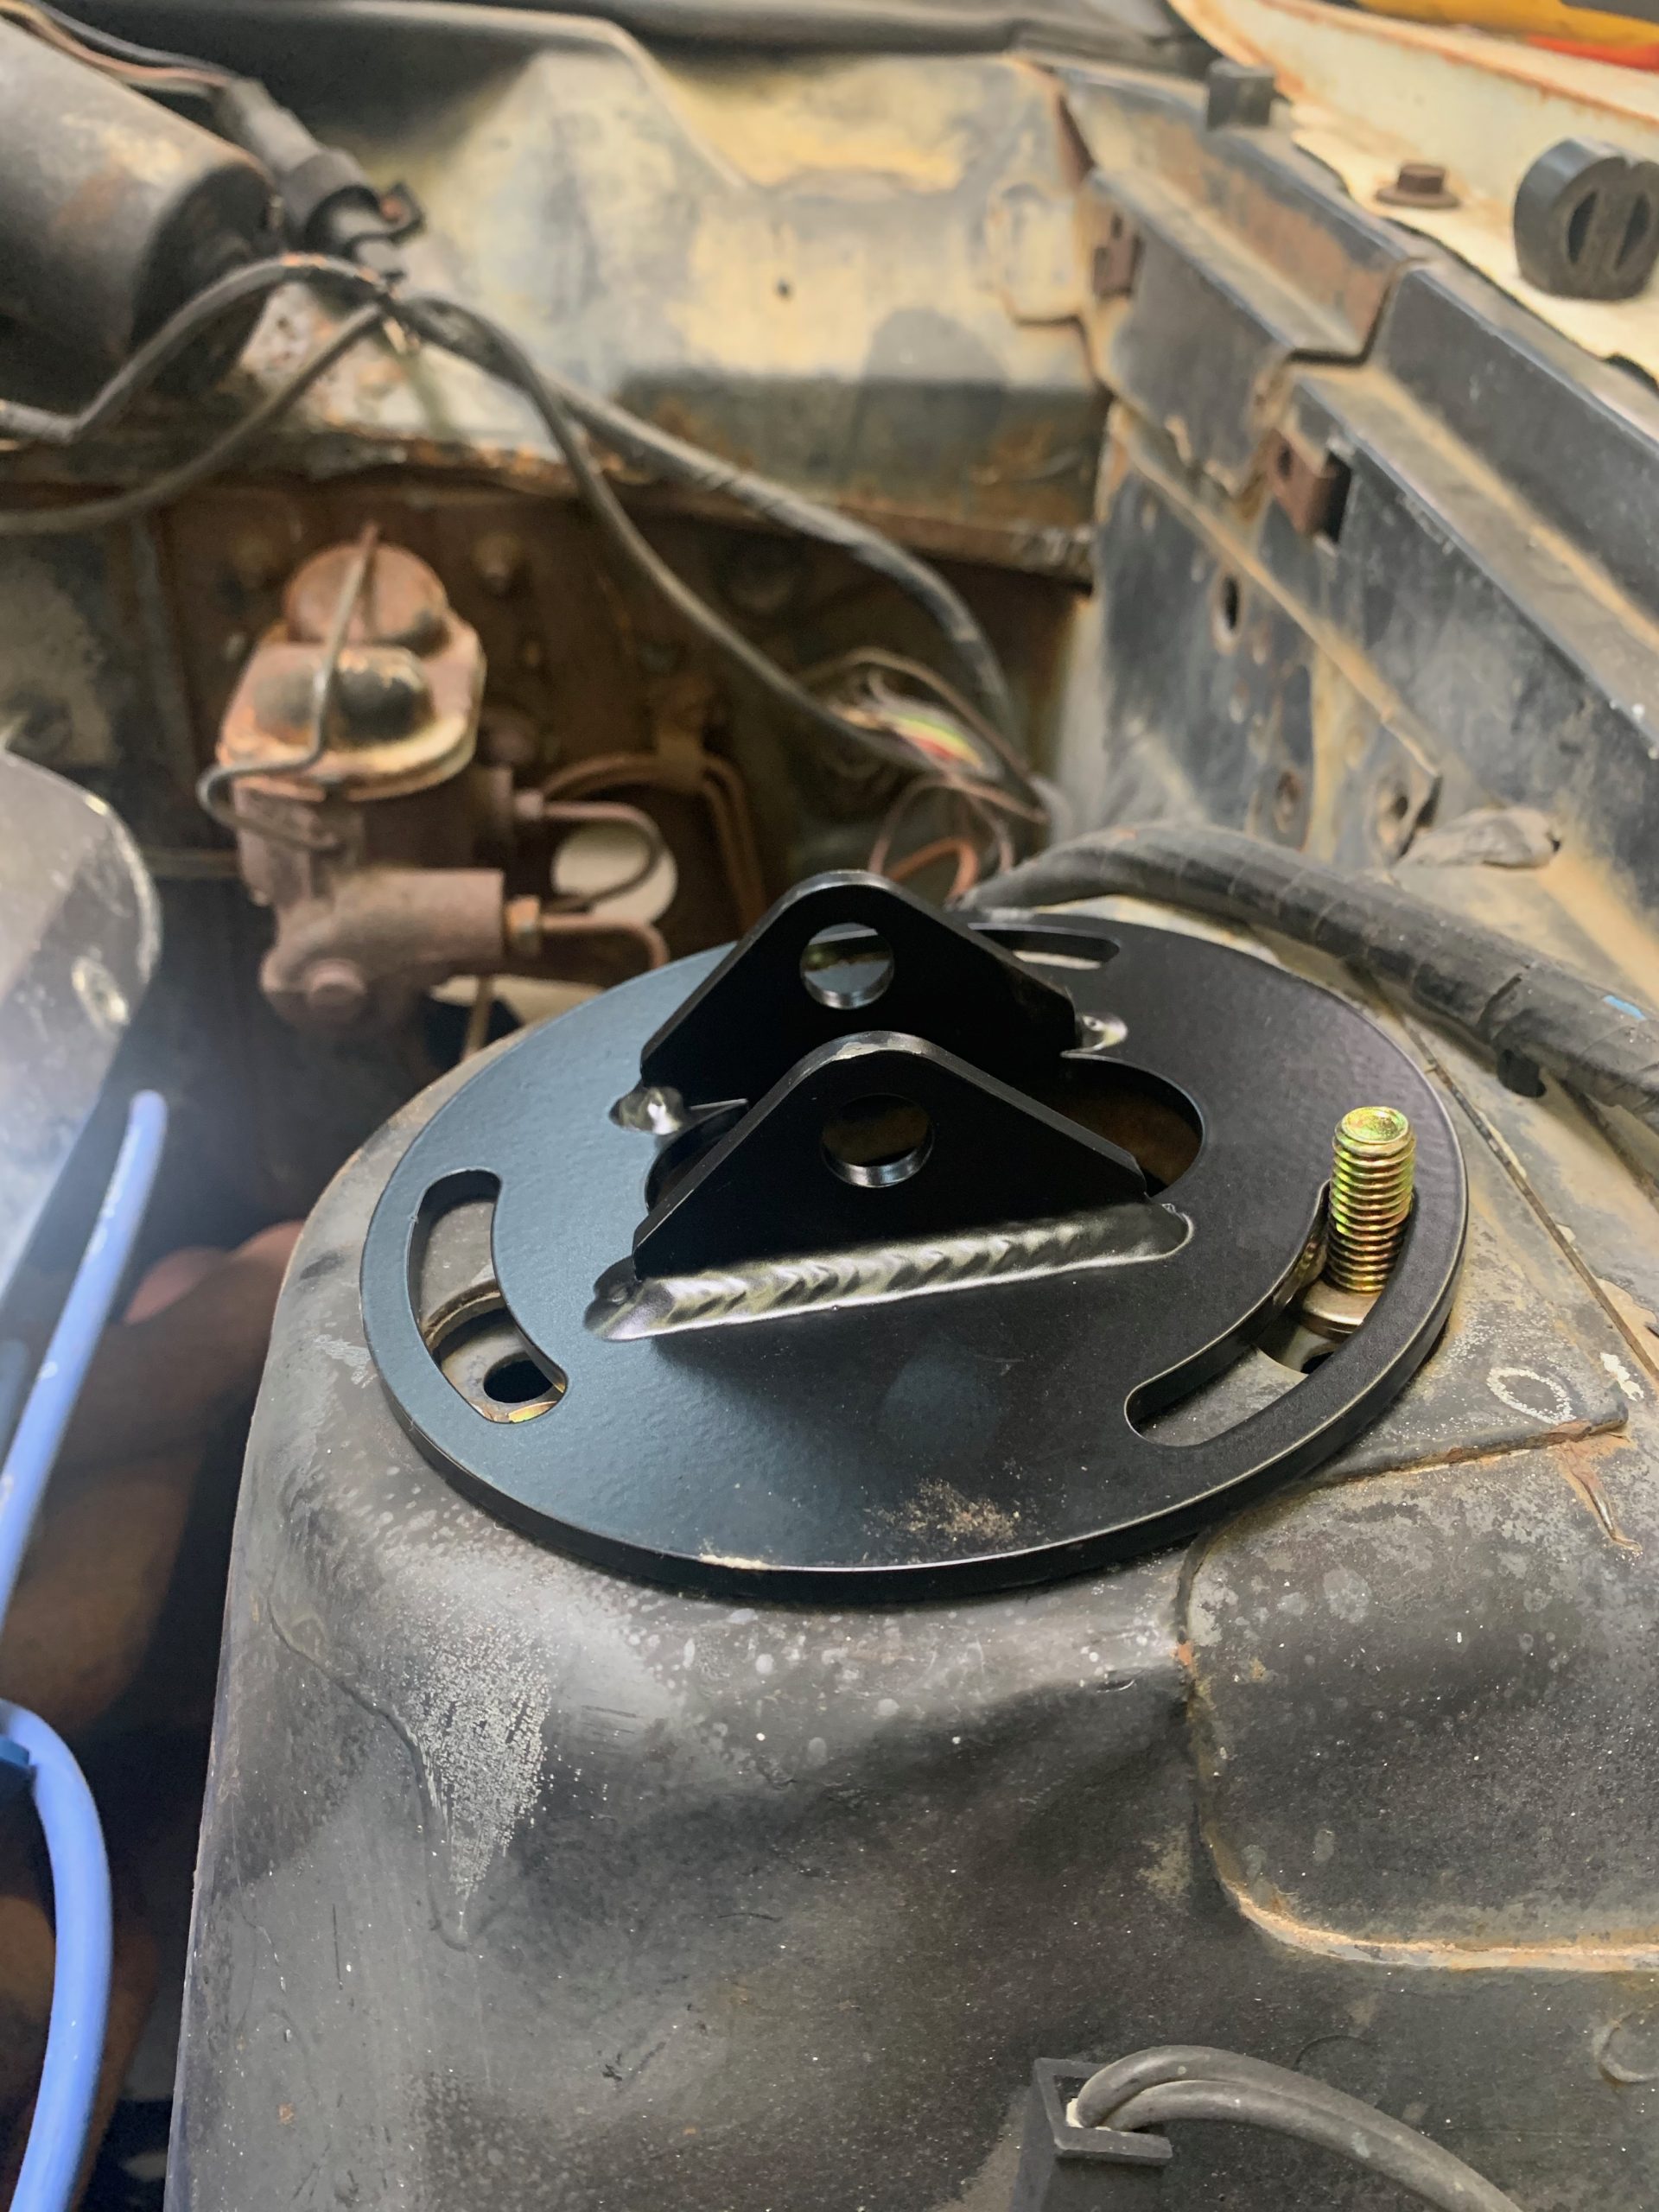
Step 6: Drill holes for the new upper shock mount
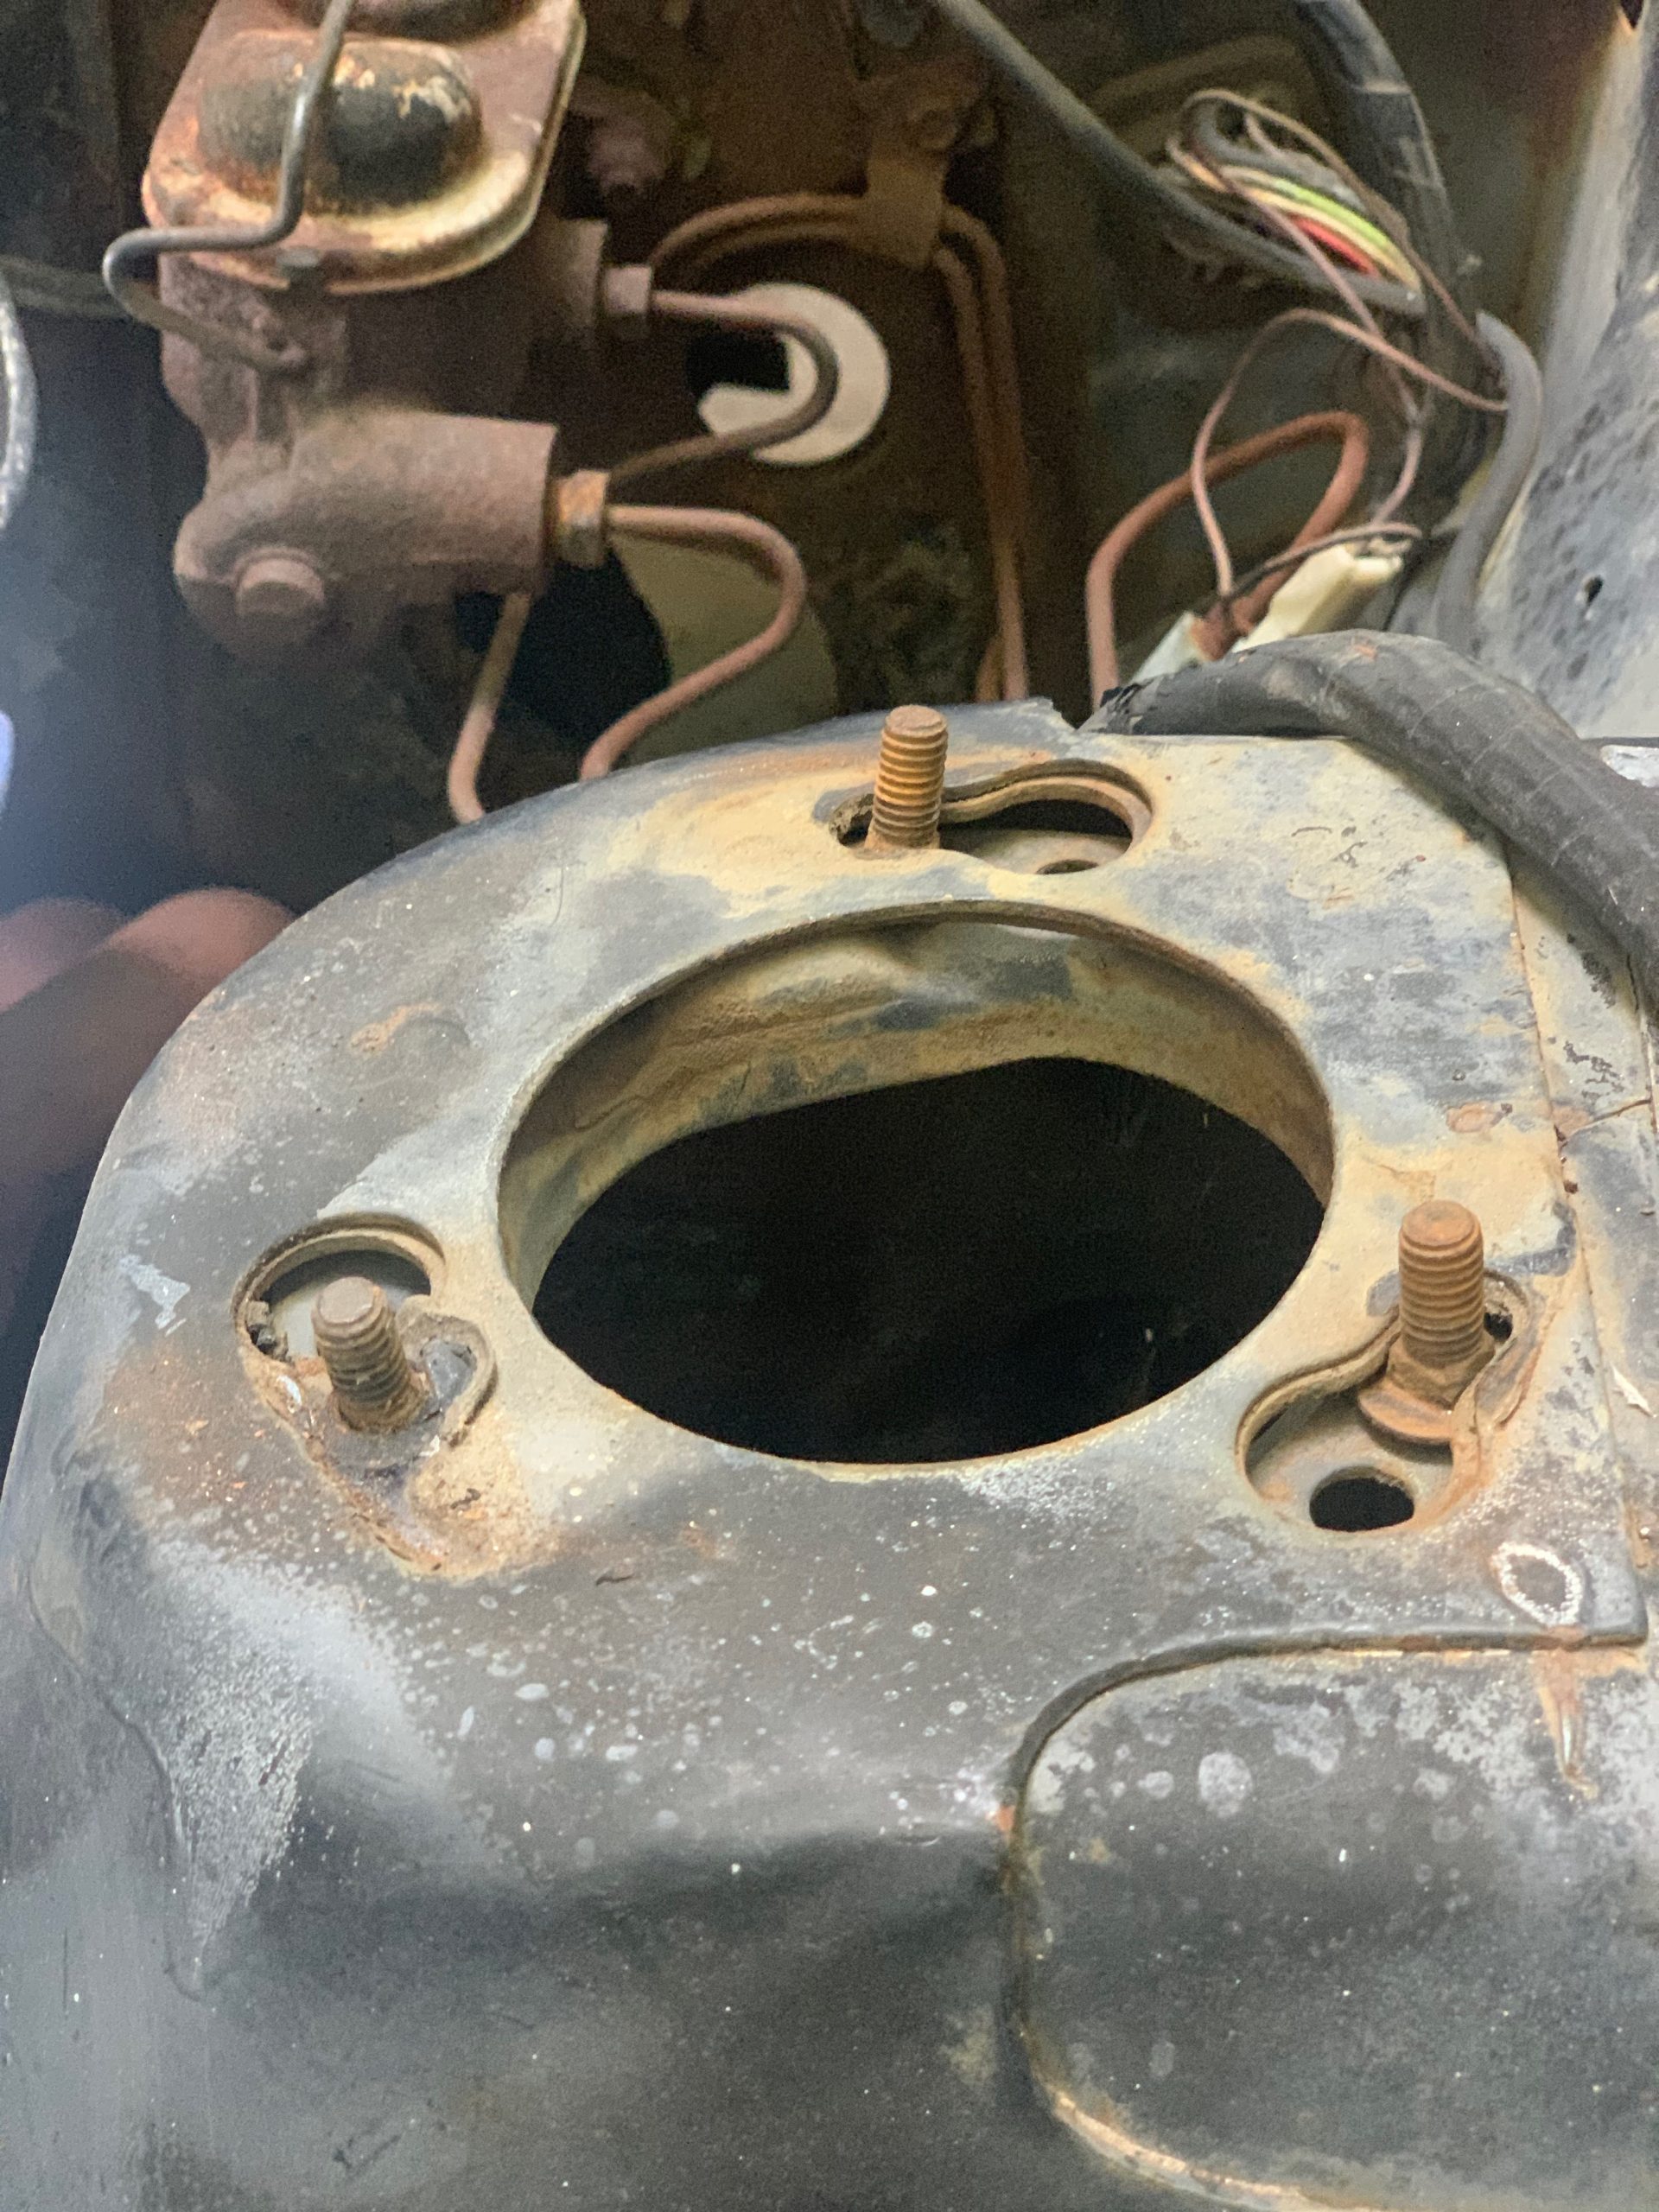
Remove only one T Slot bolt at a time. 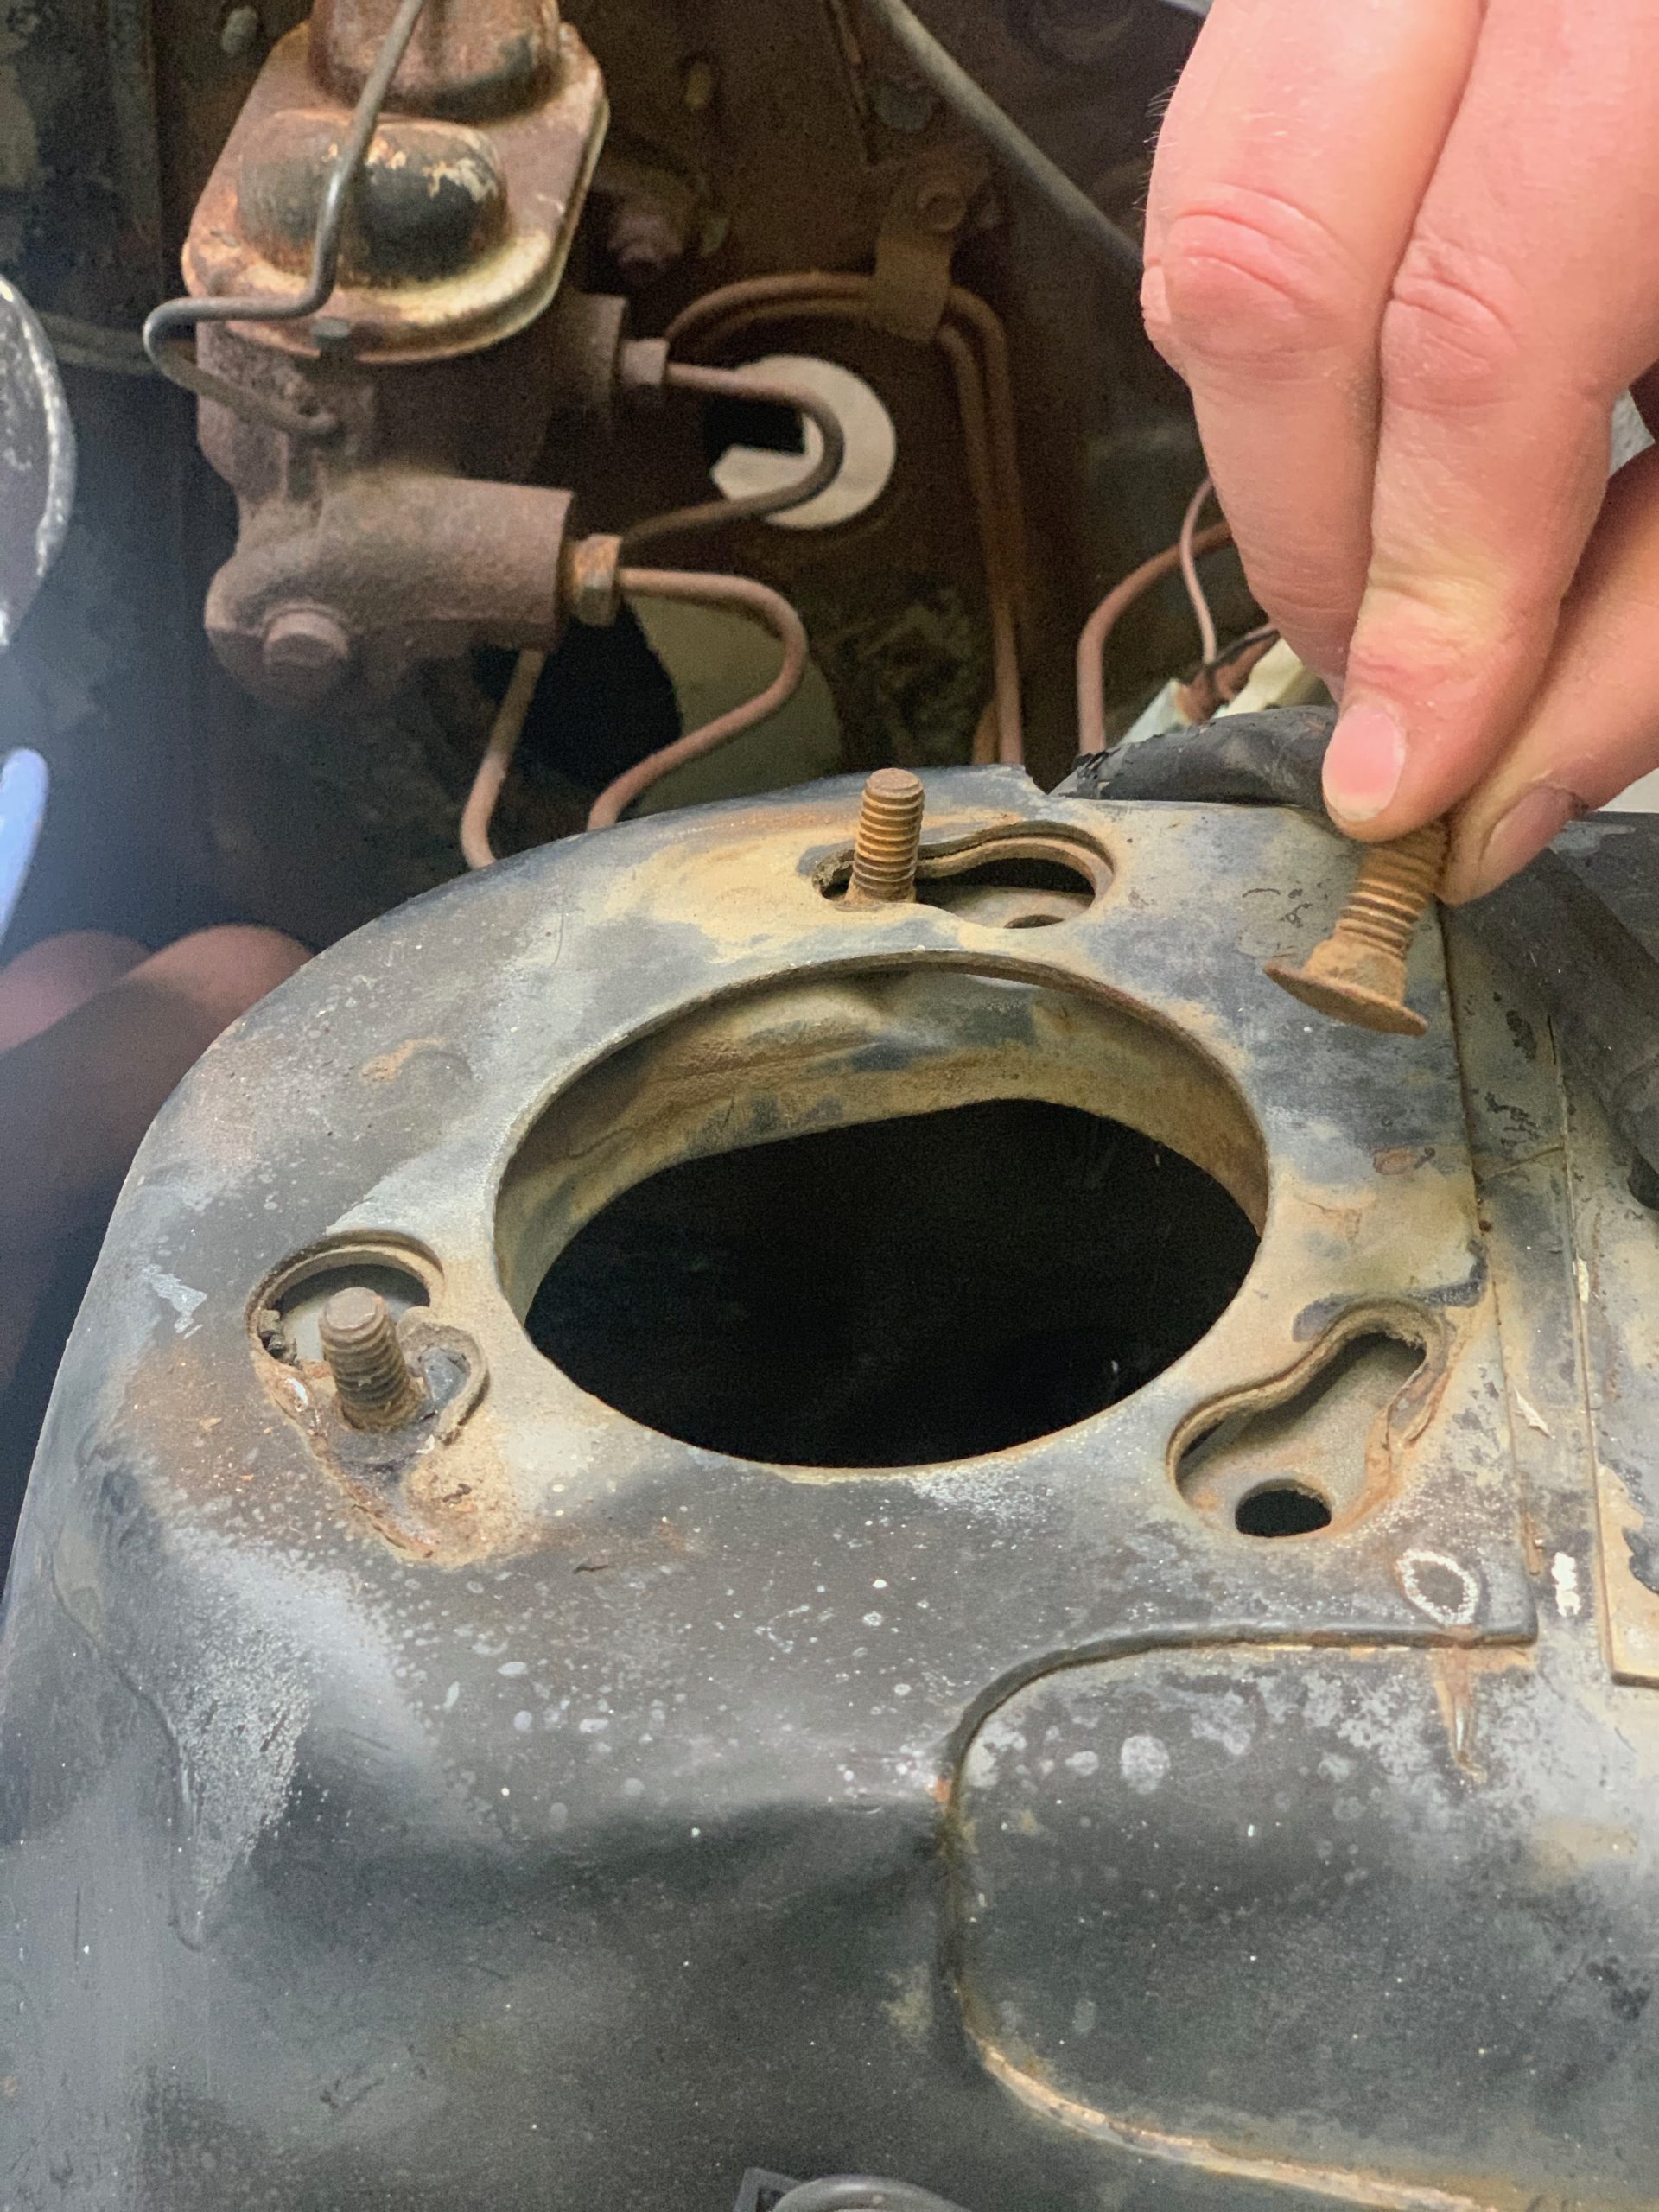
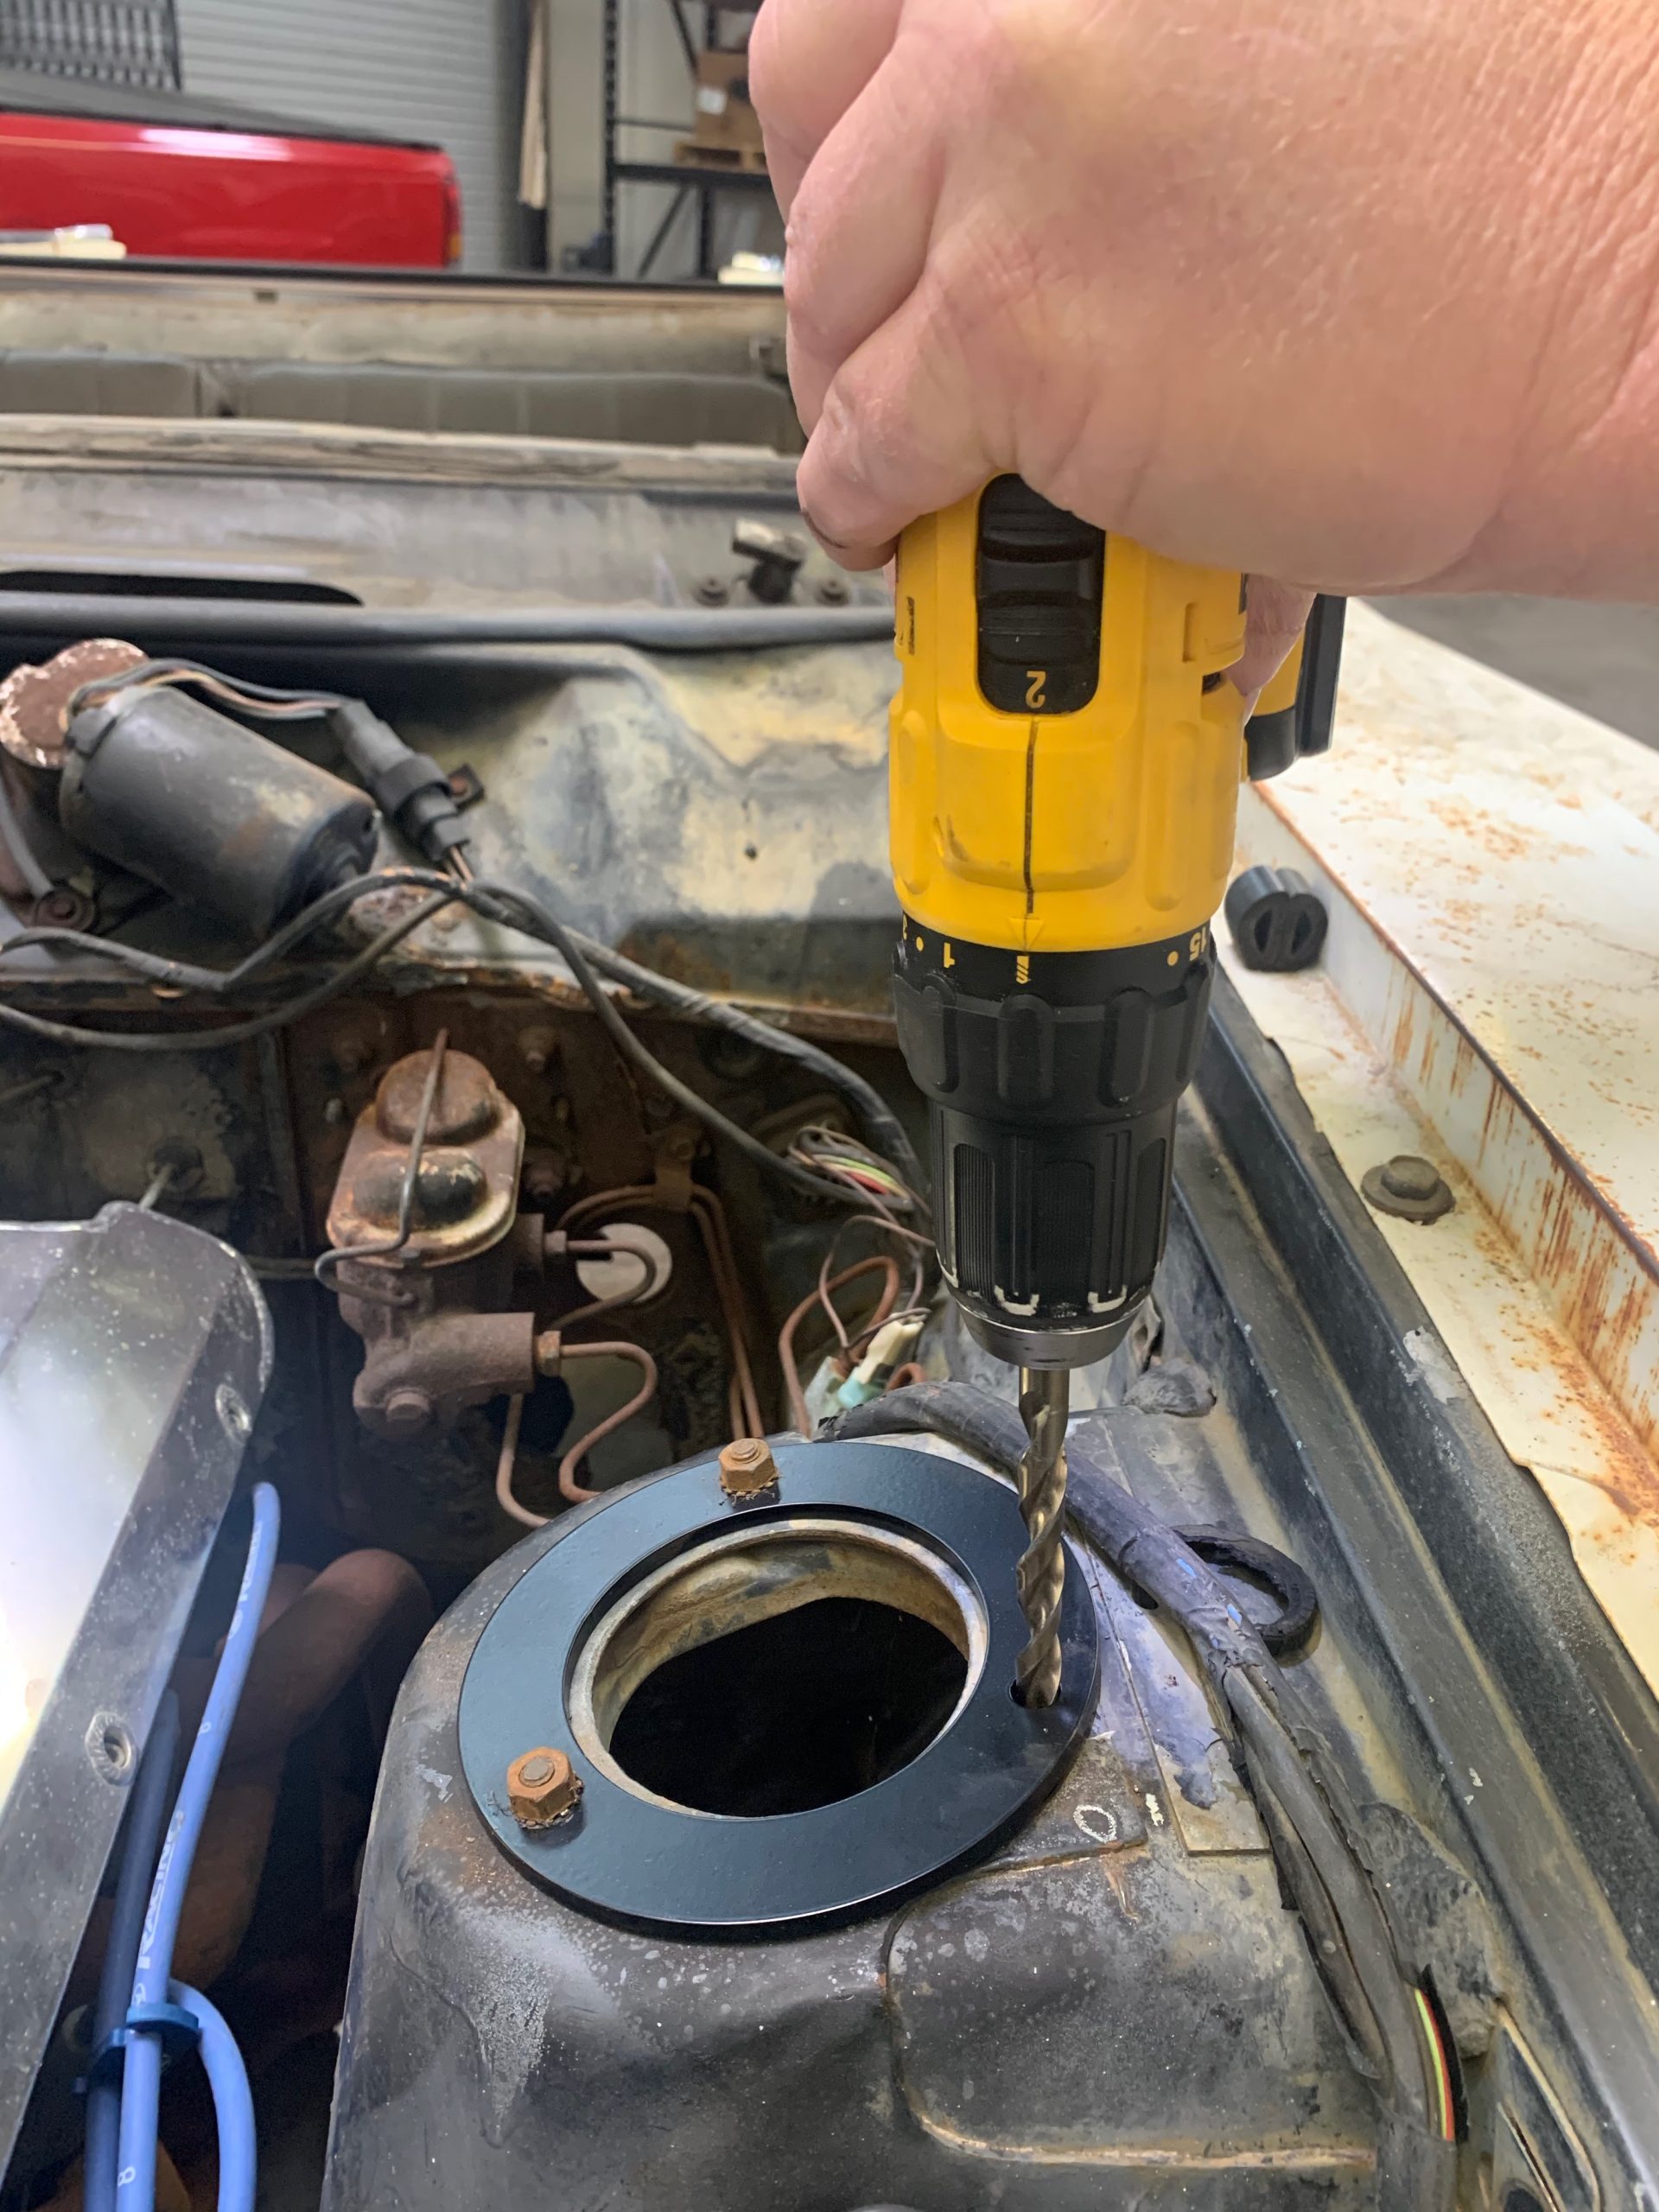
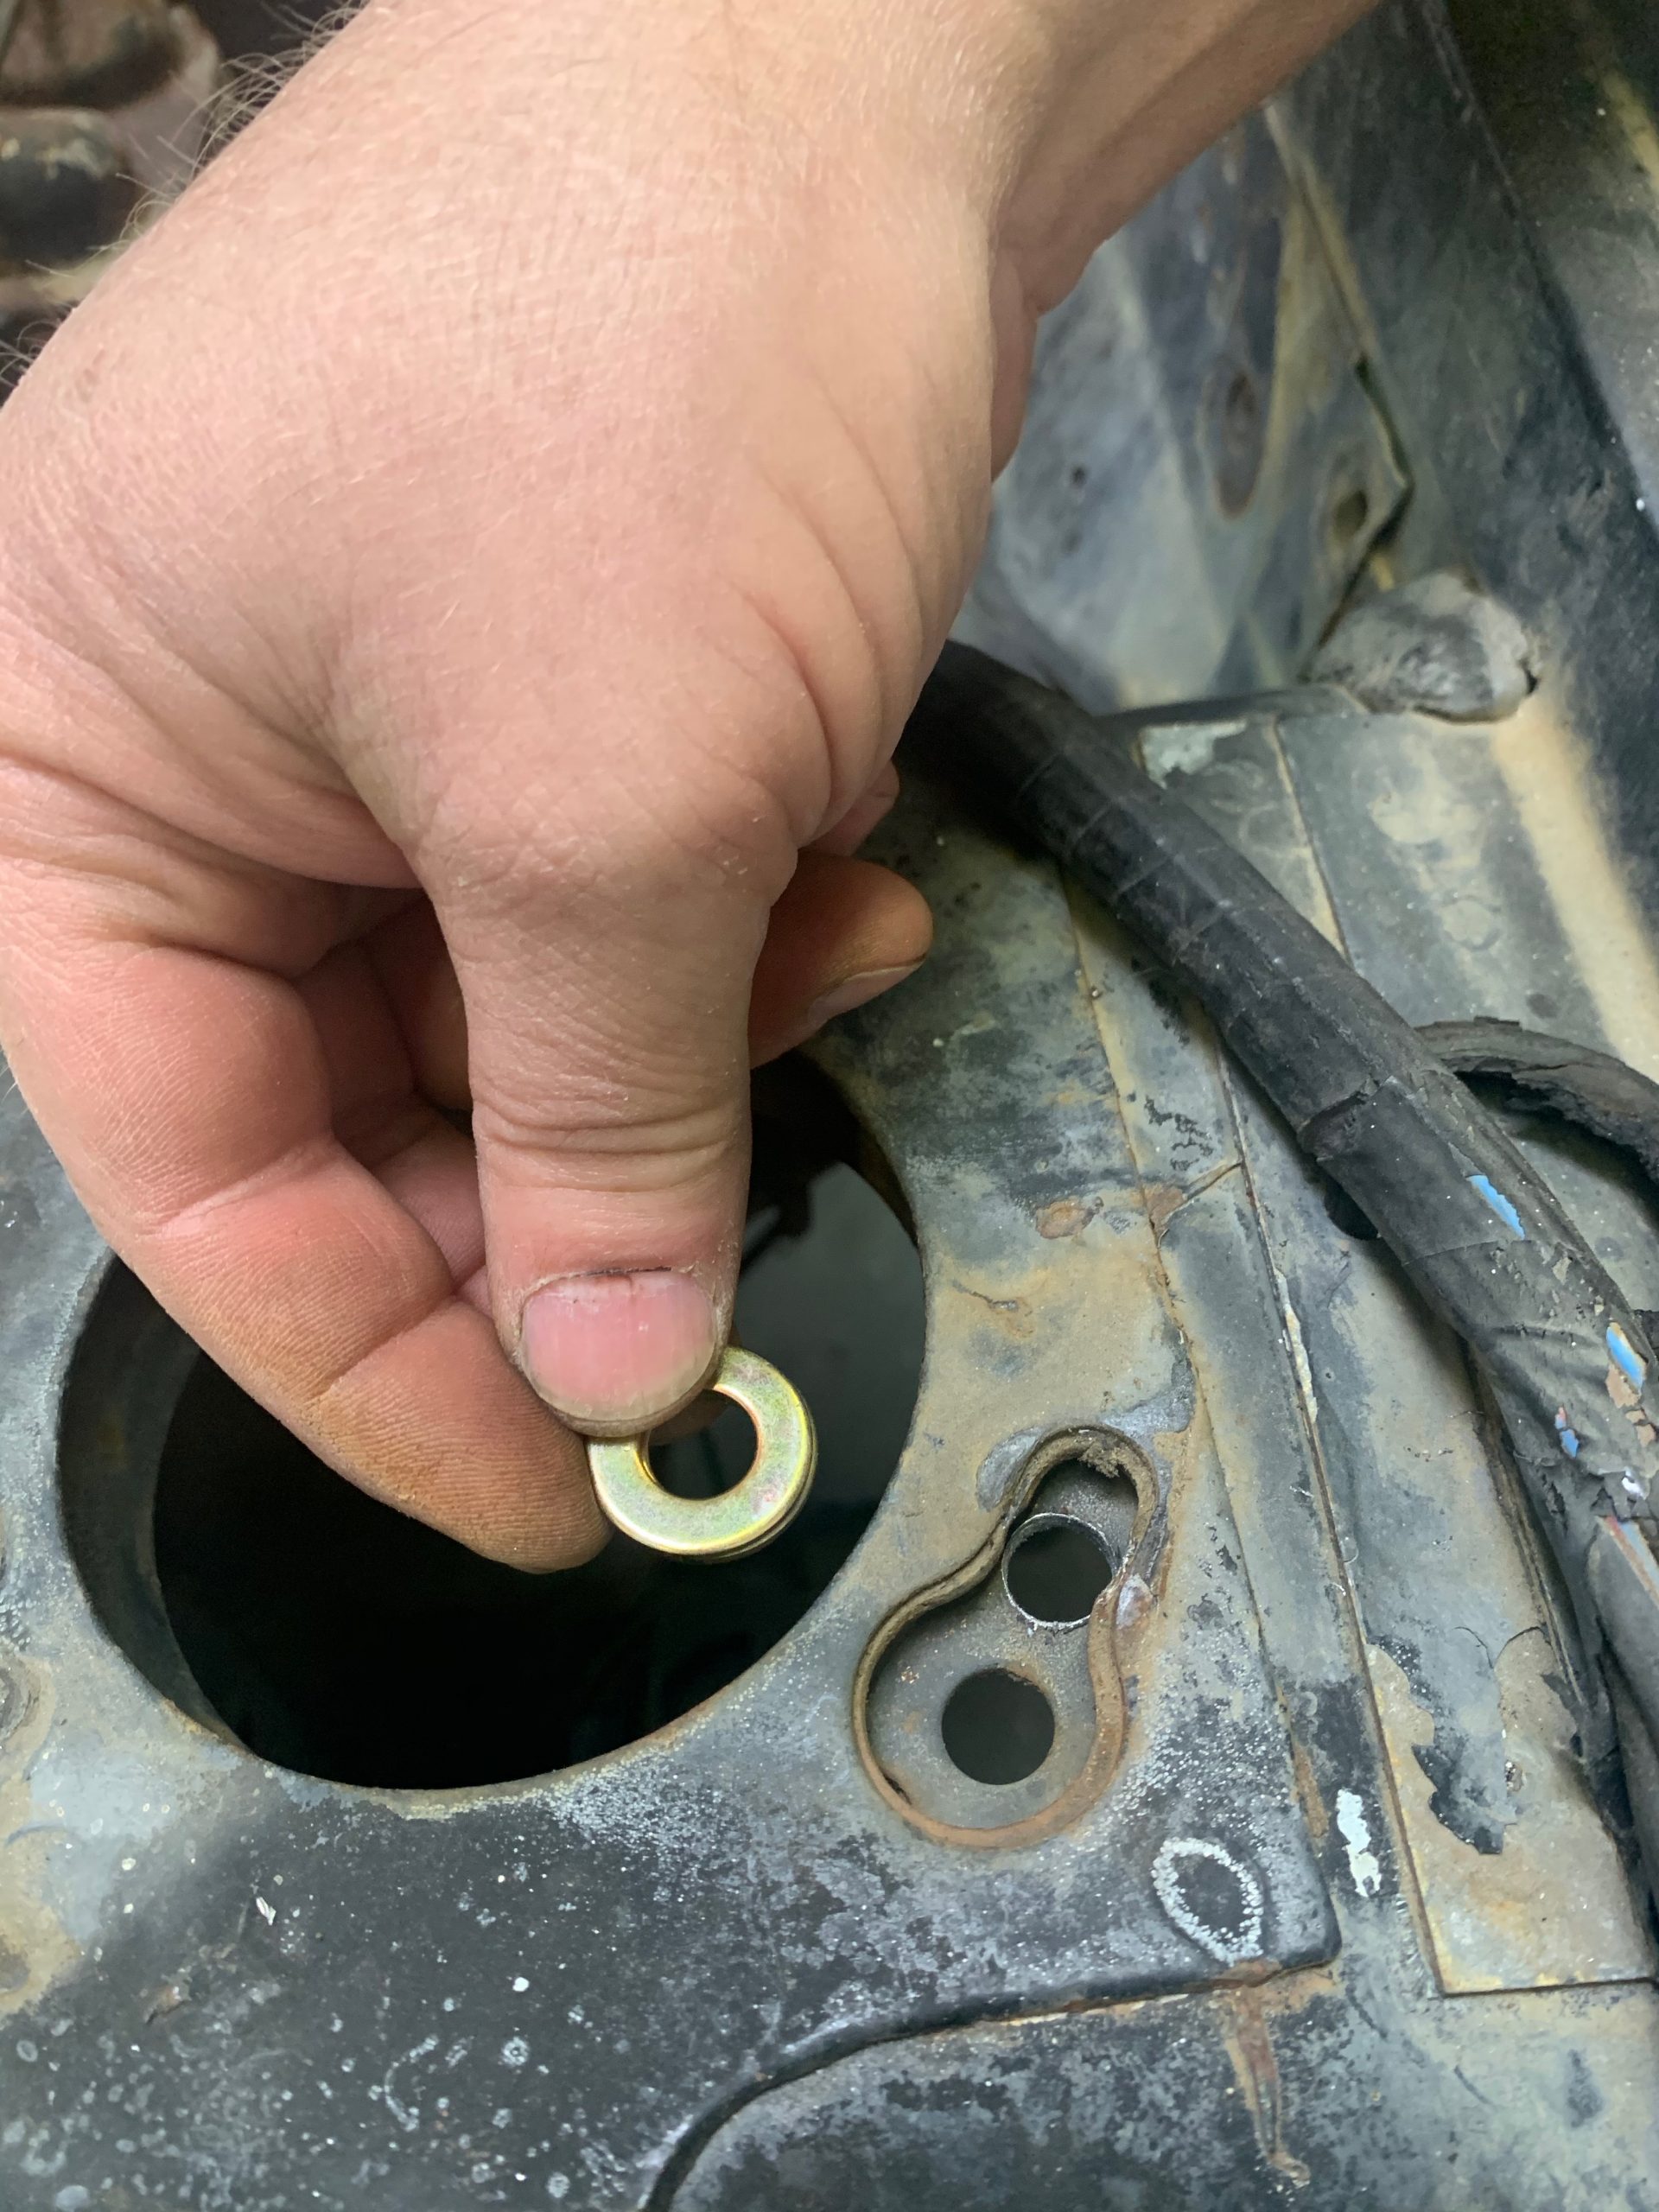
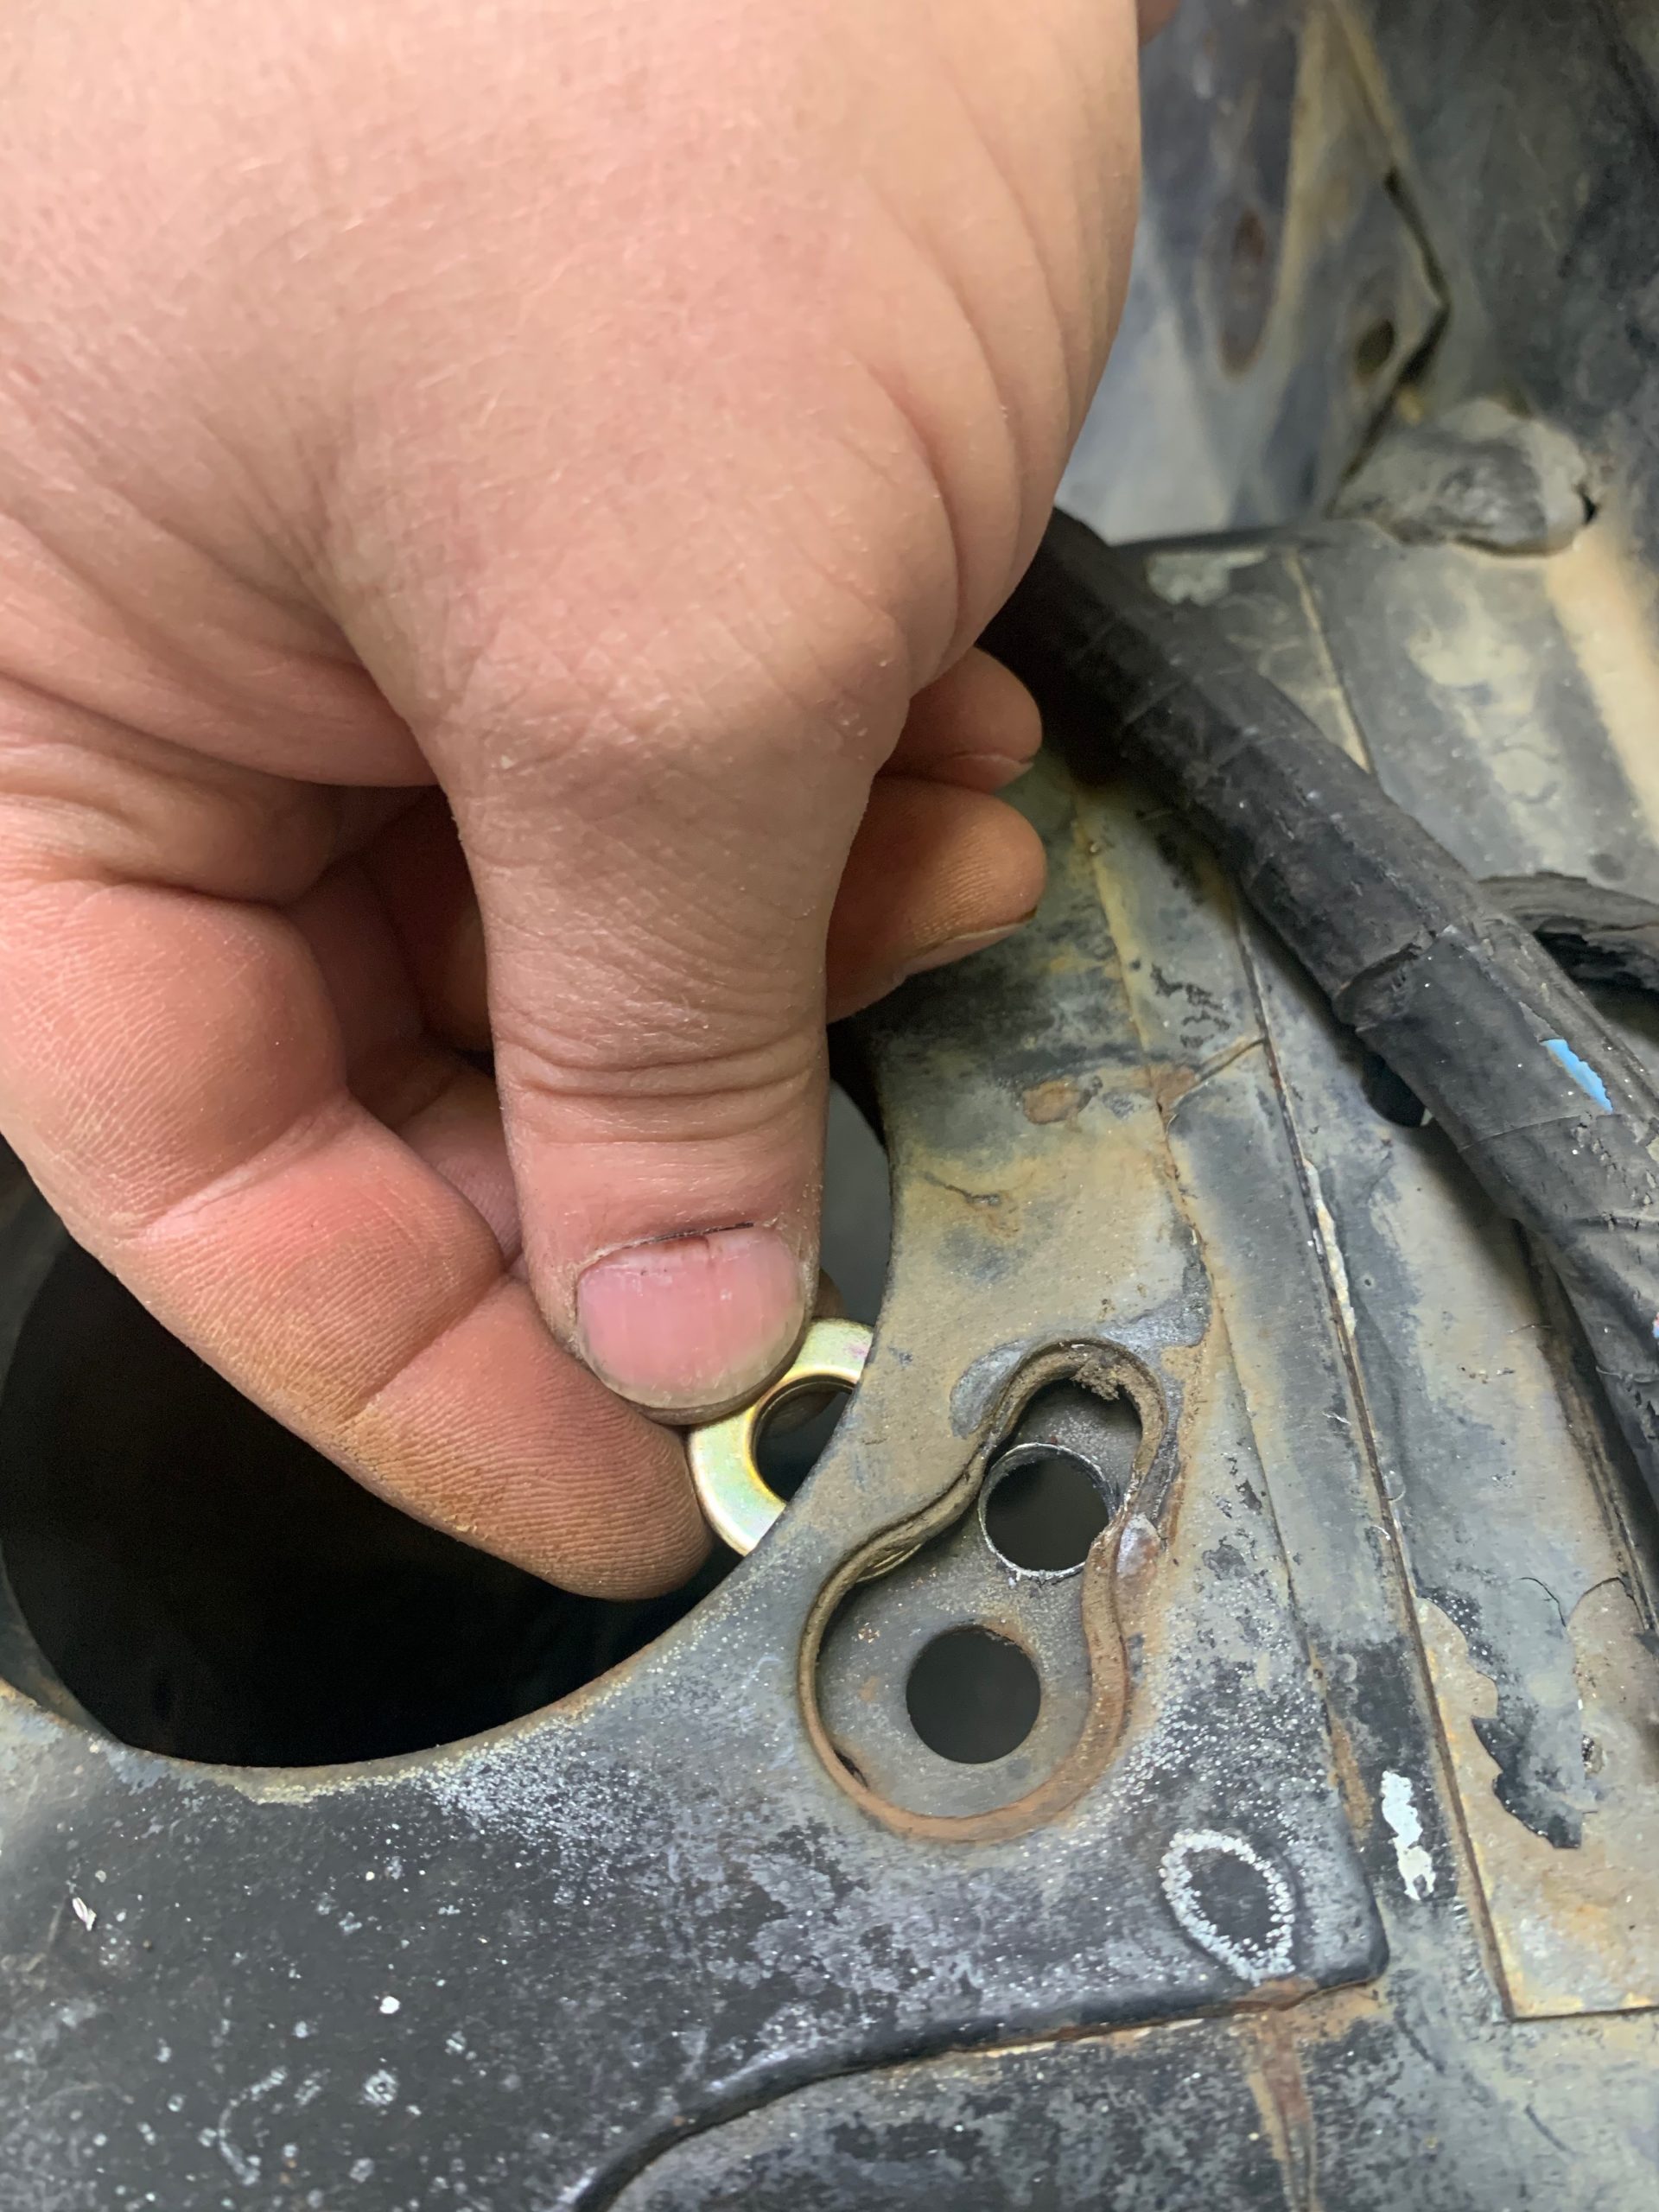
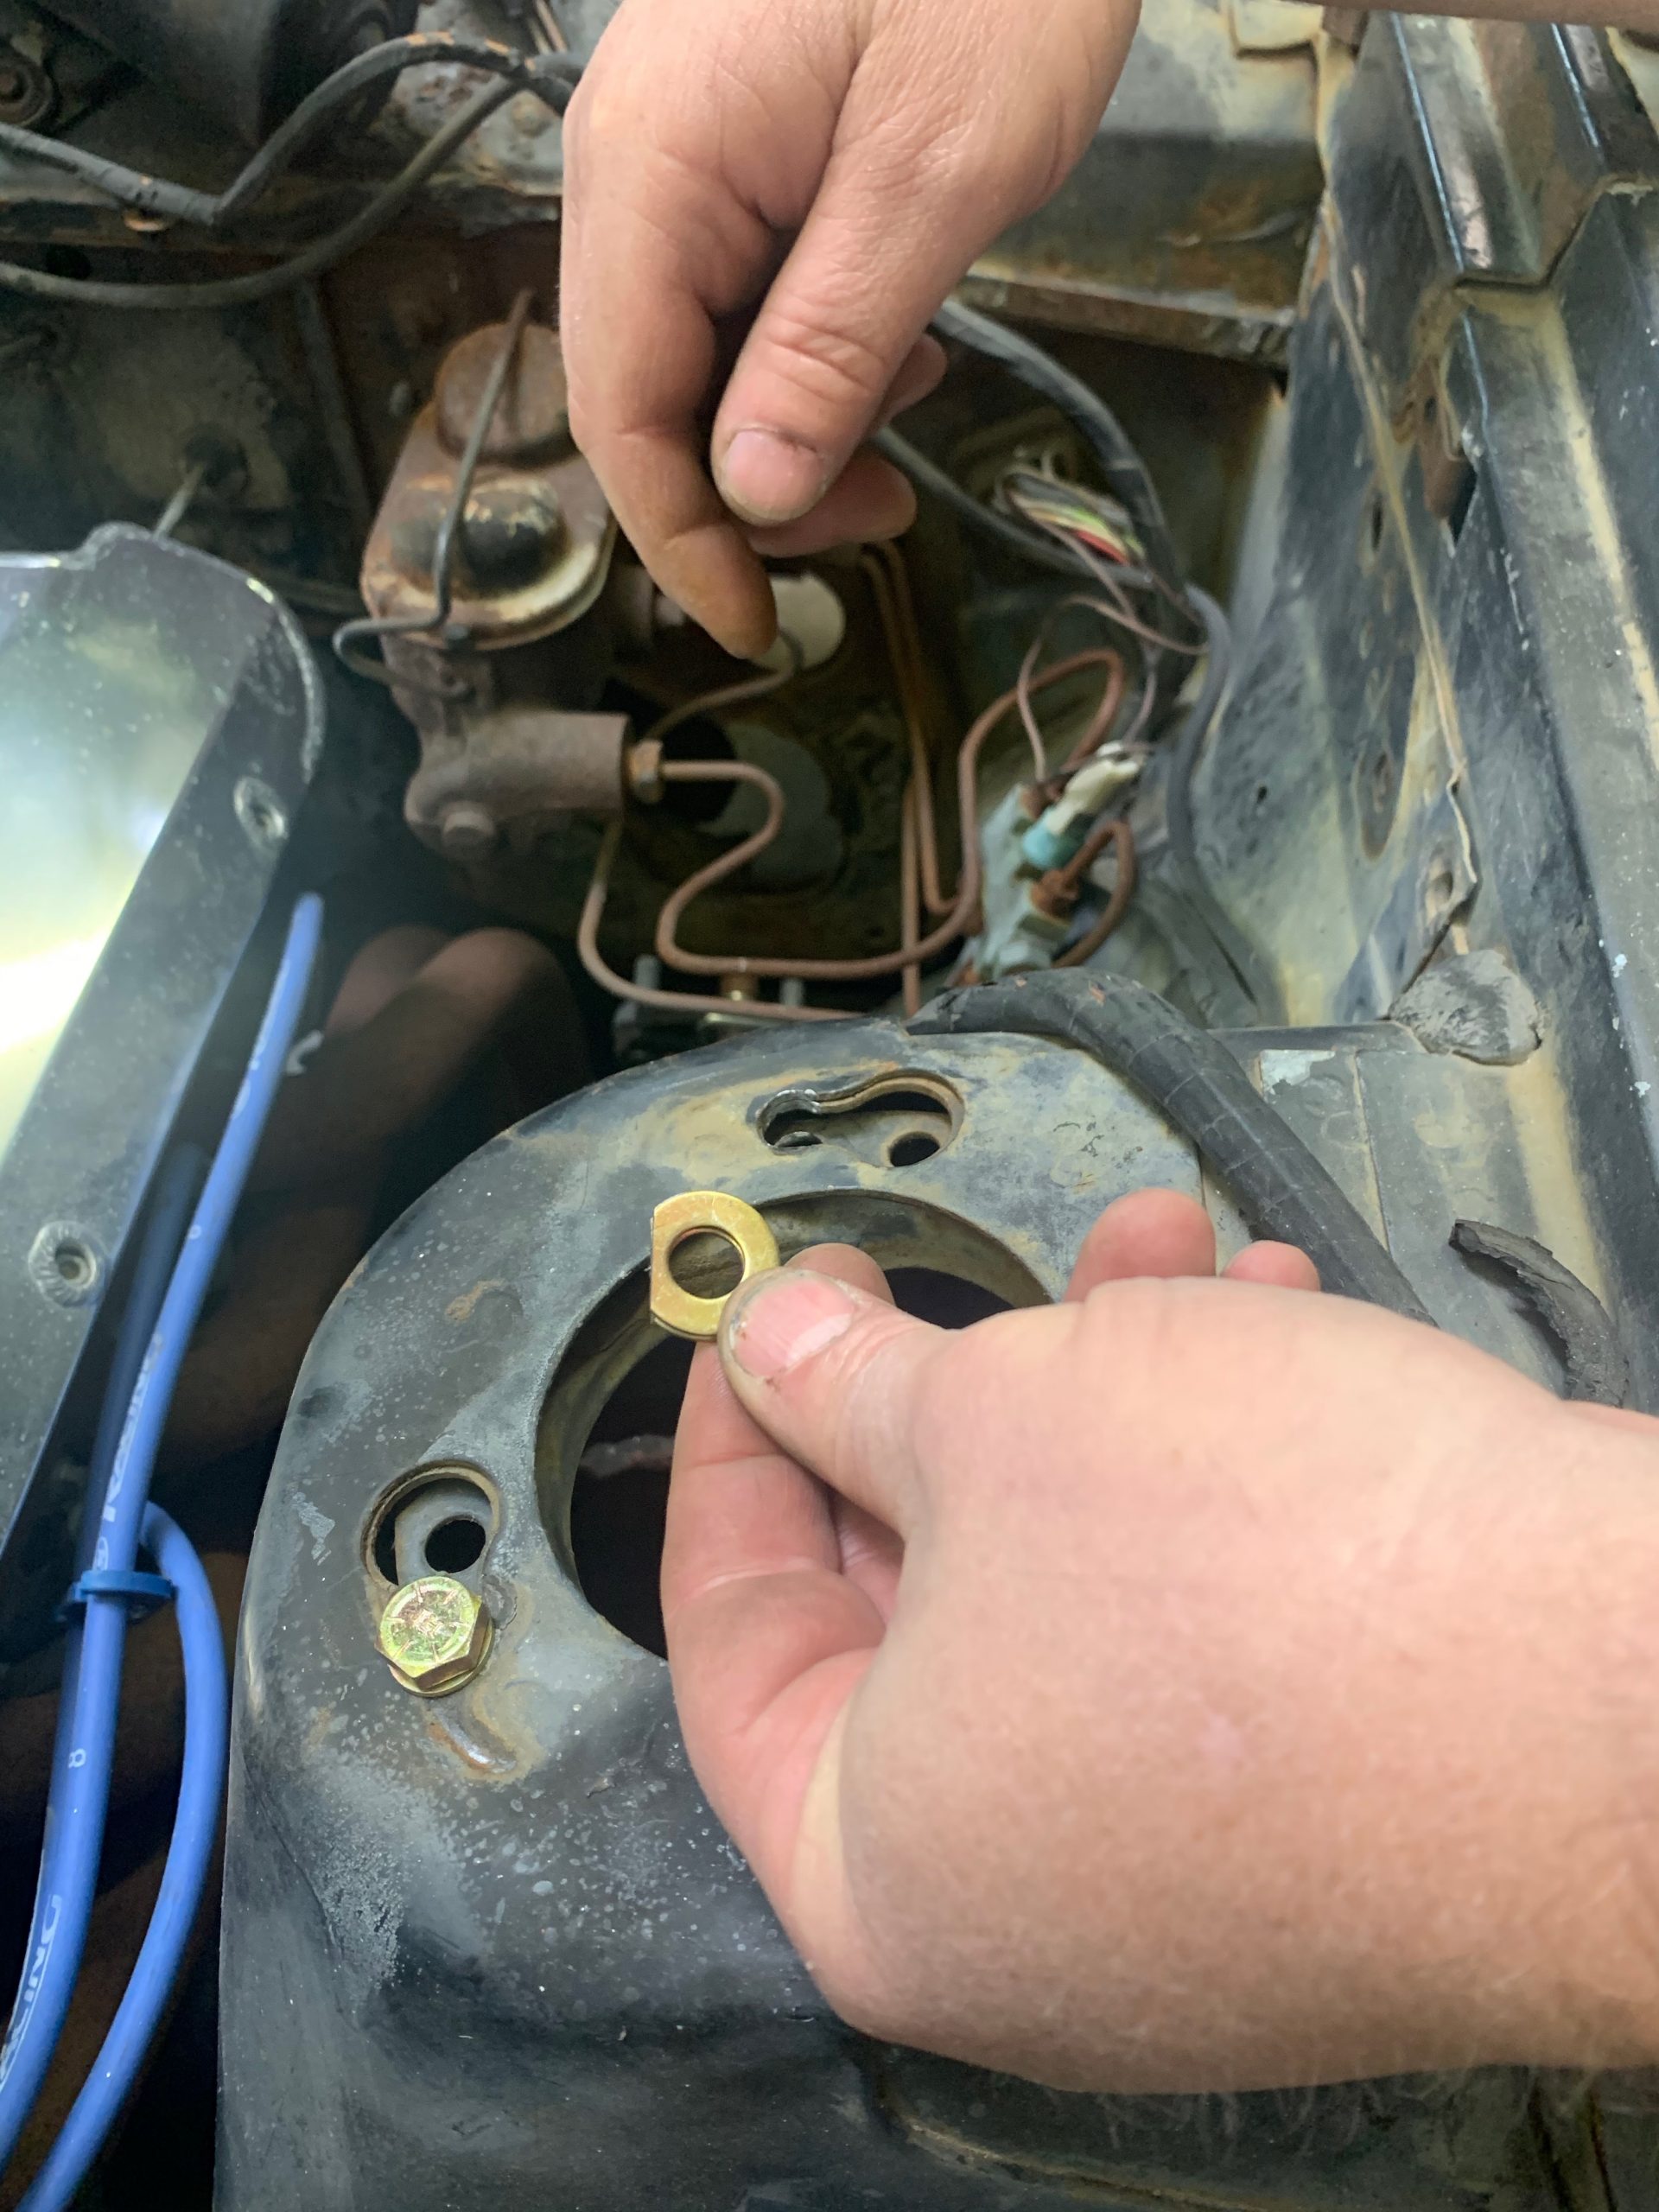
*Note we had to cut the washer for clearance 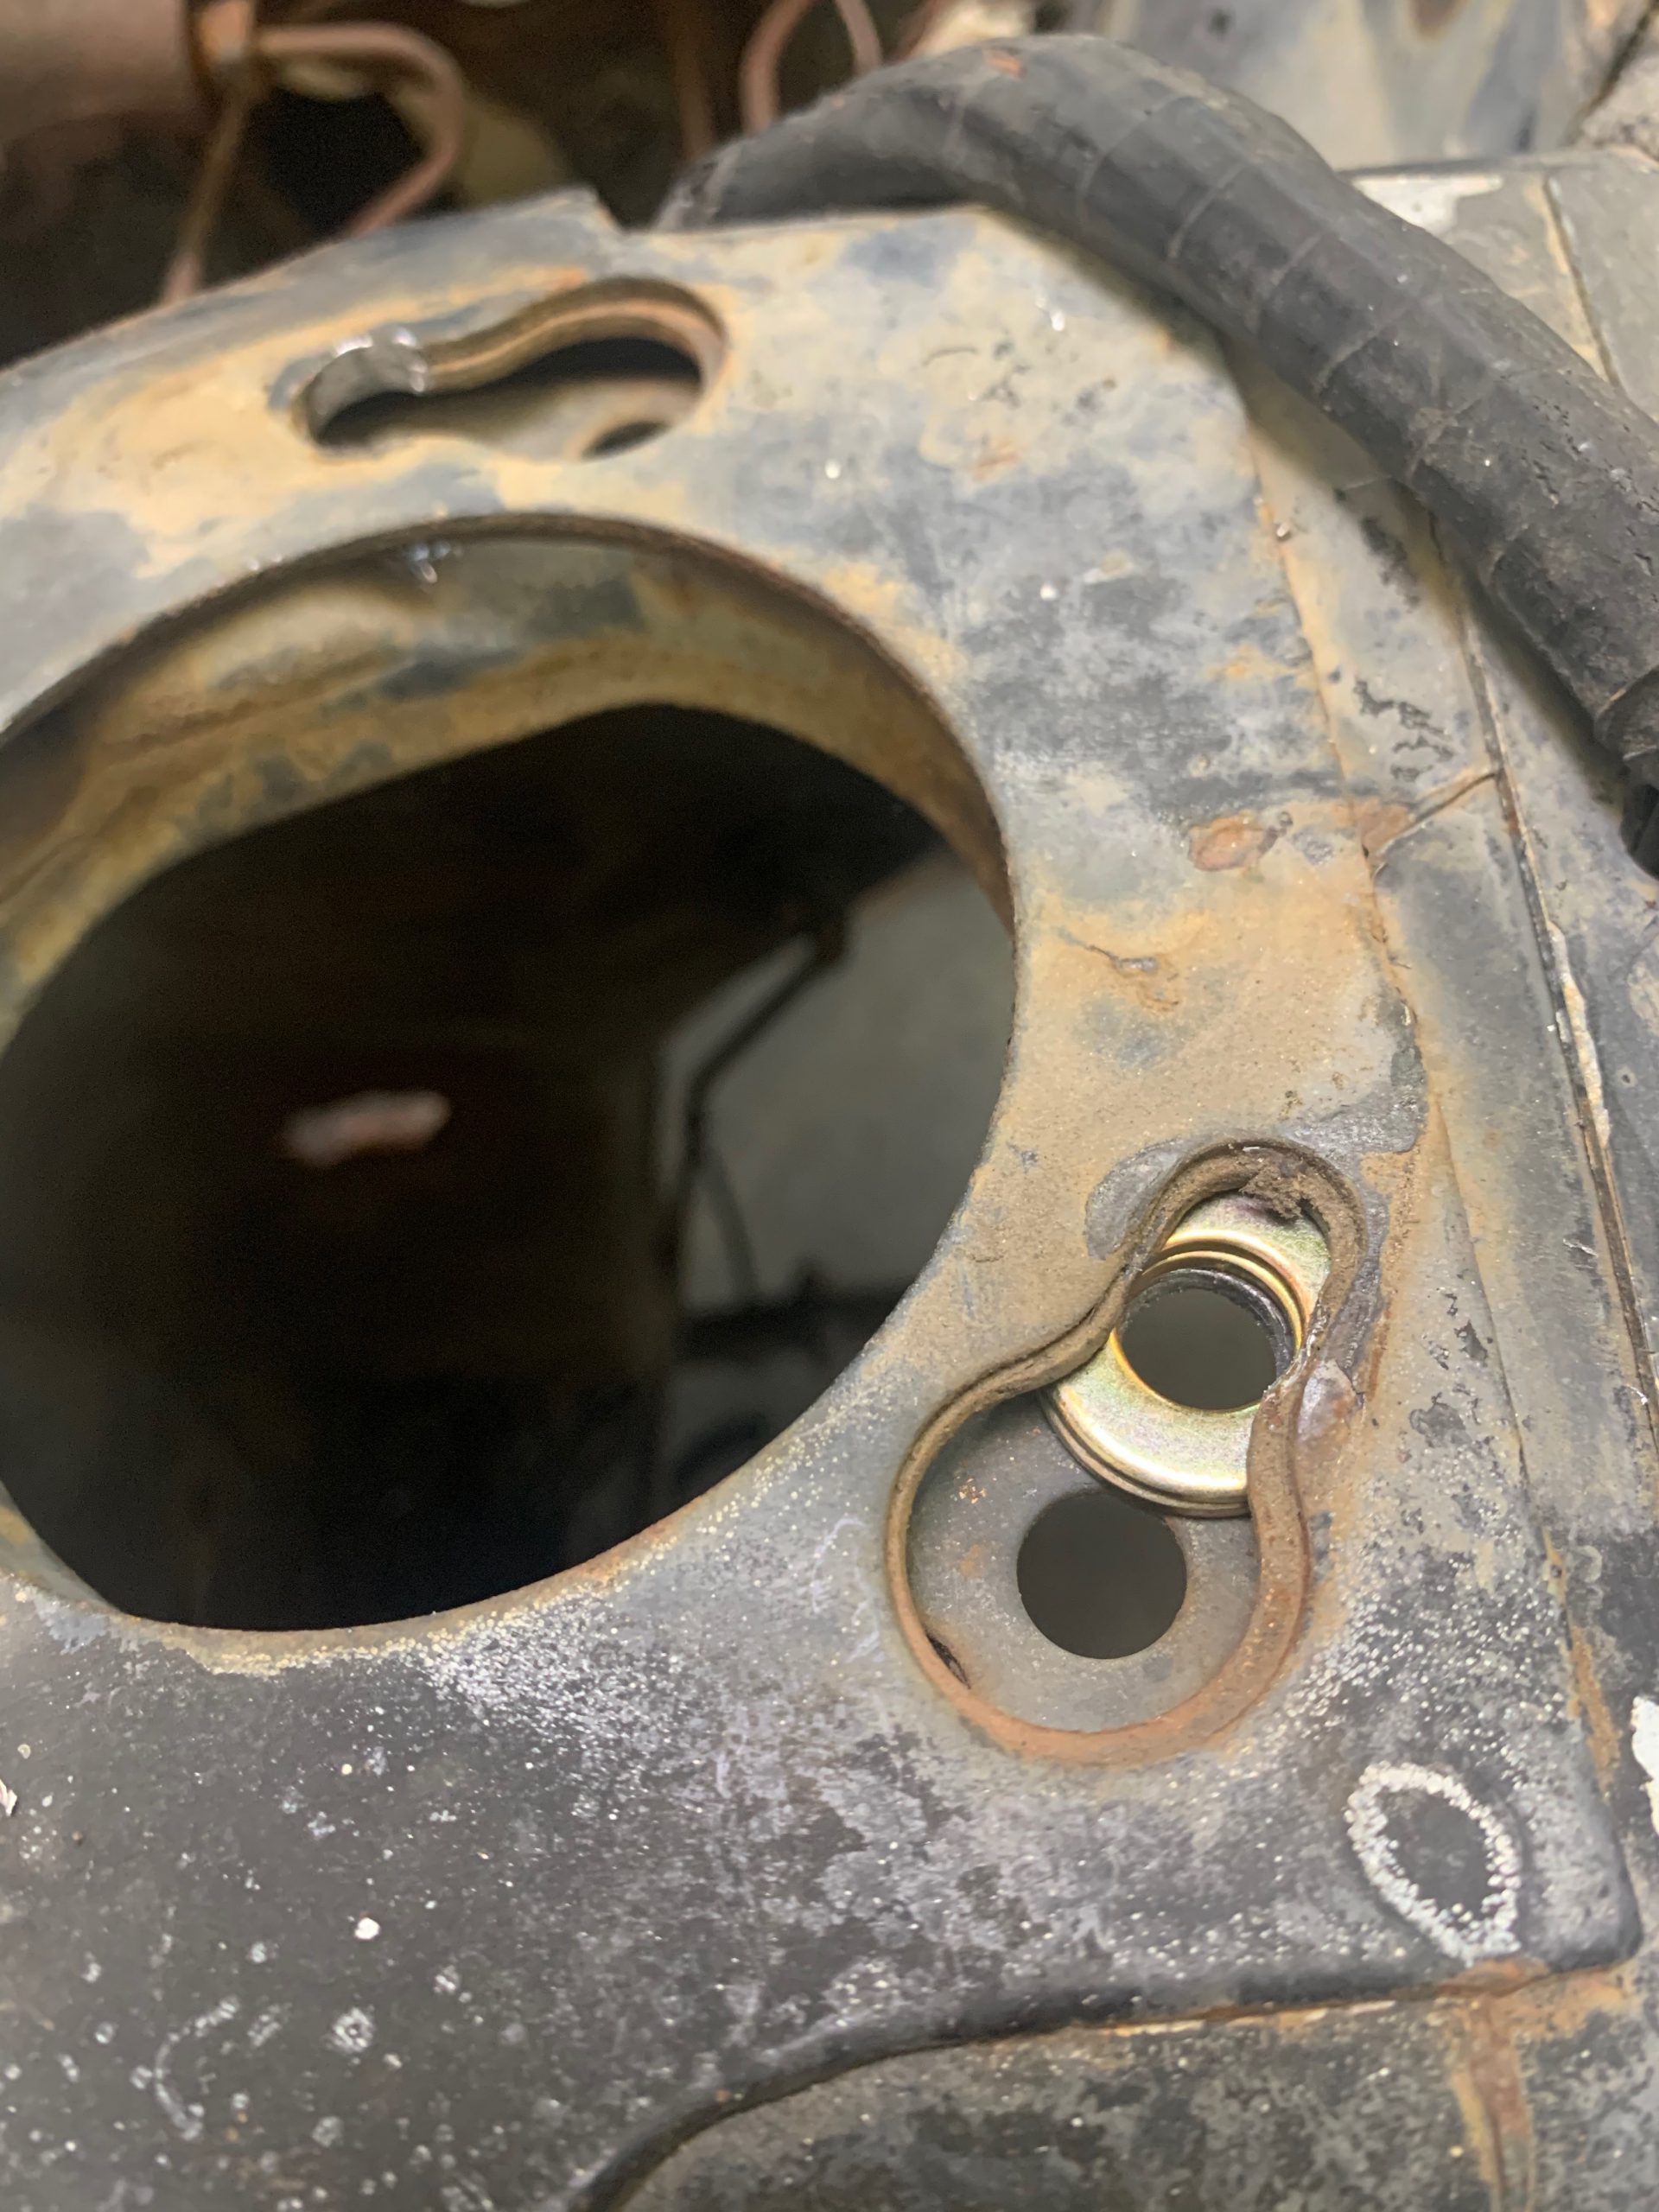
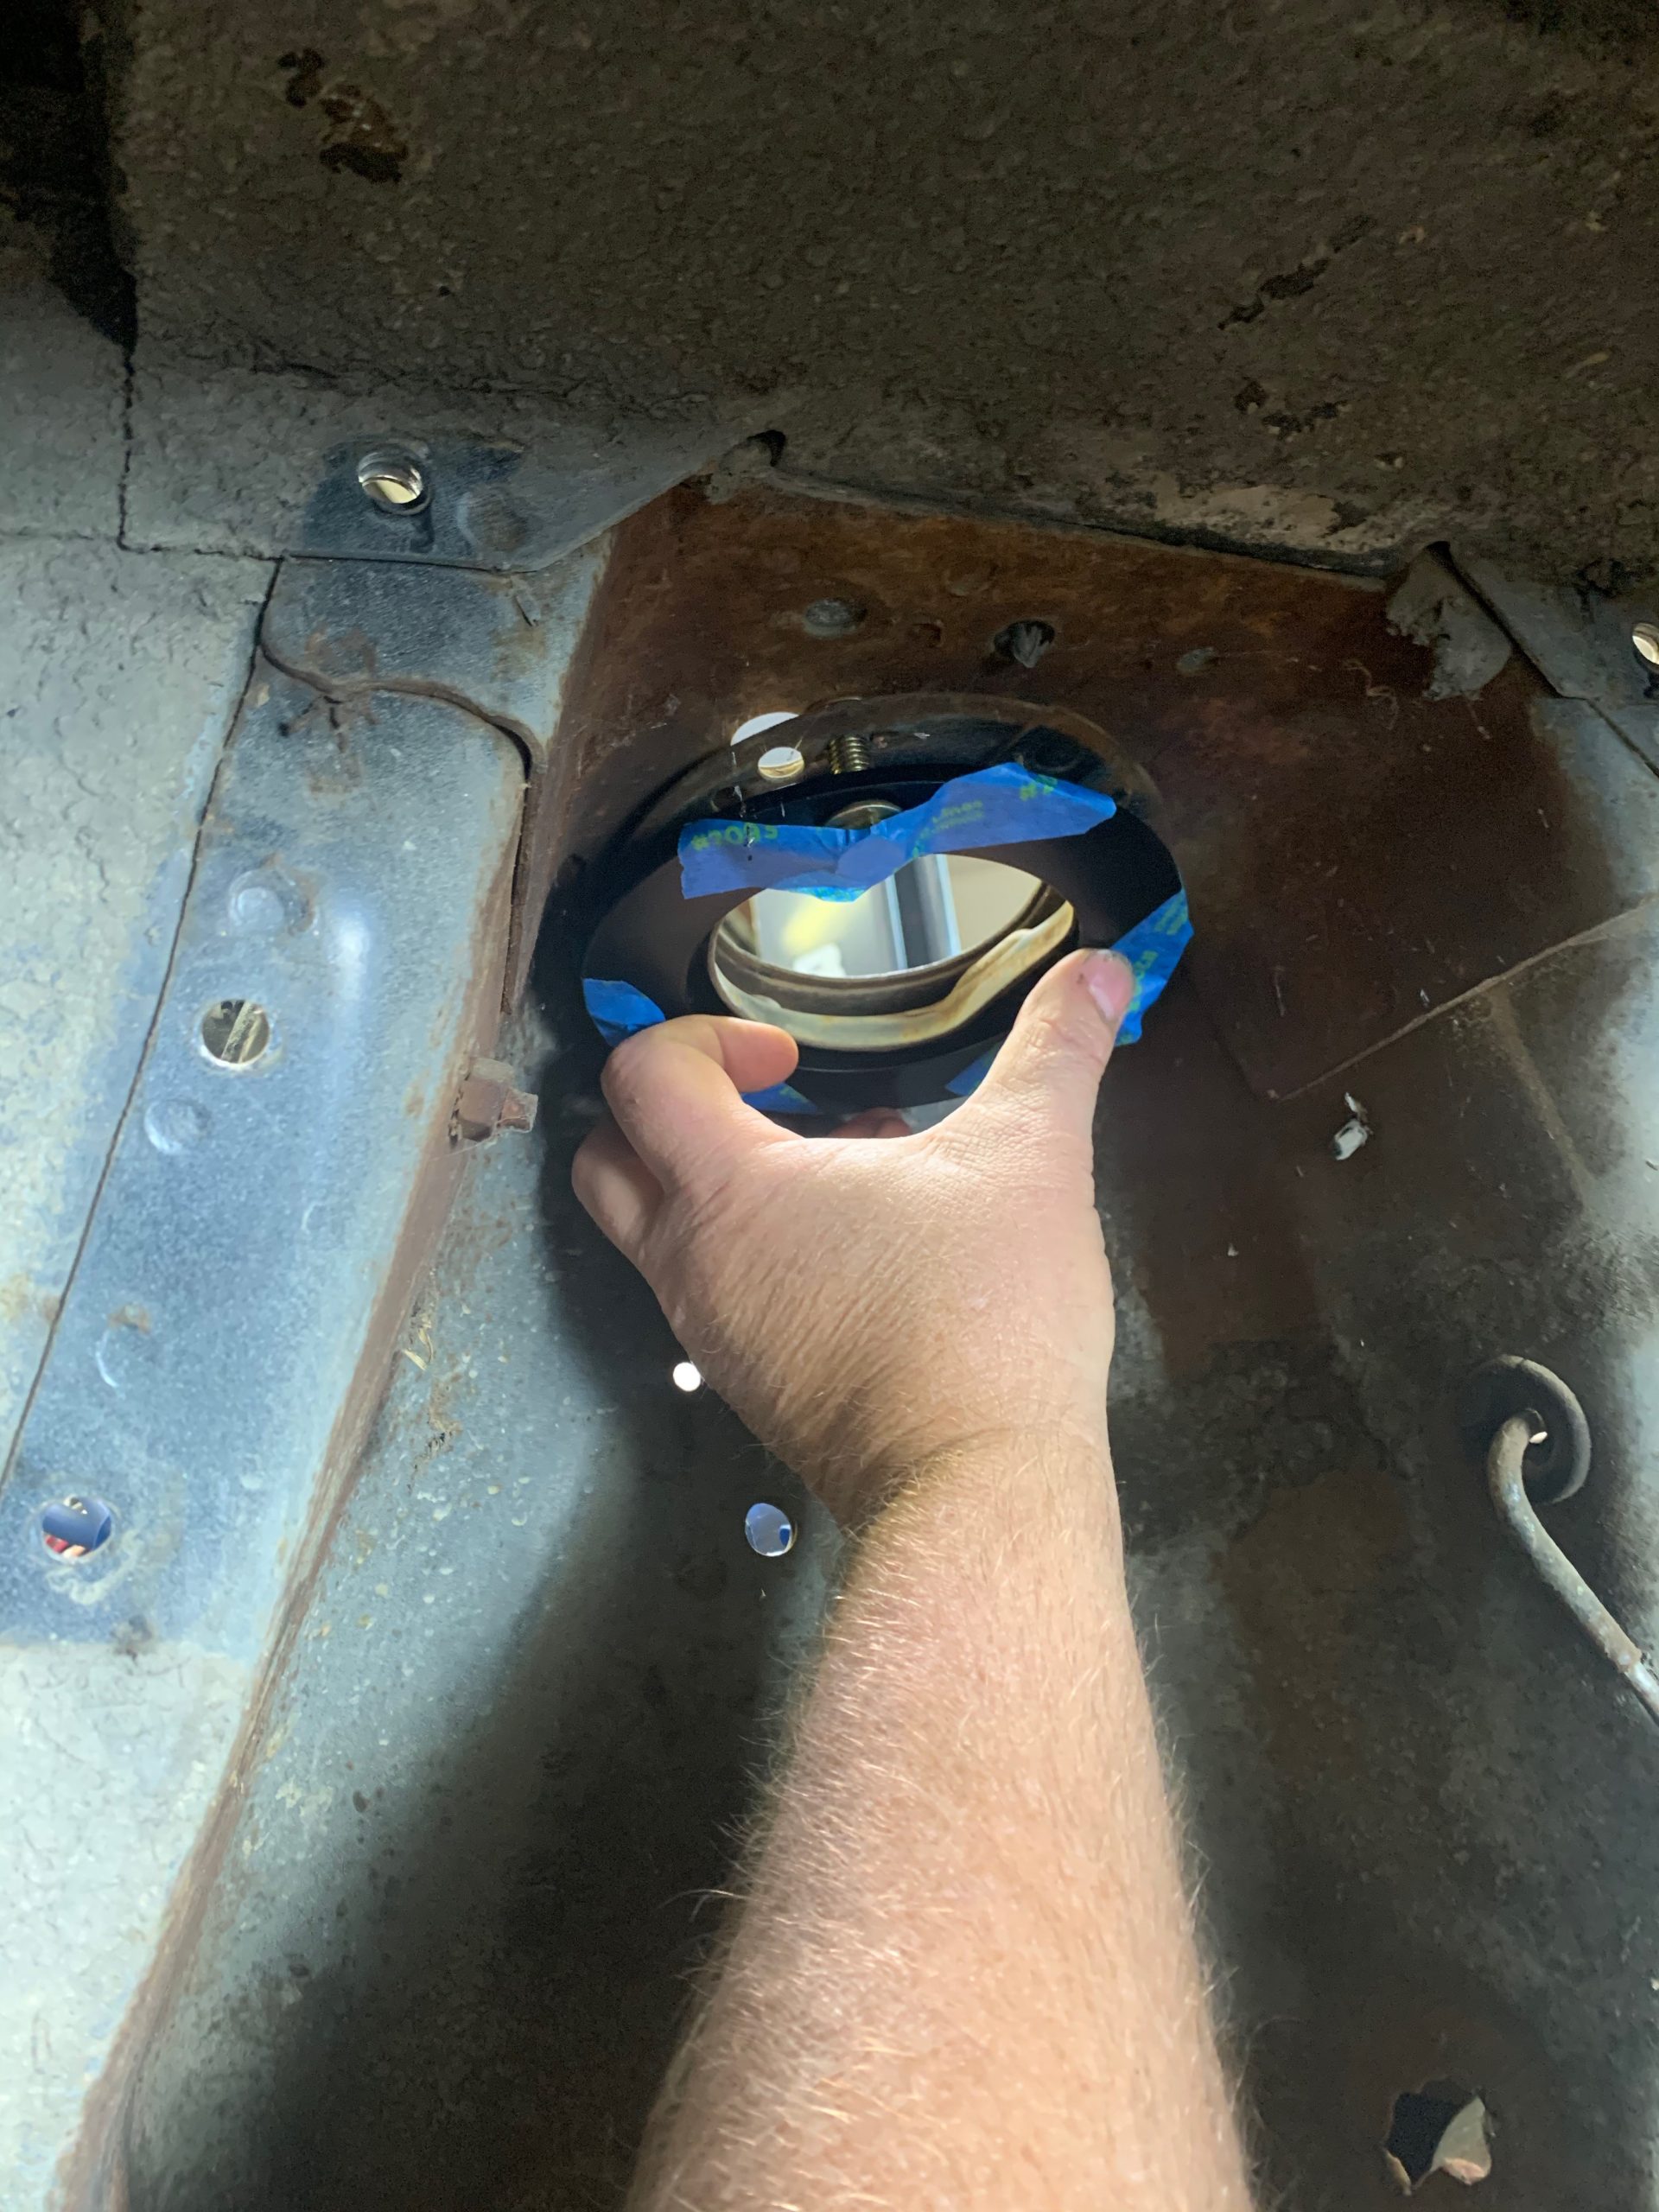
Step 7: Prep new mounts for install
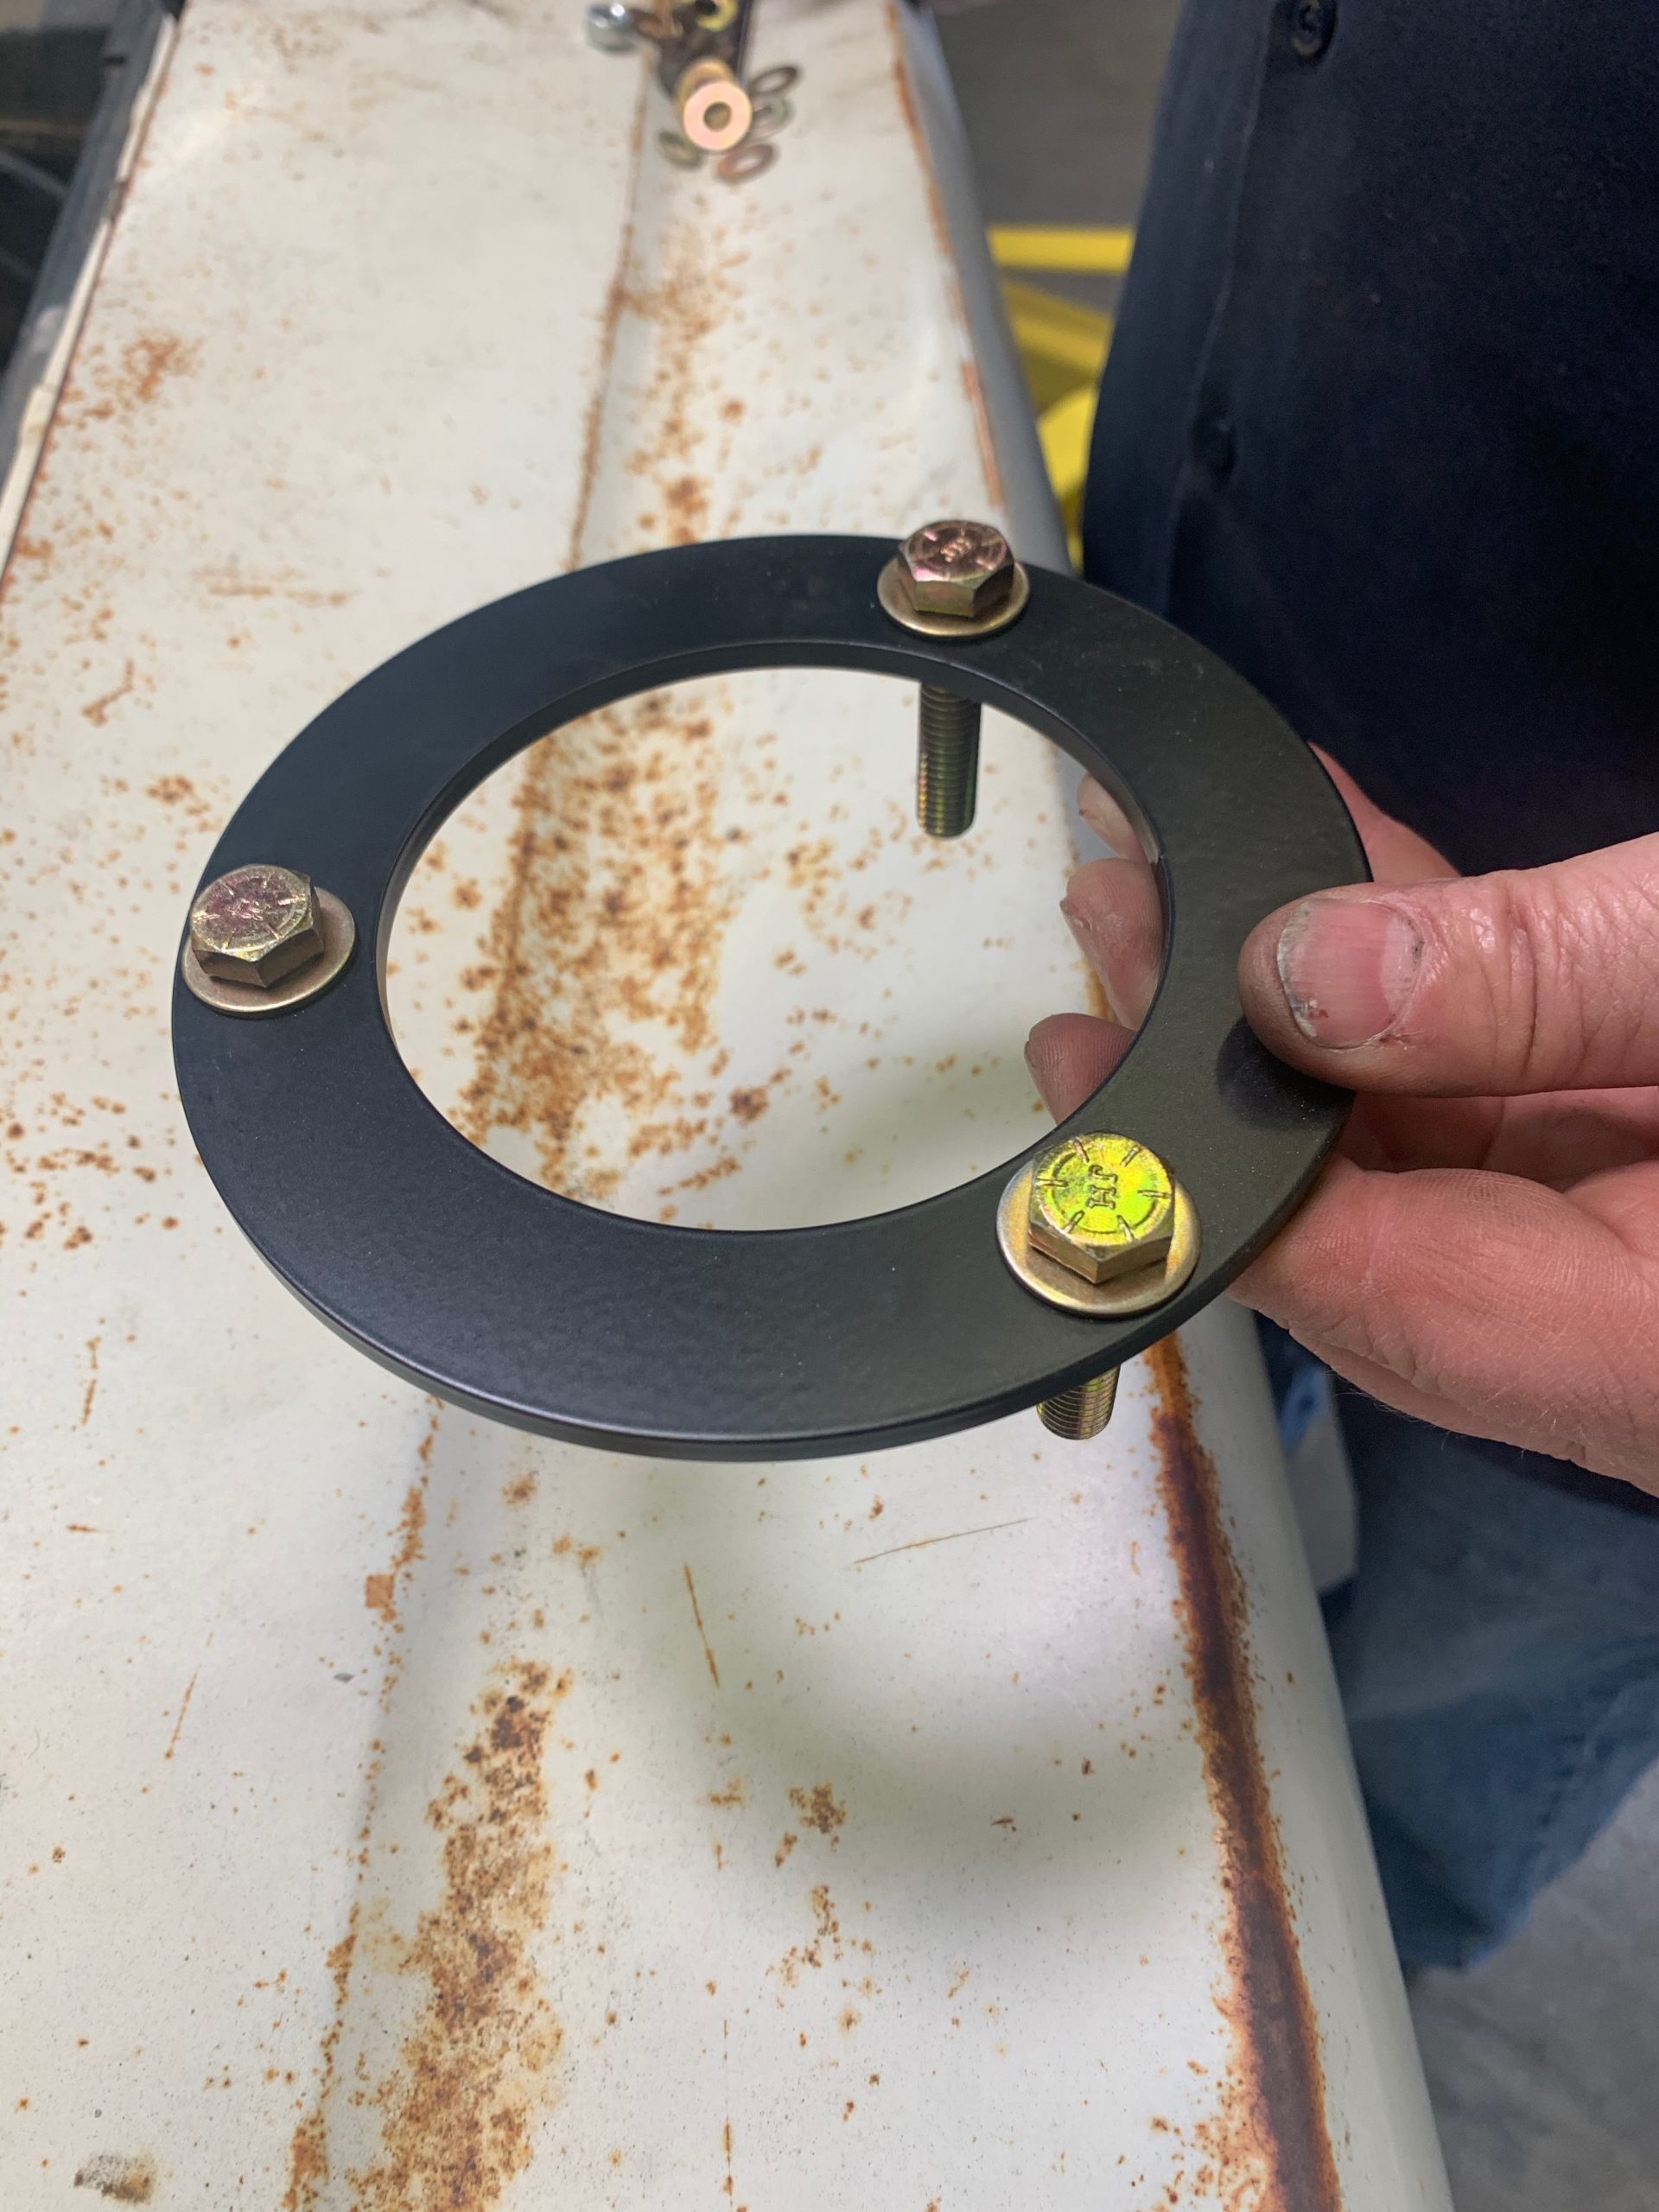
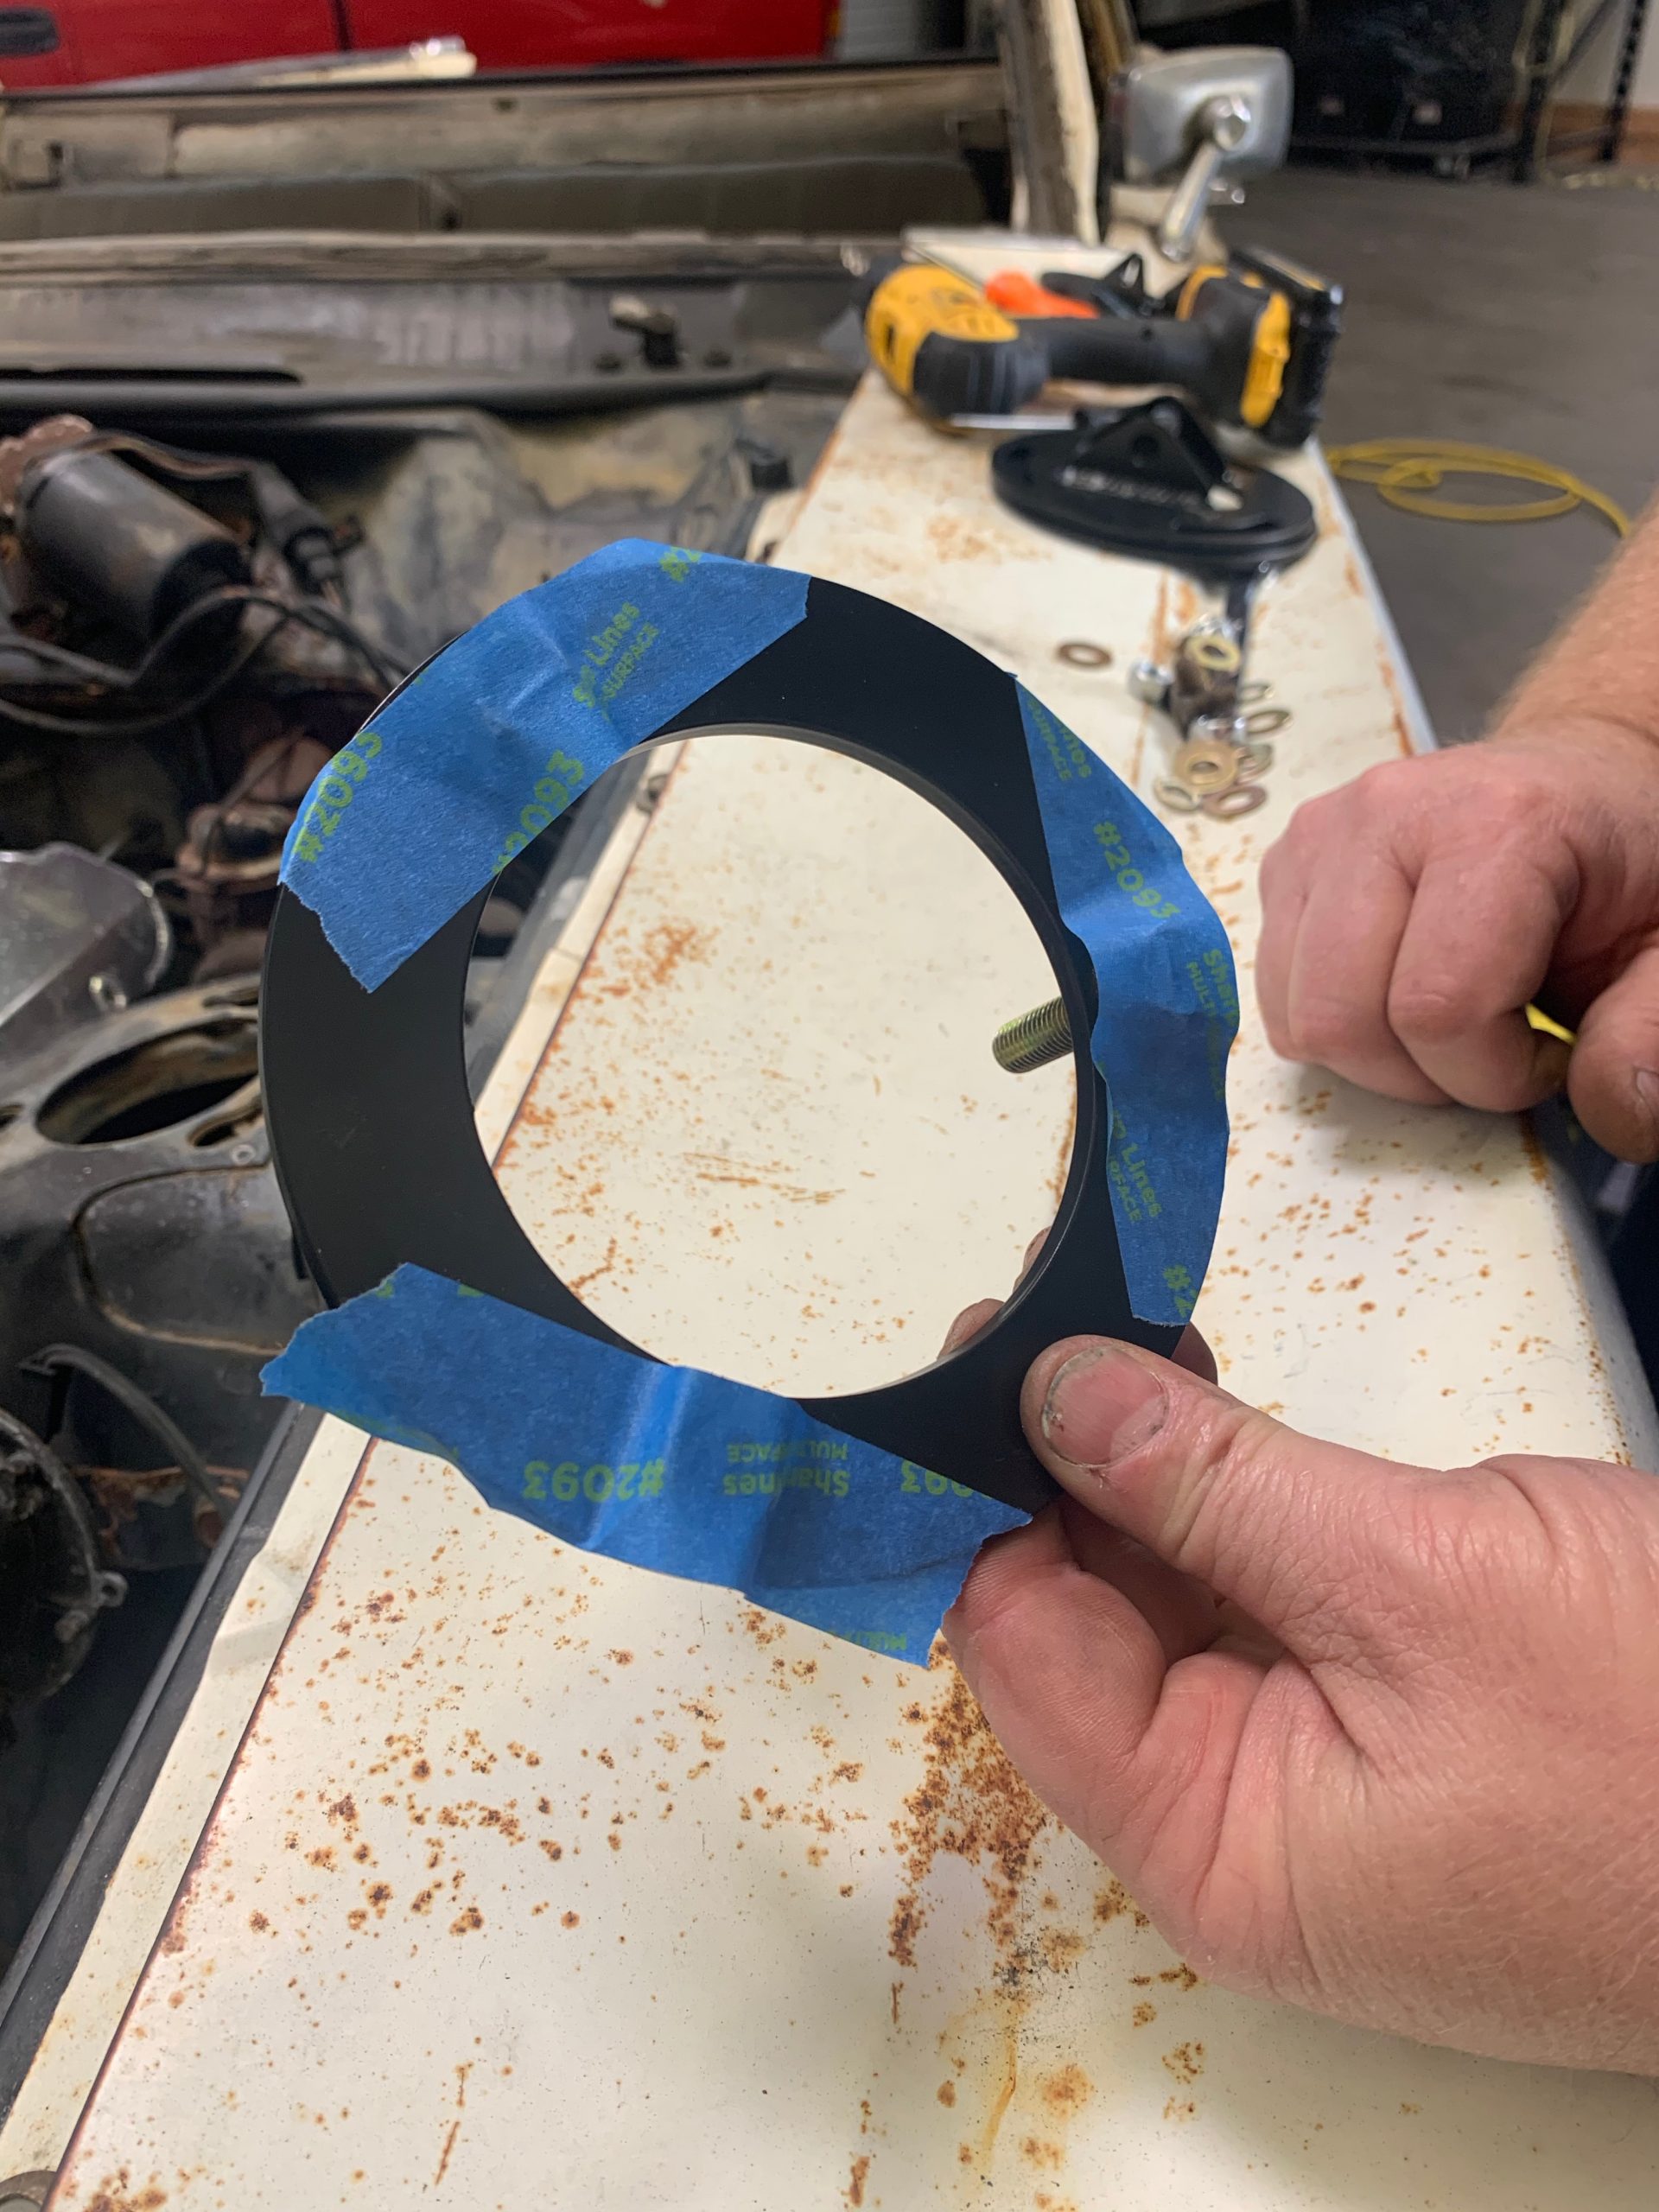
We utilized tape to hold the bolts in place while assembling 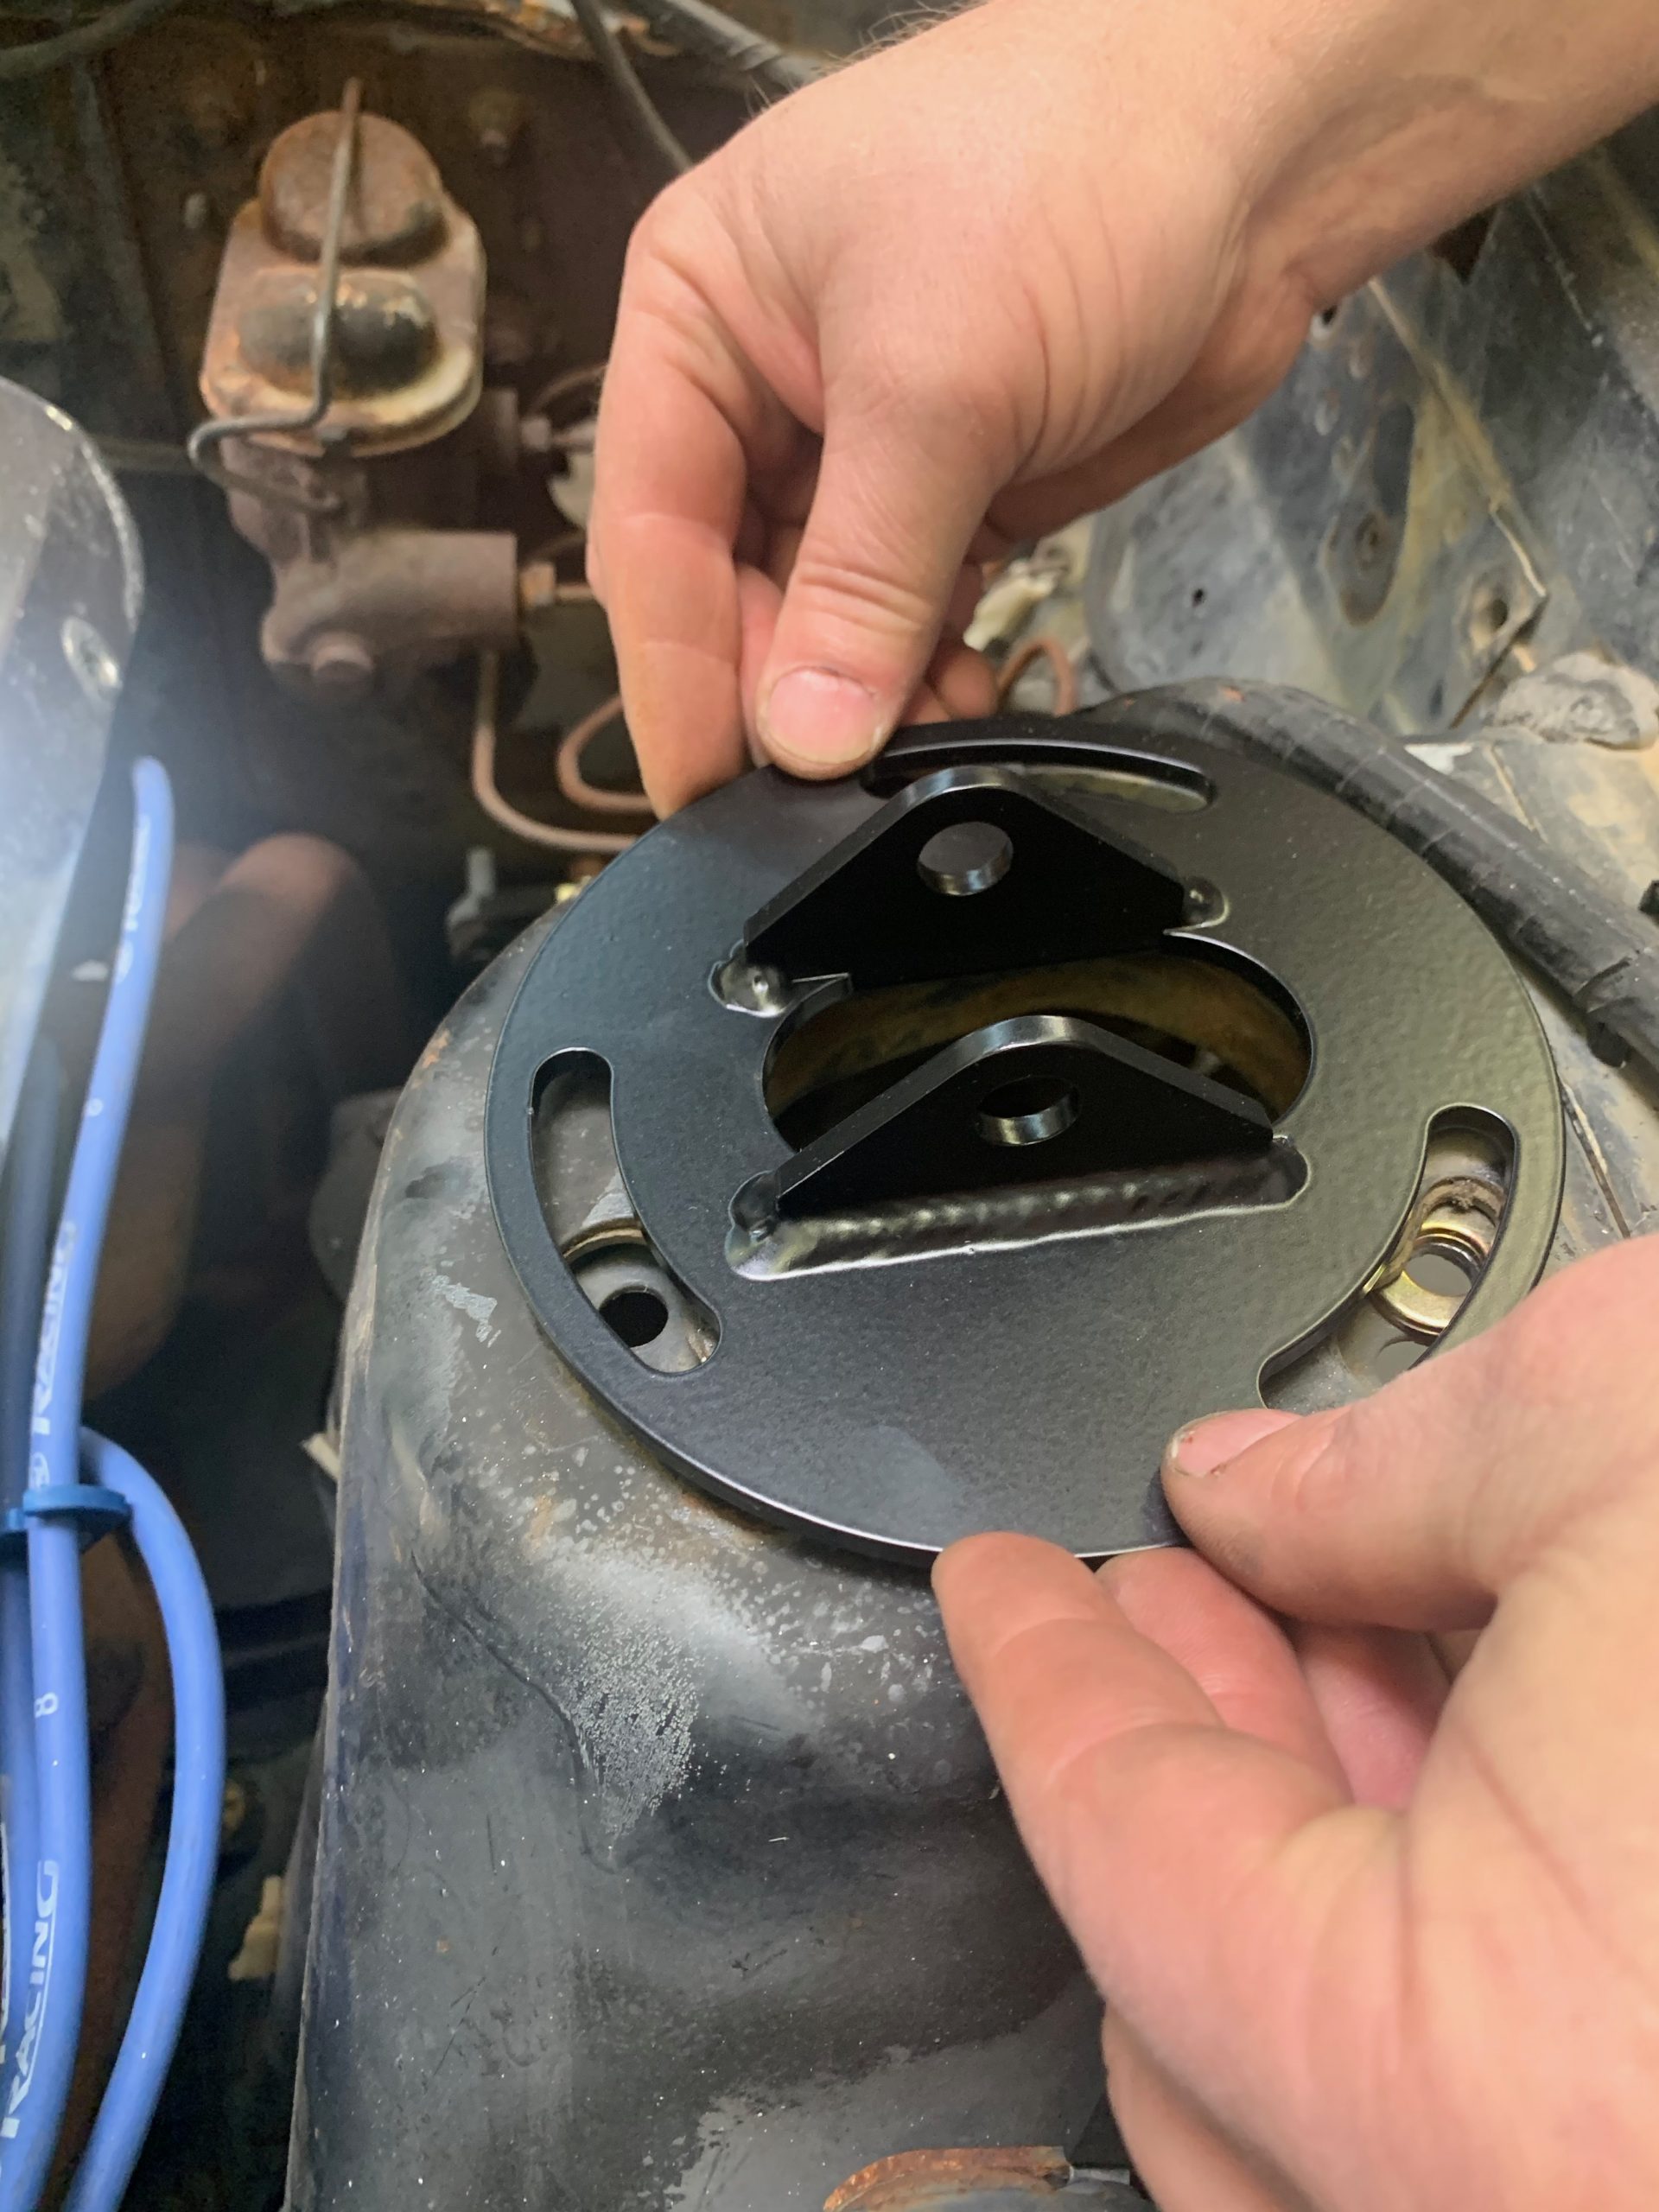
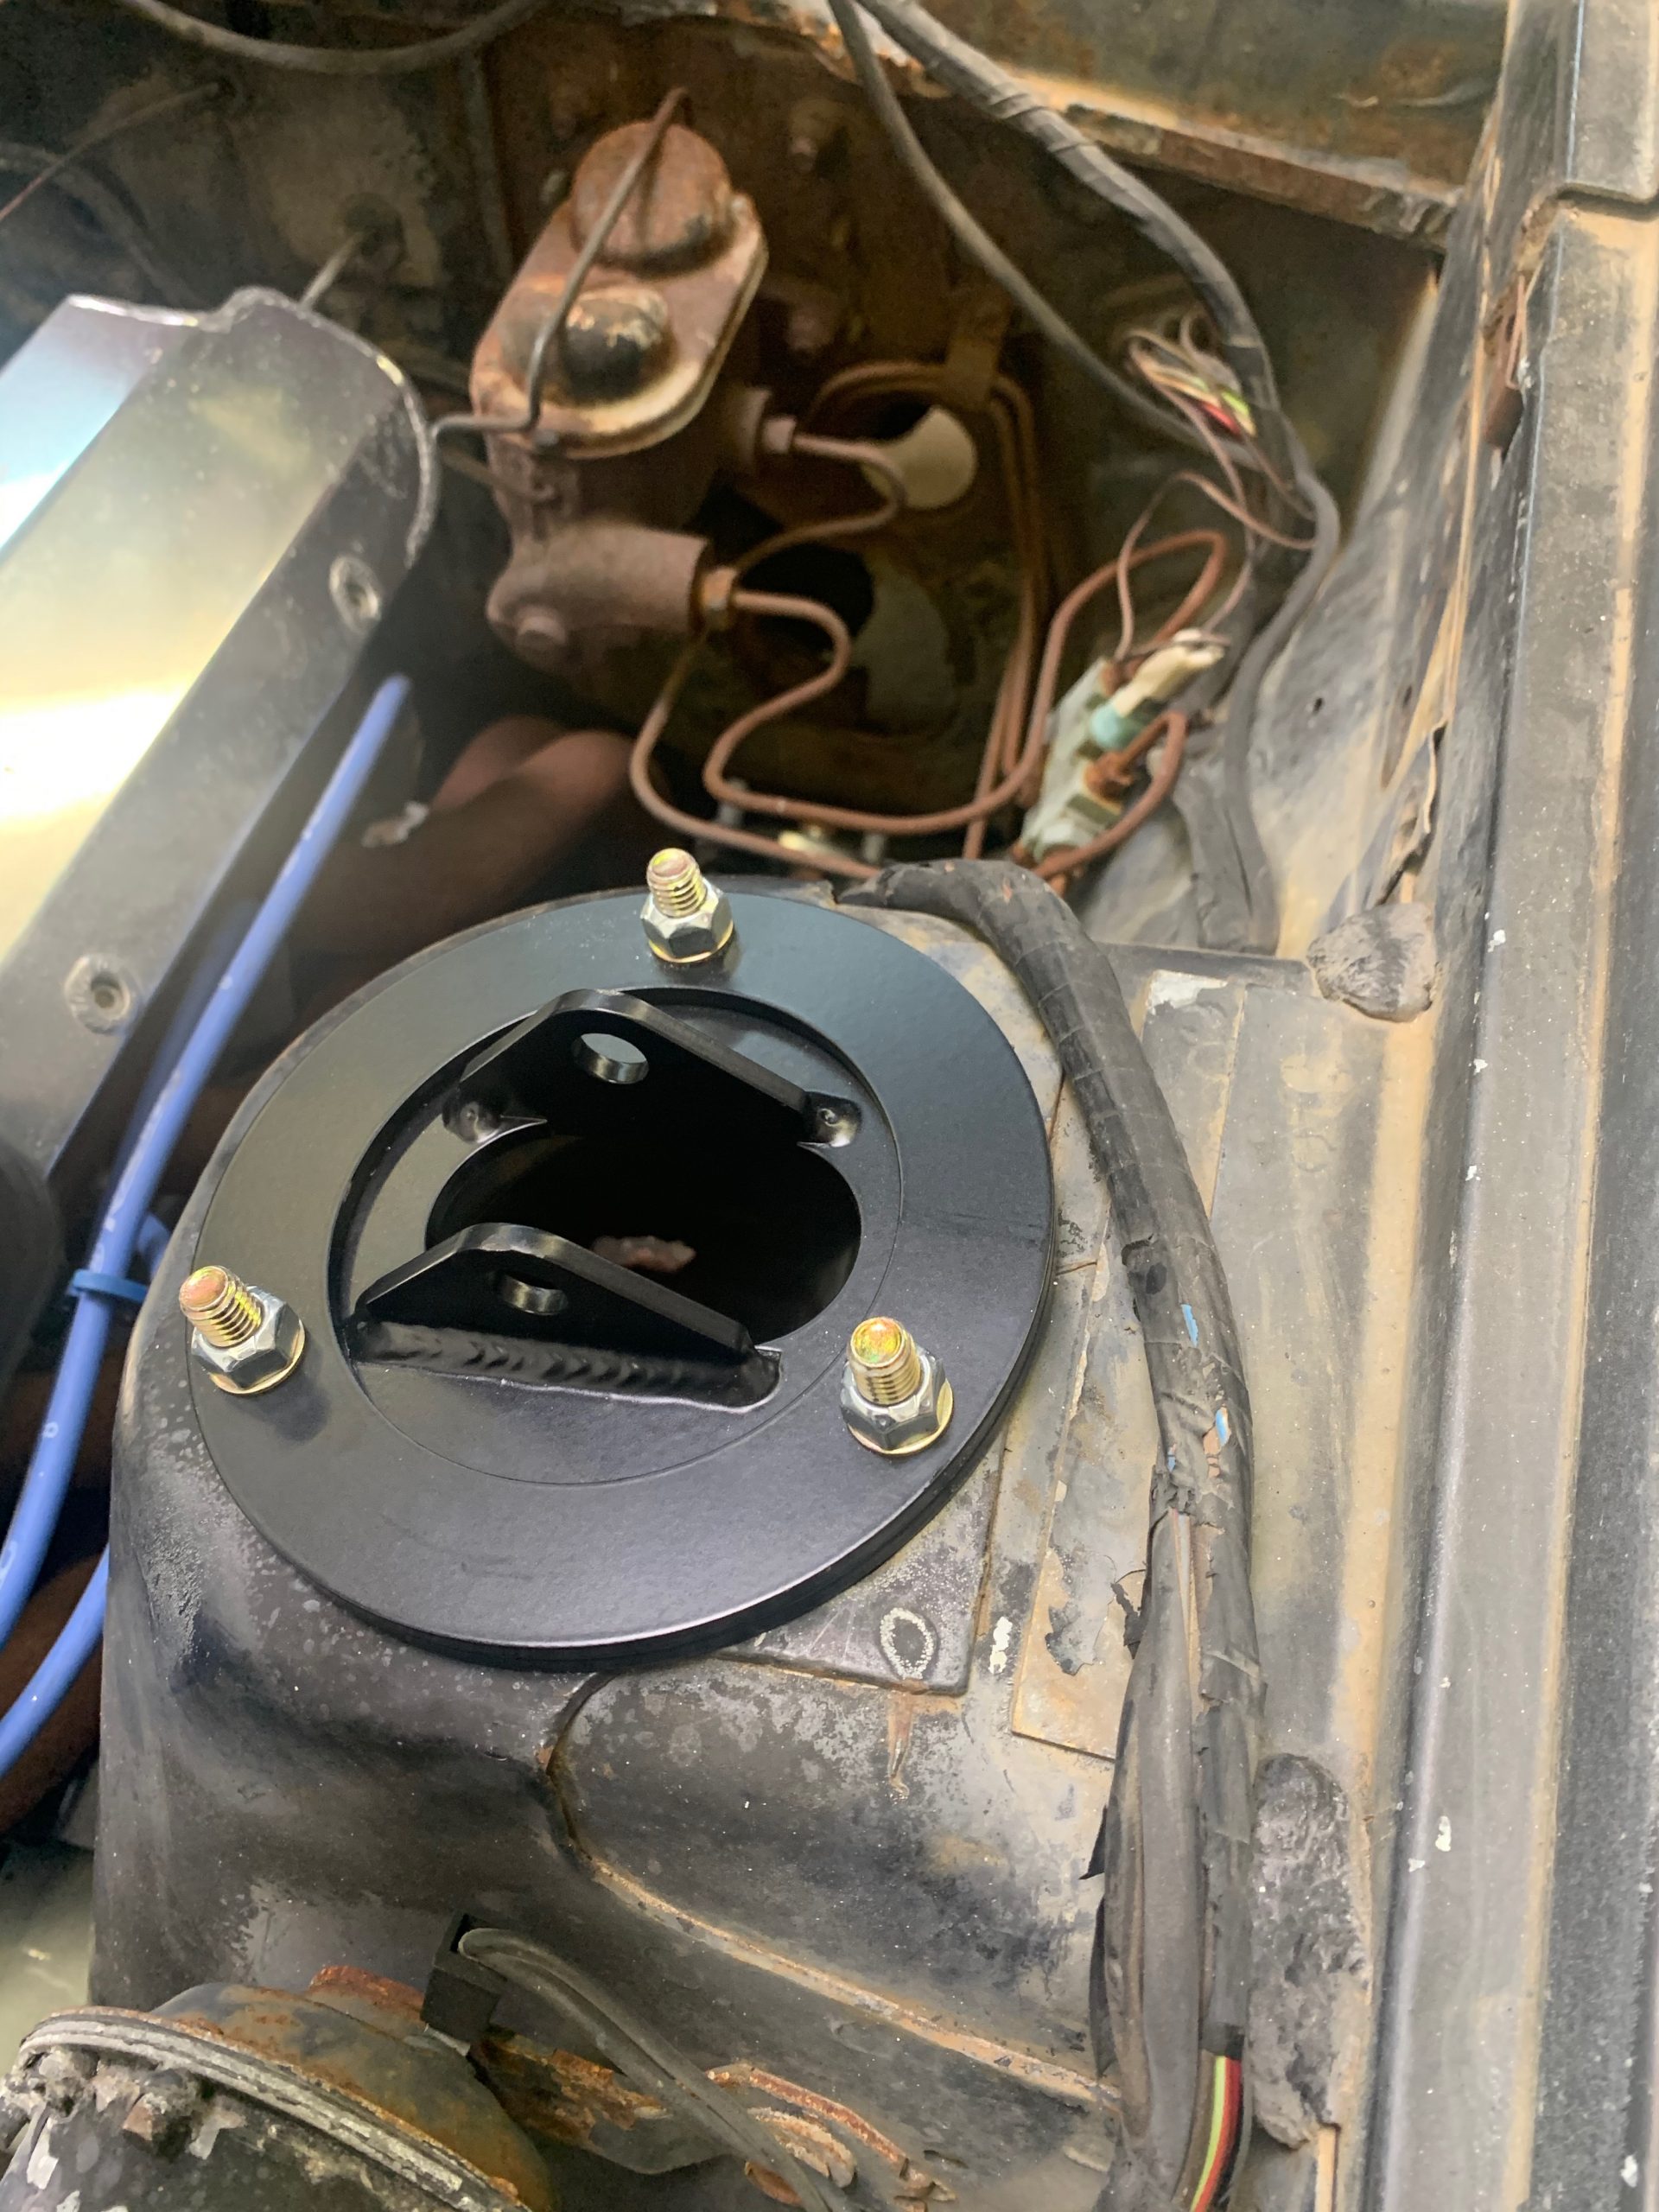
Step 8: Install new mounts
Step 9: Install lower and upper control arms.
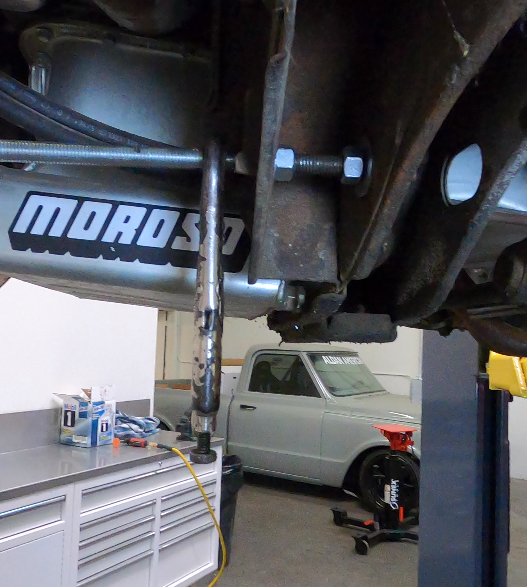
Spreading the frame slightly so the new arm fits. 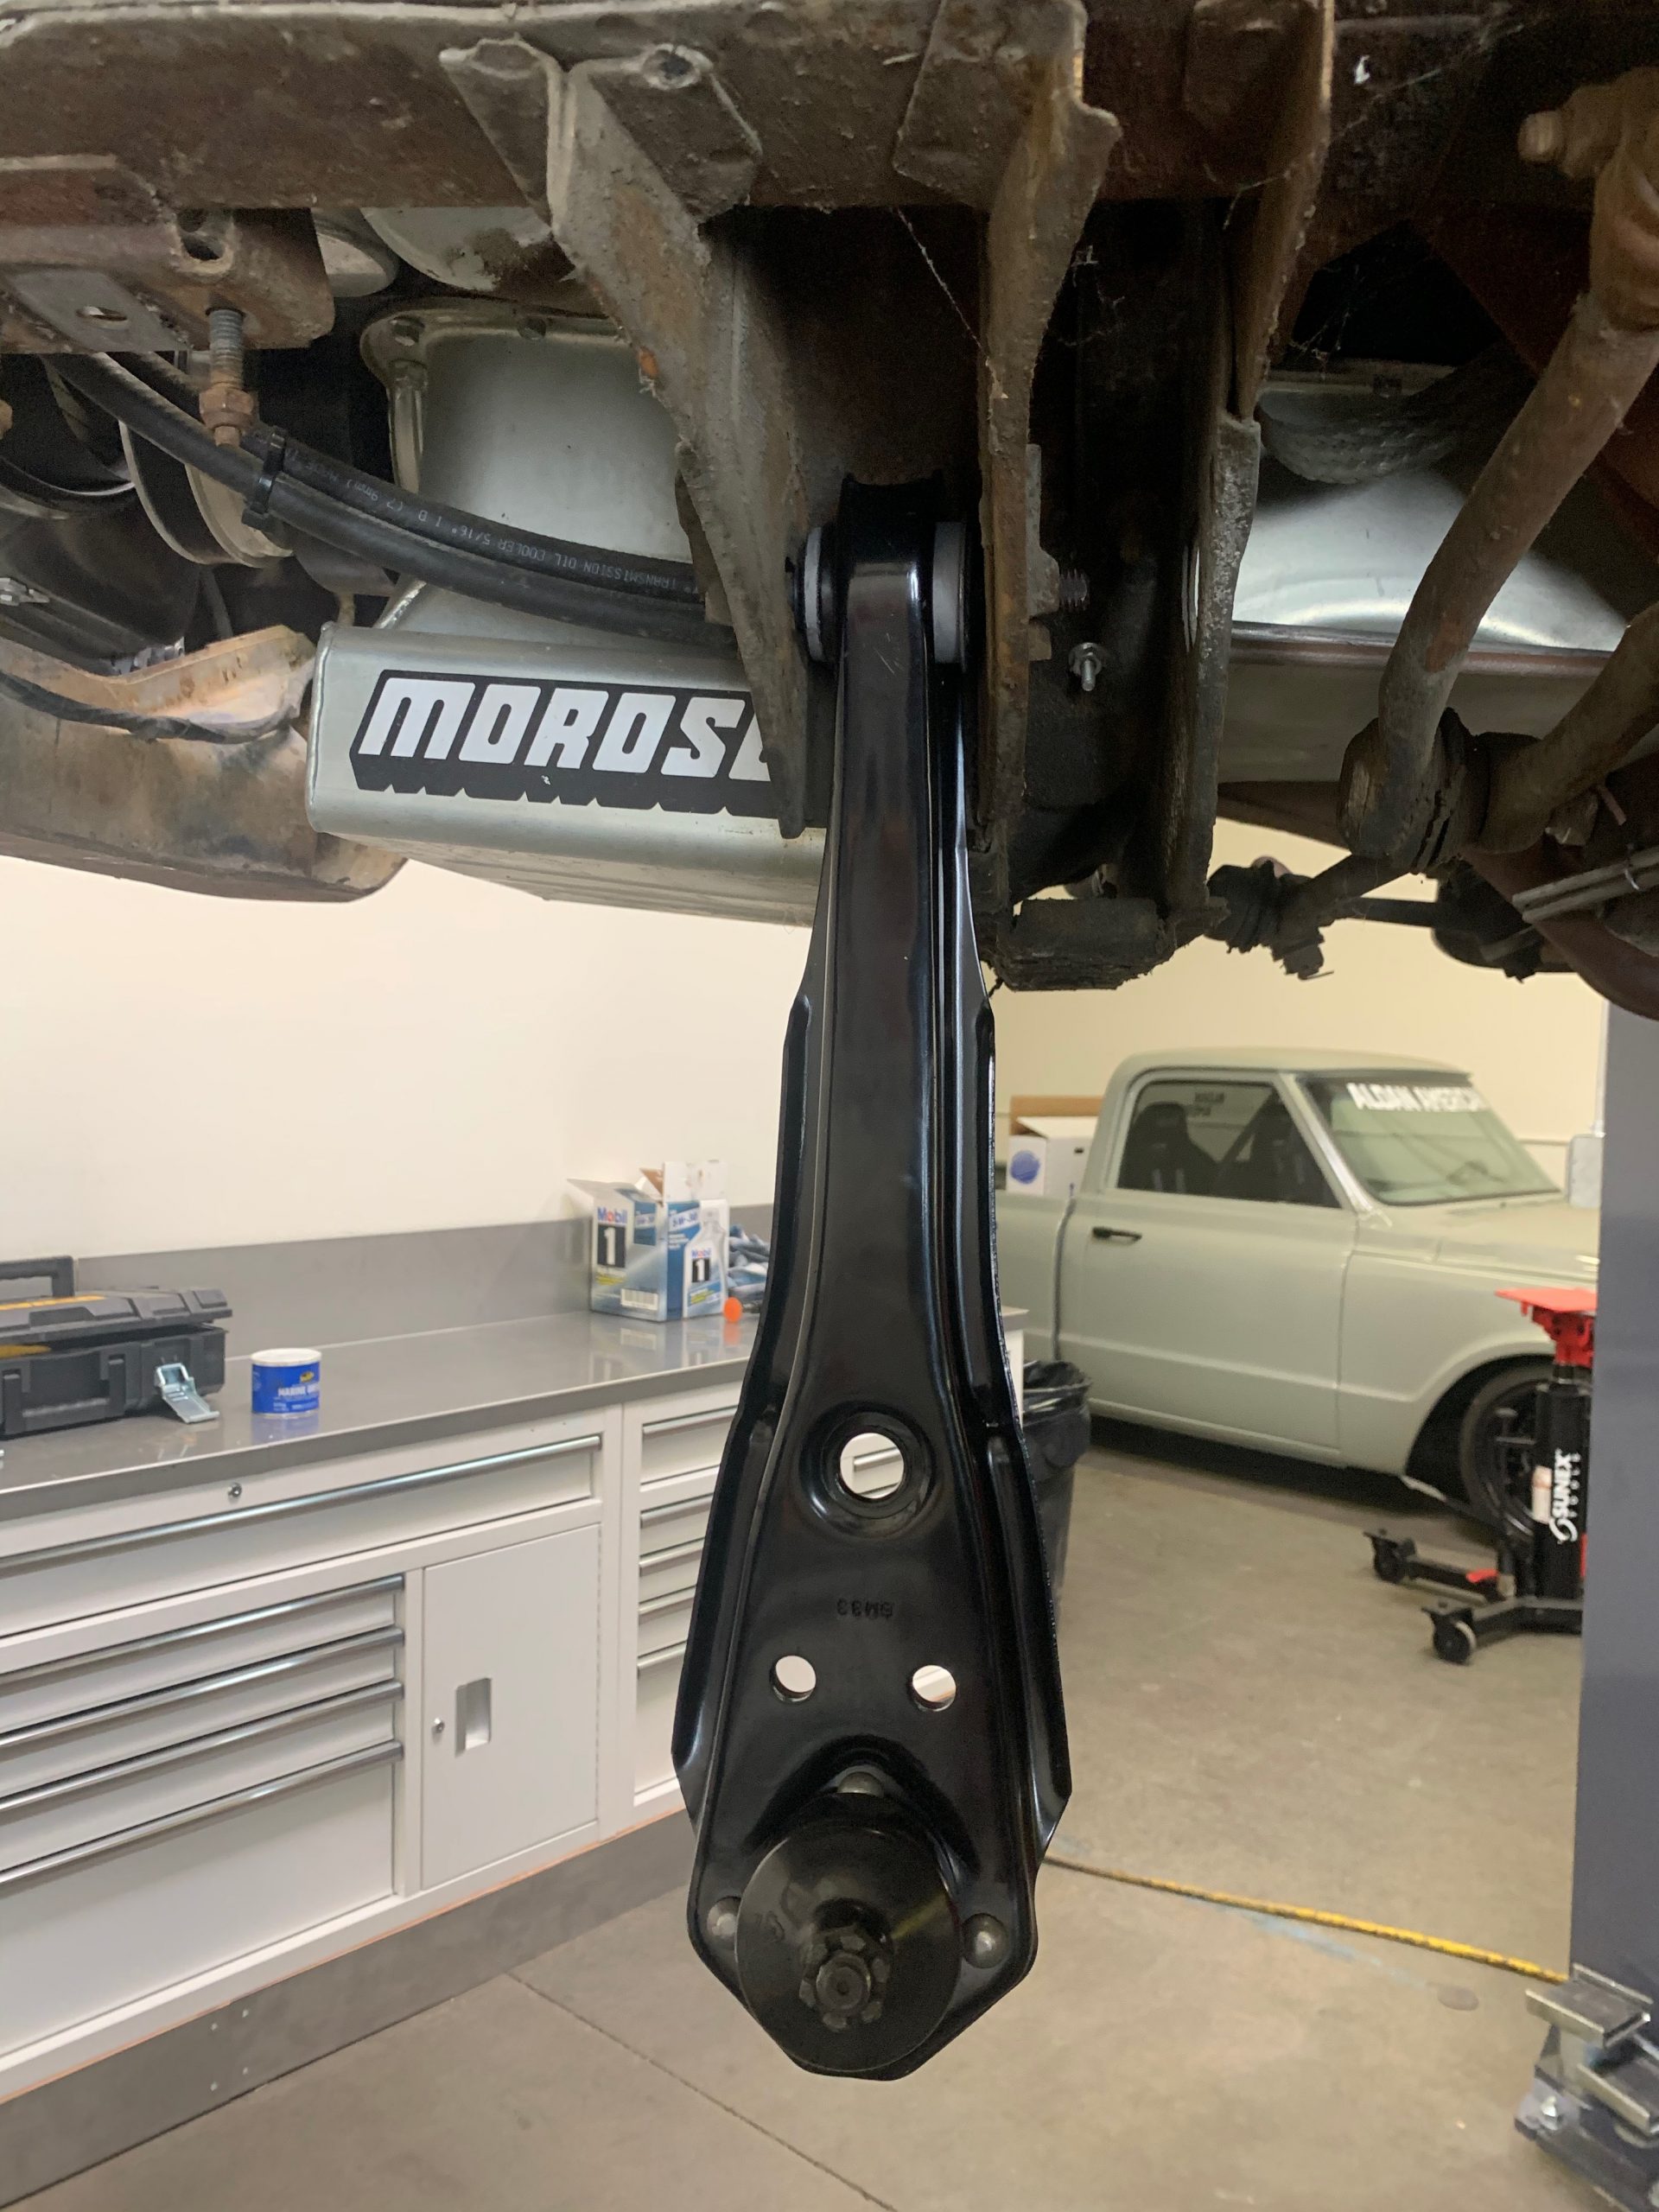
Install lower control arm. 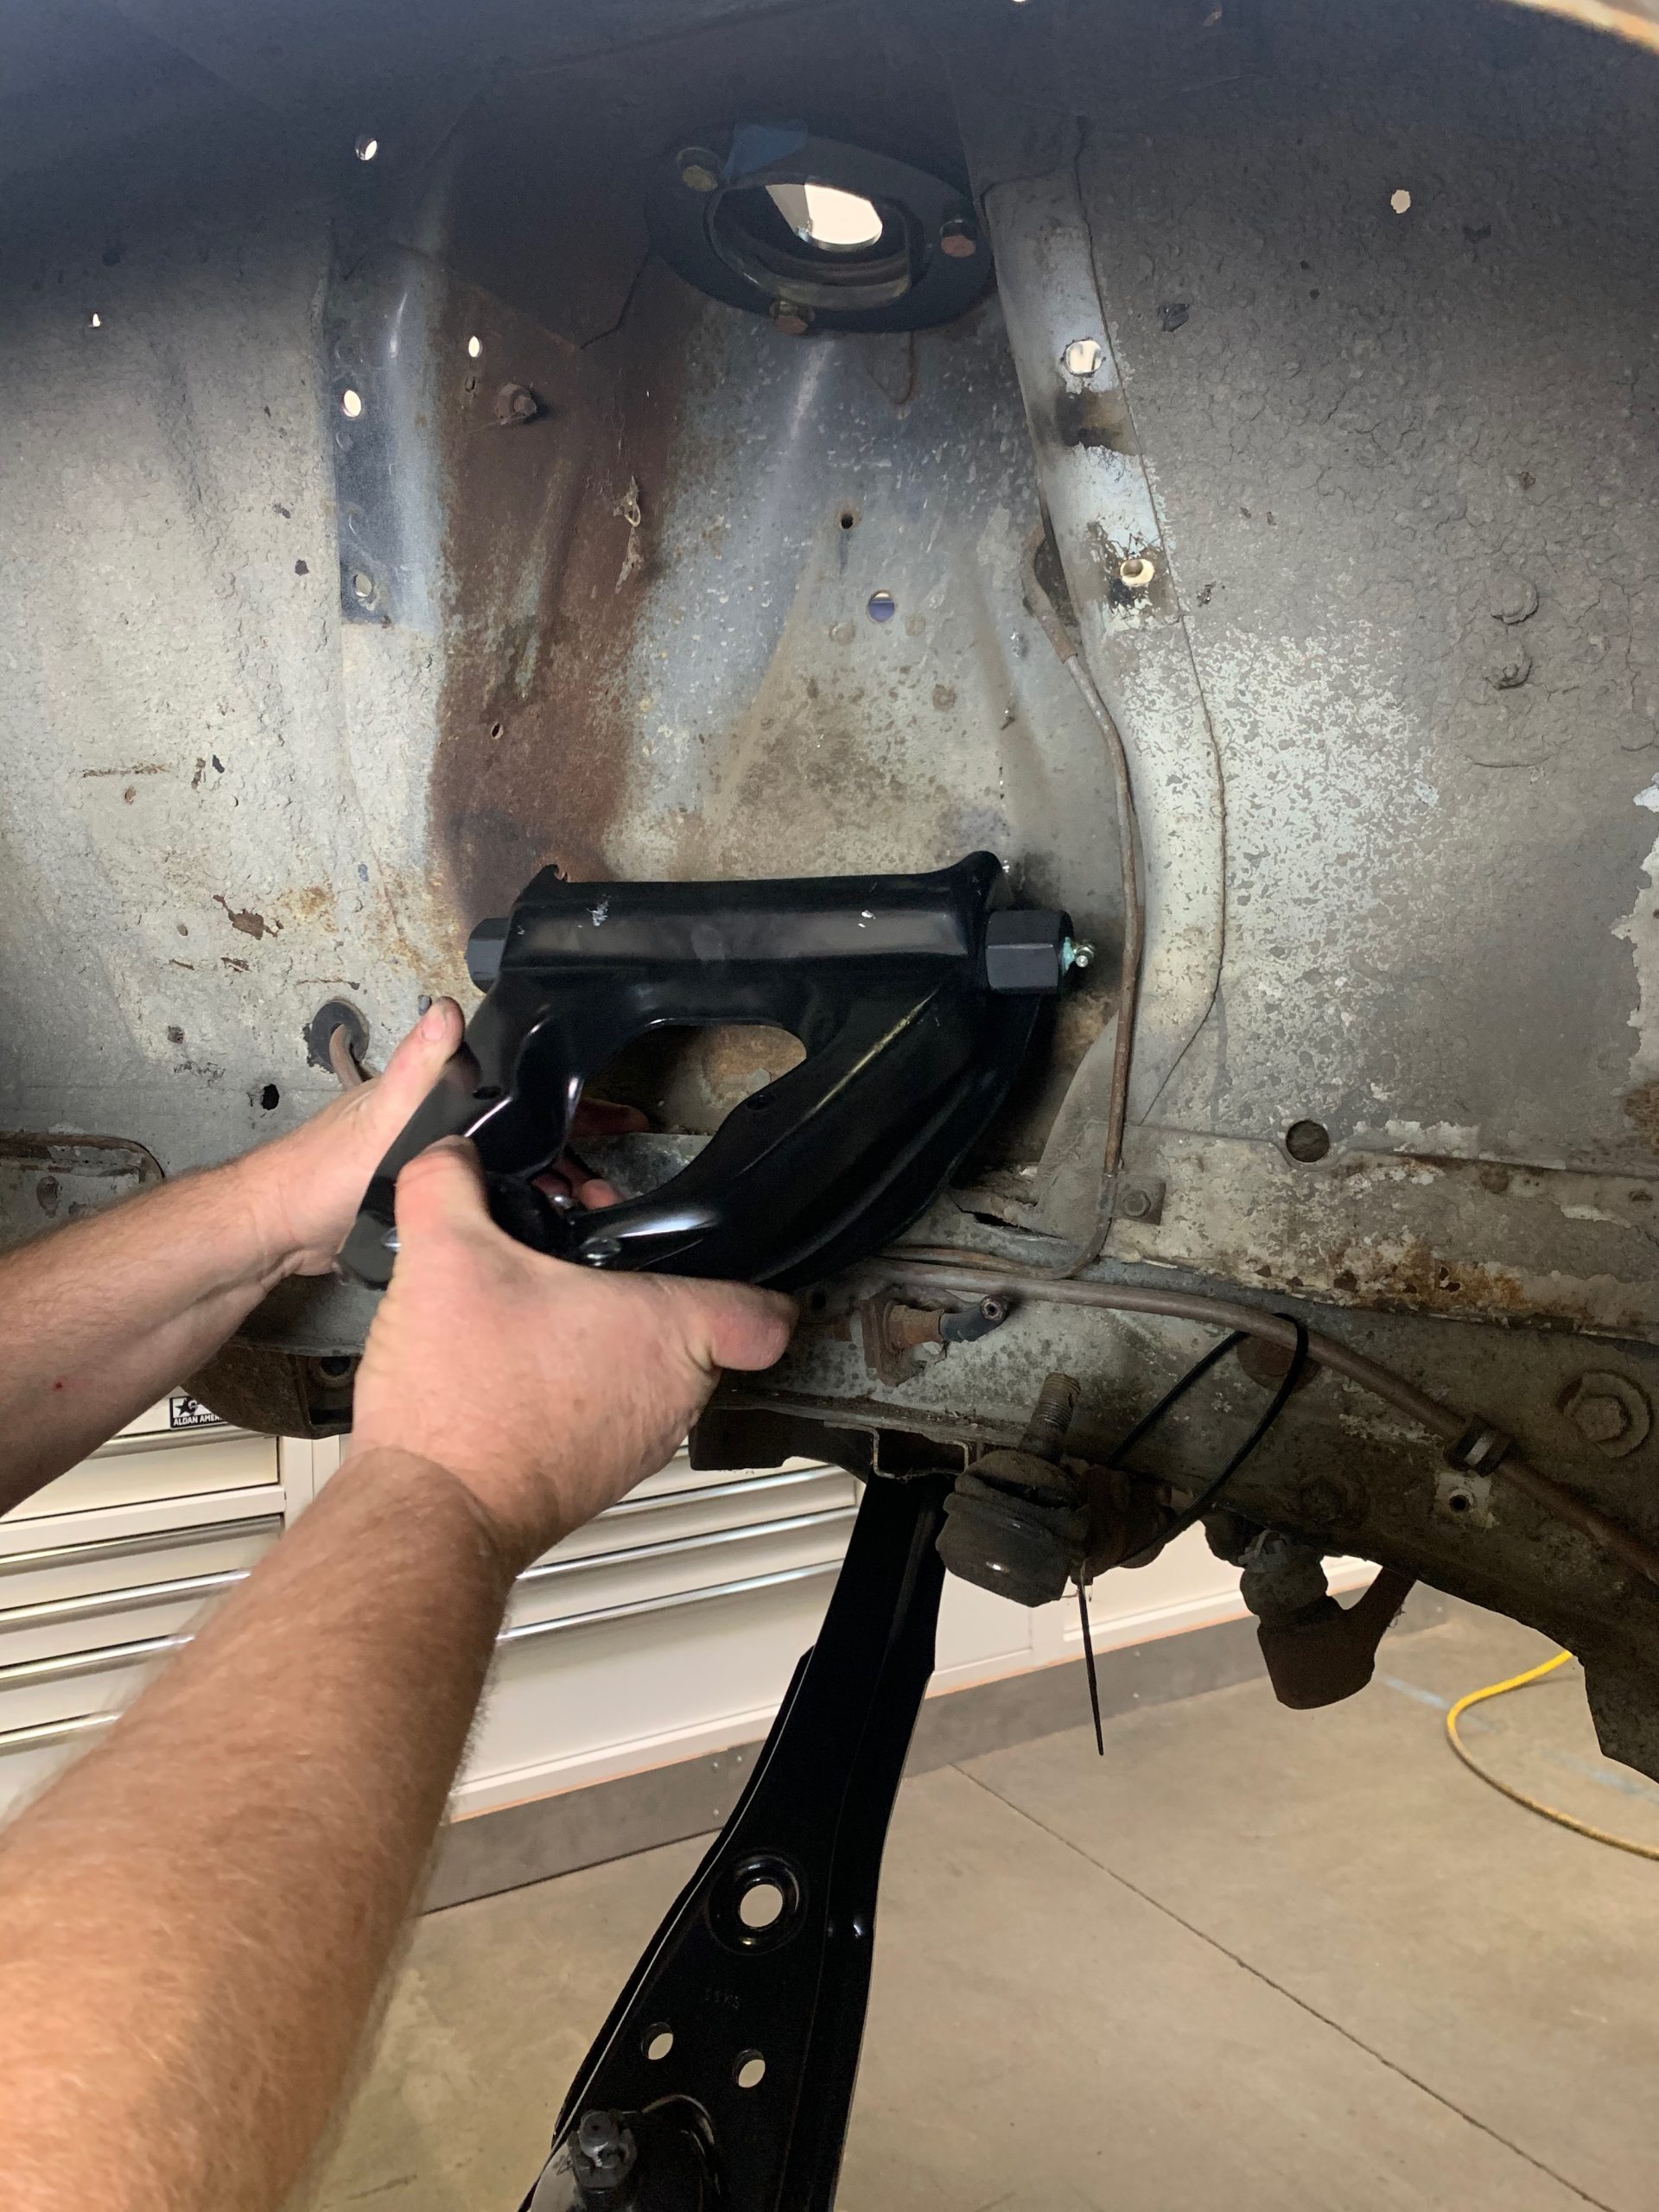
Install upper control arm. 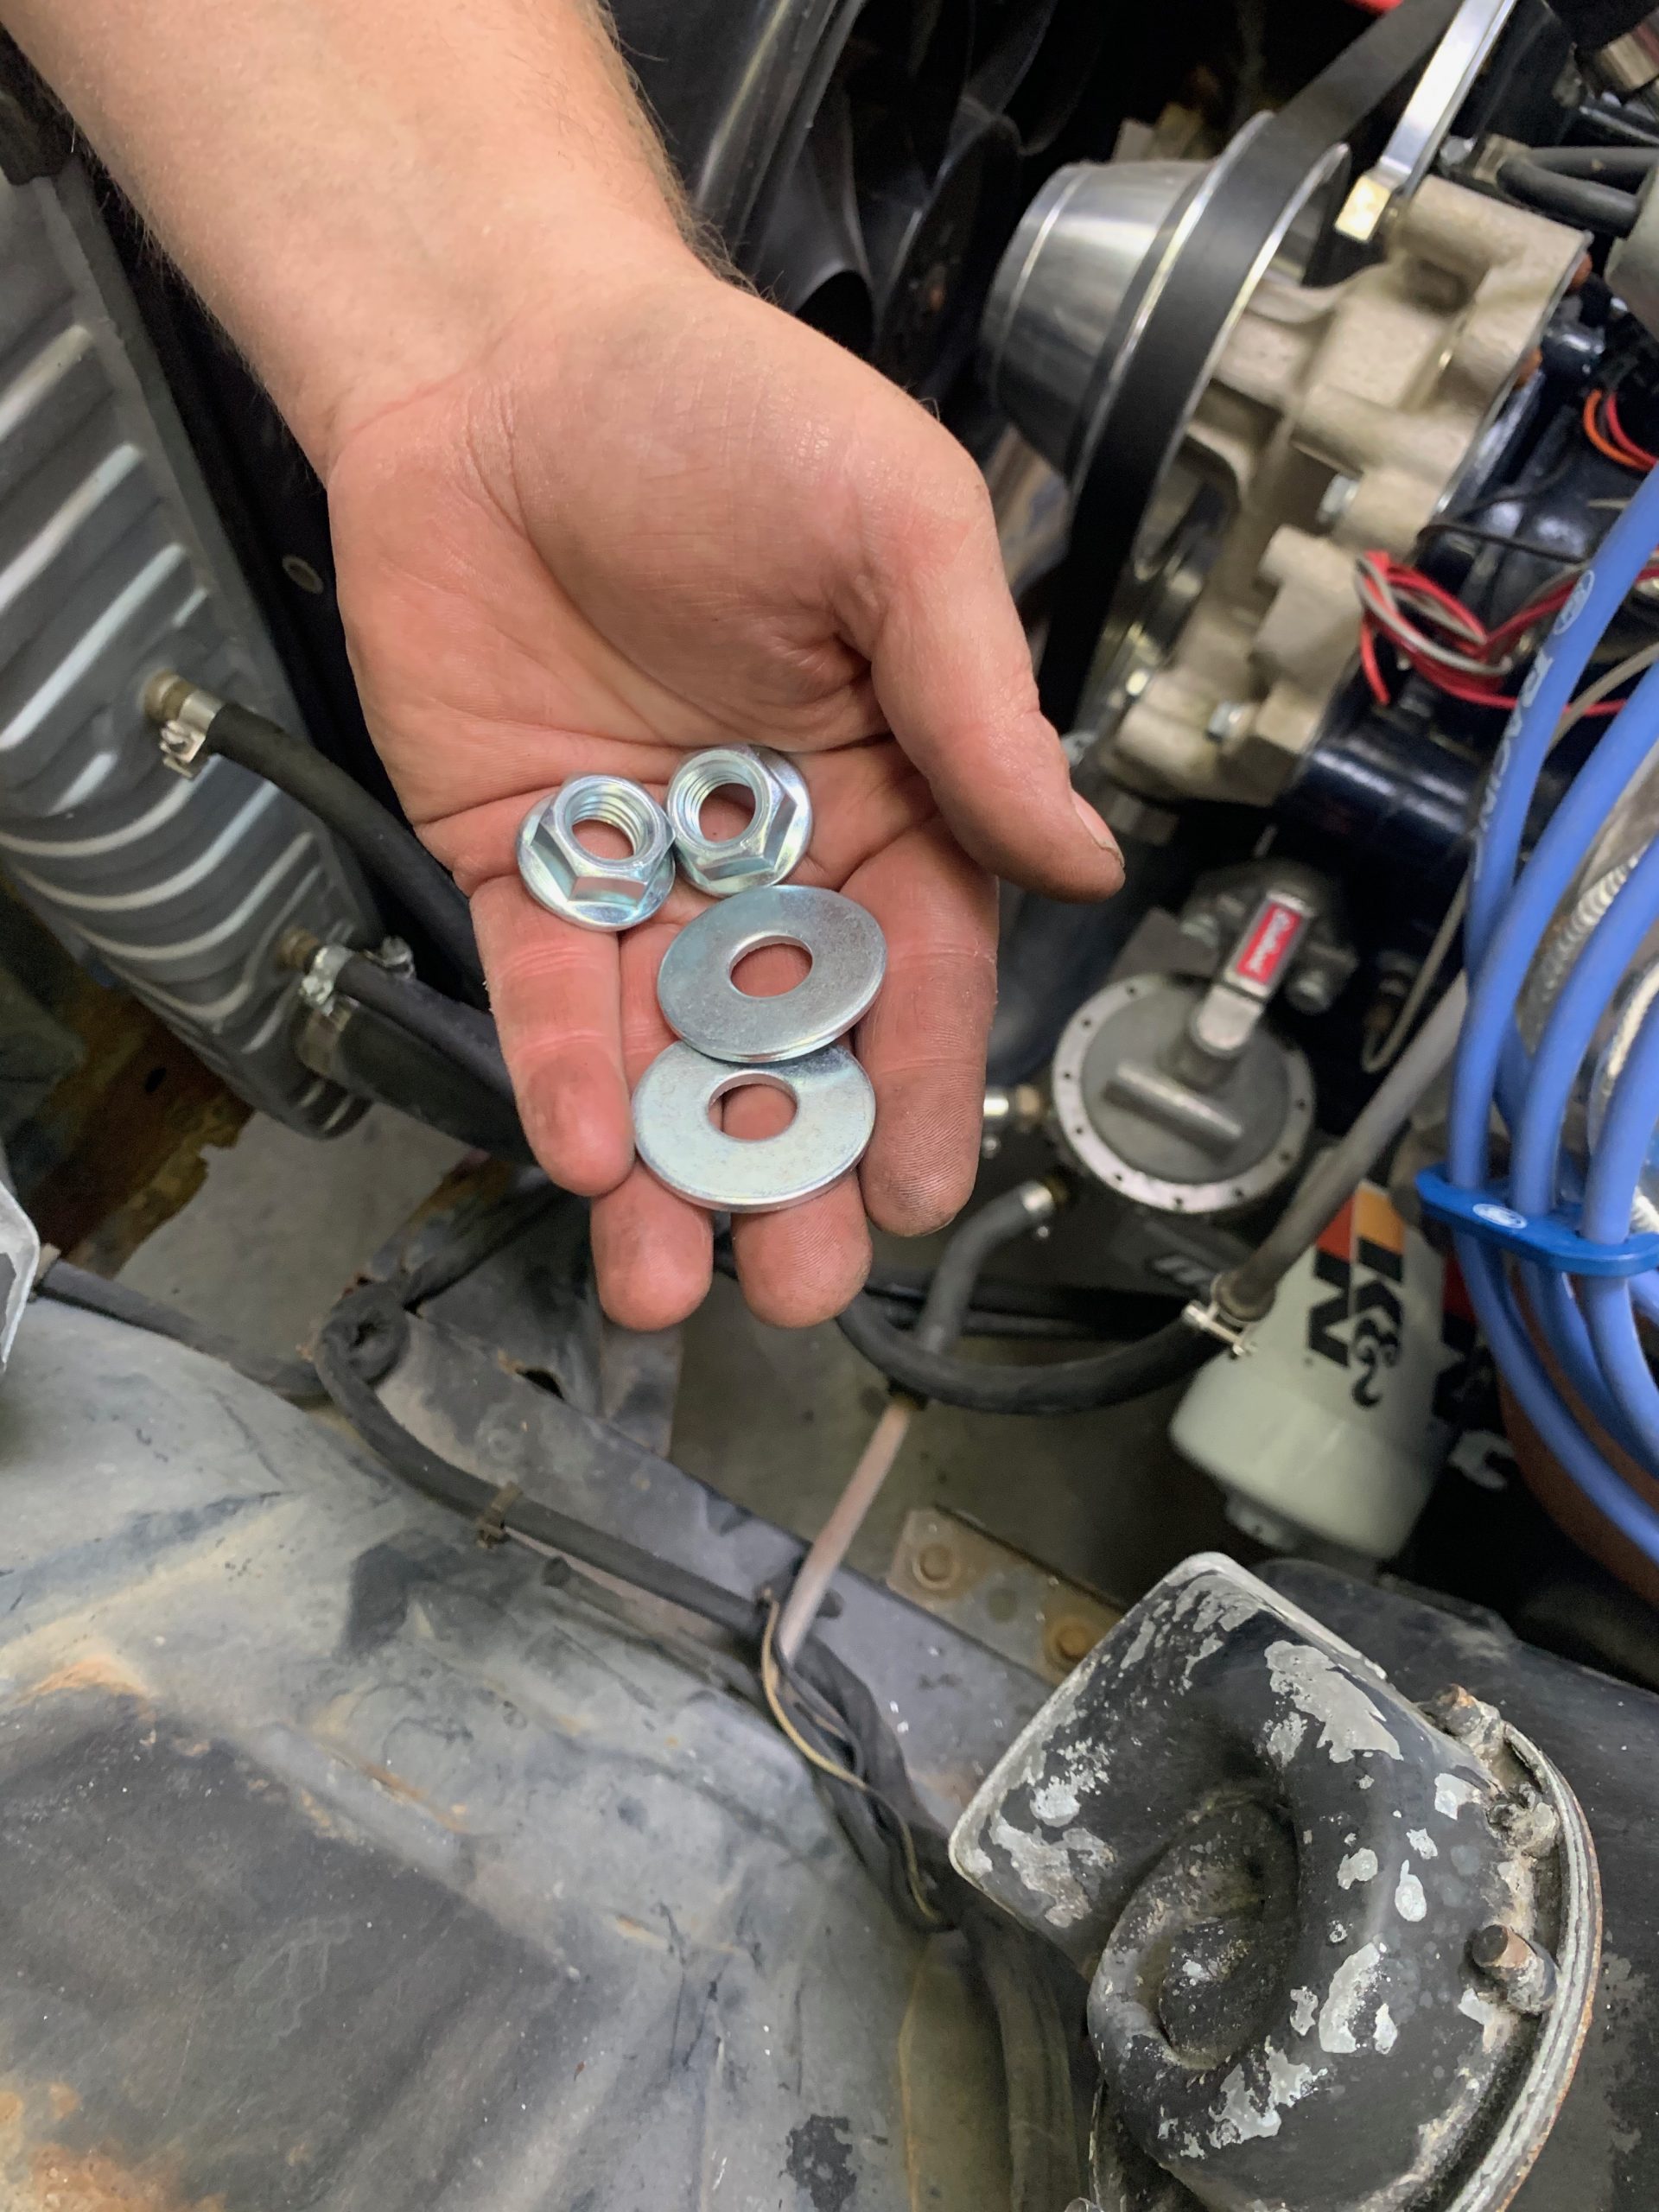
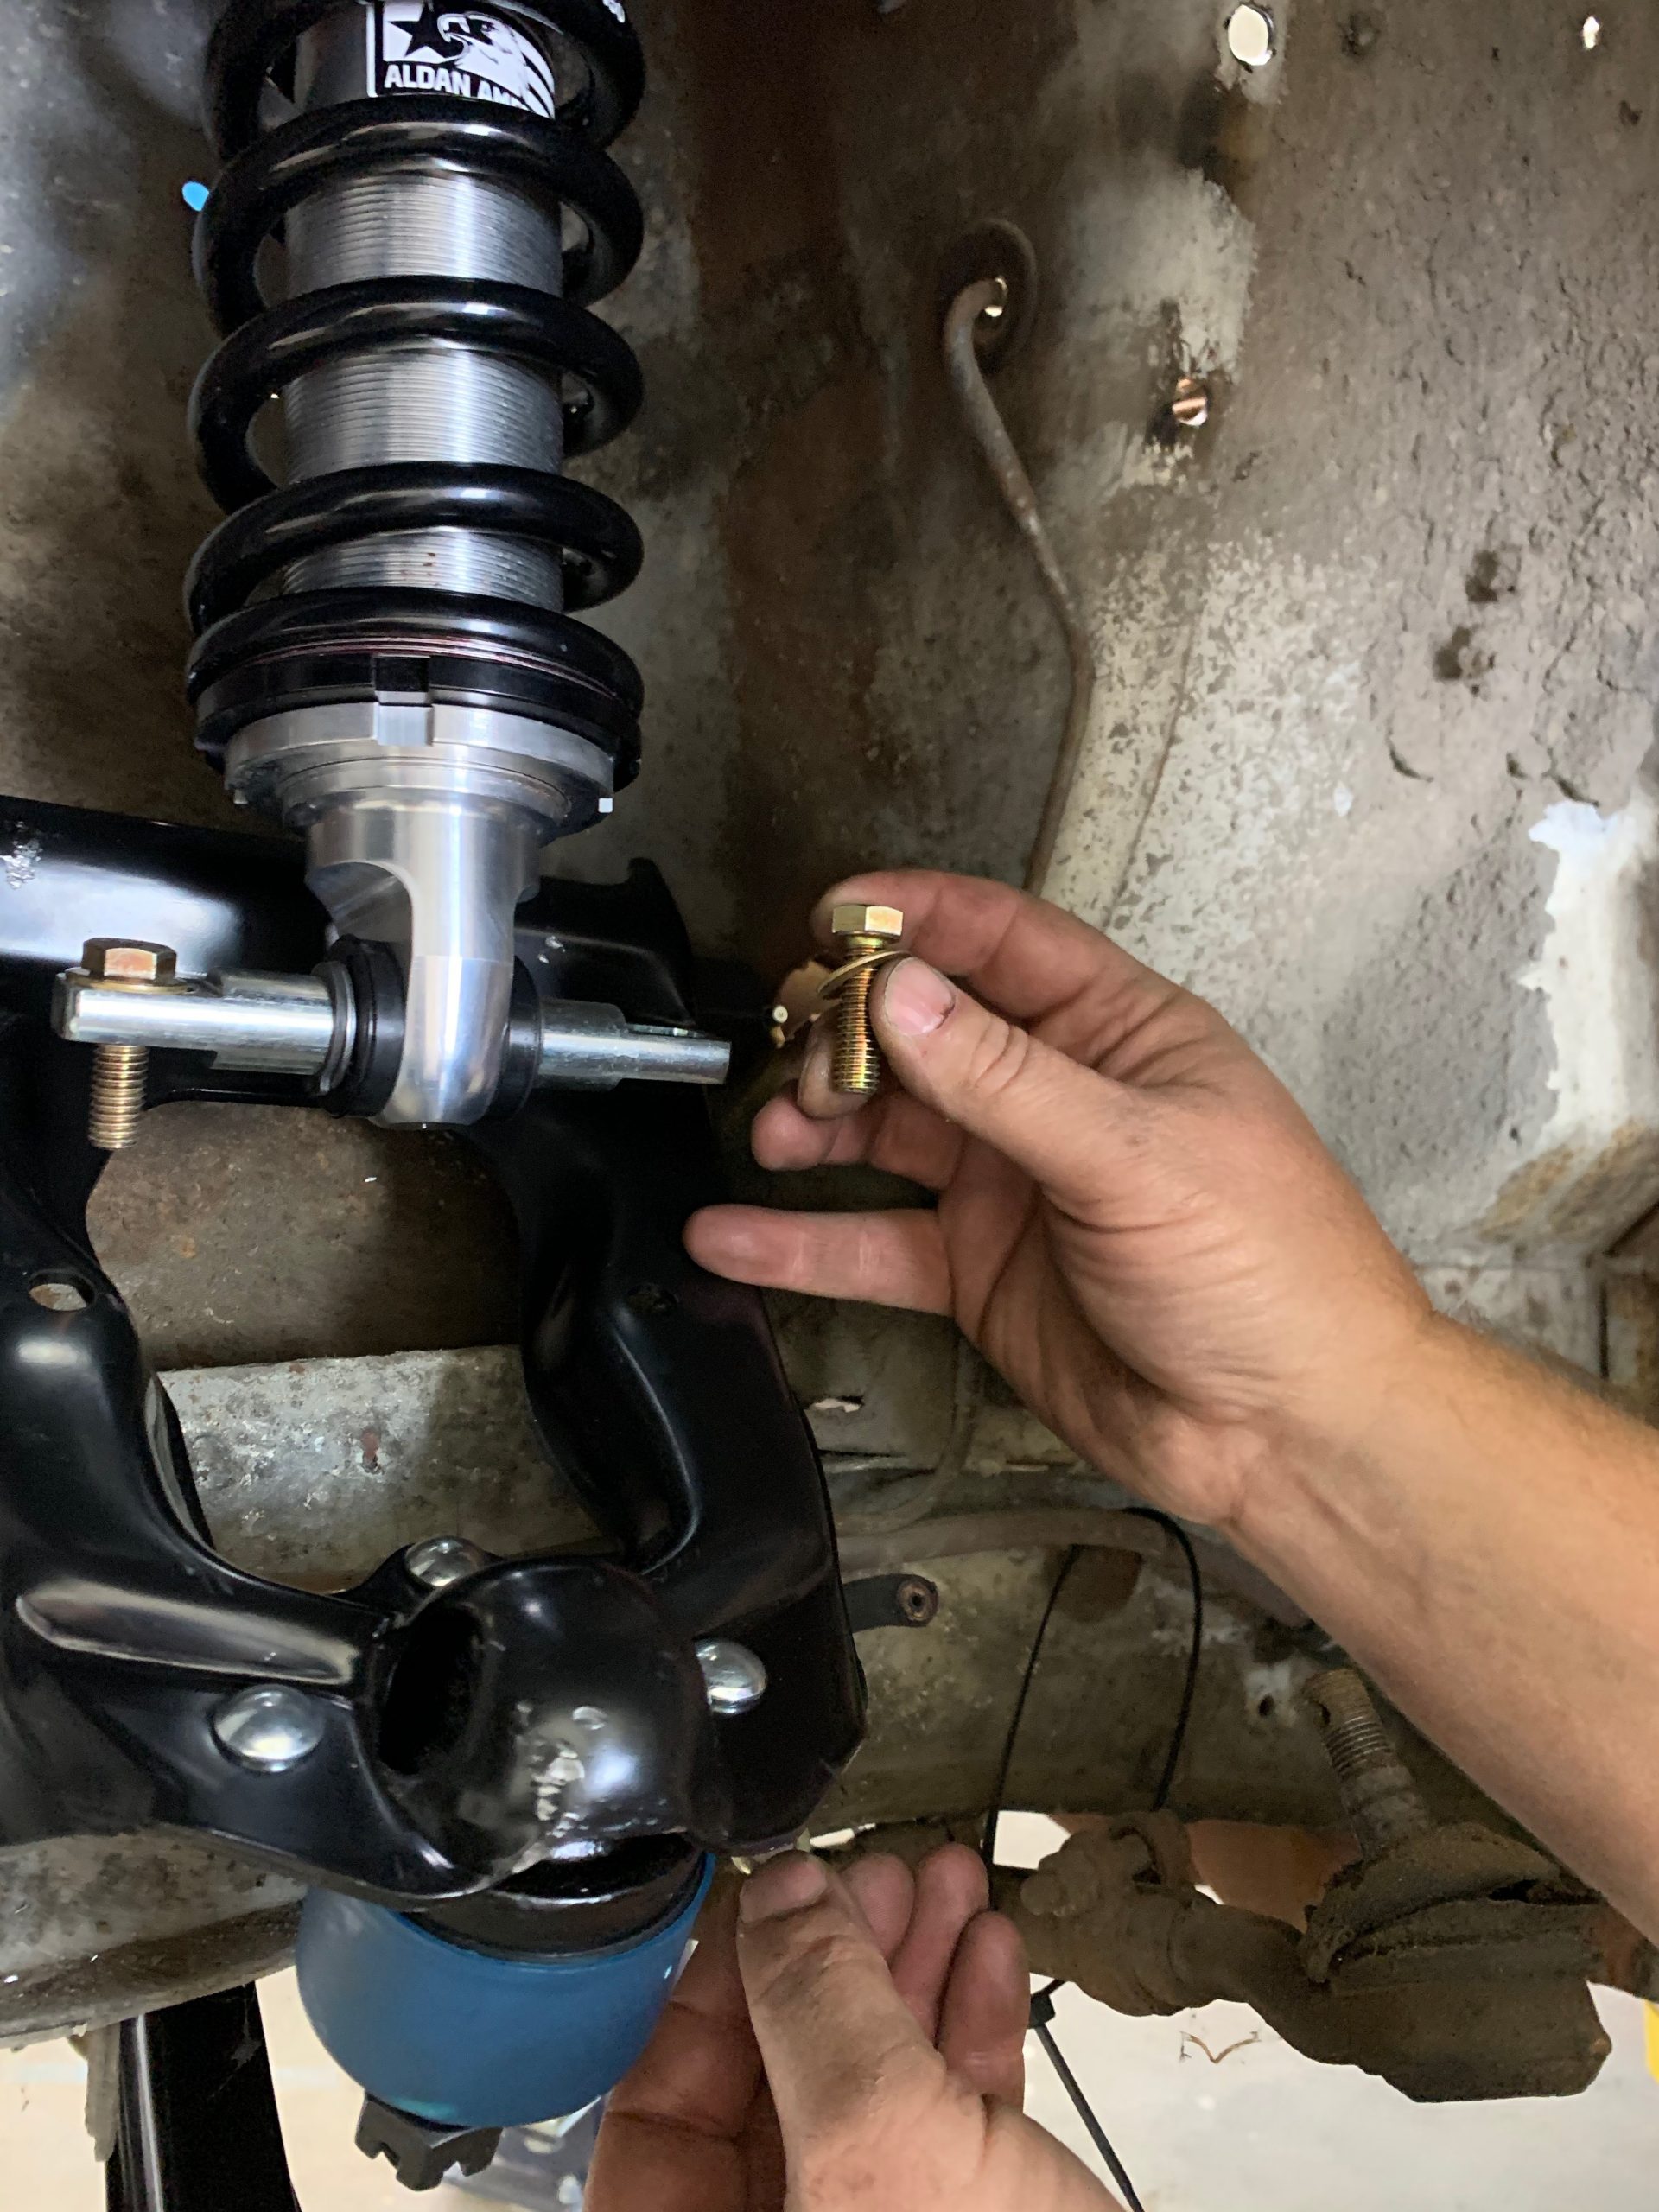
New control arm hardware.
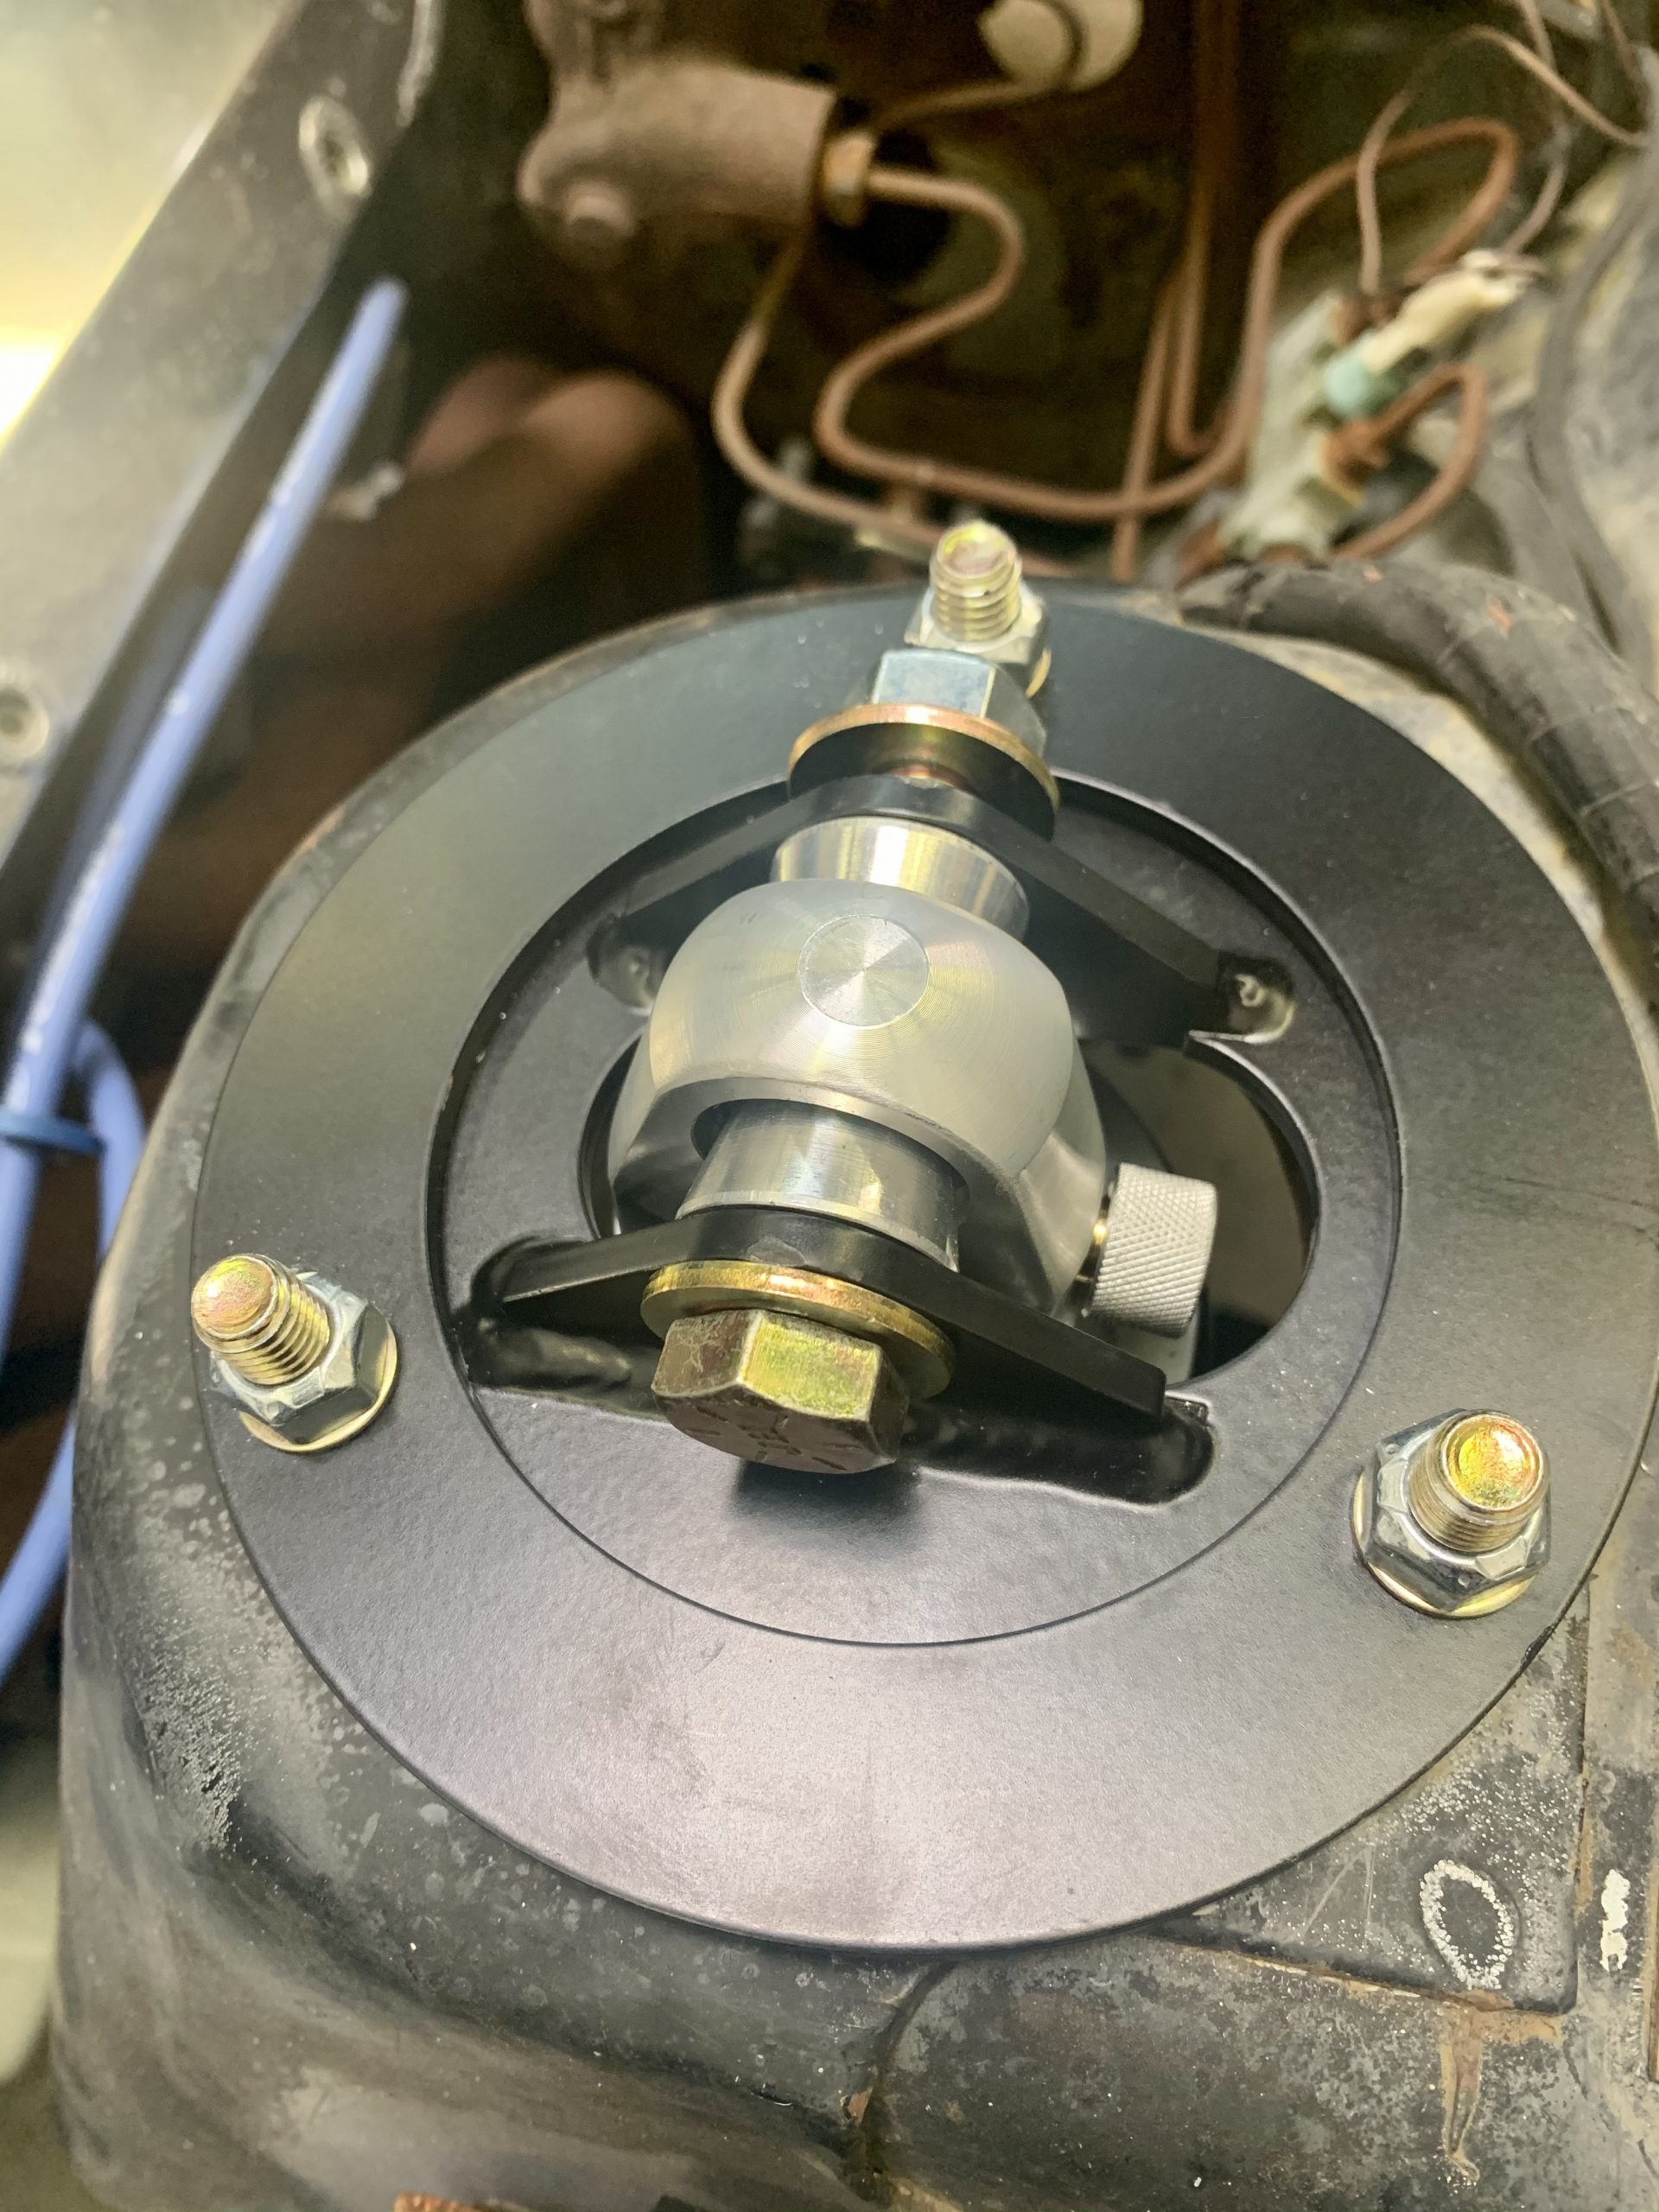
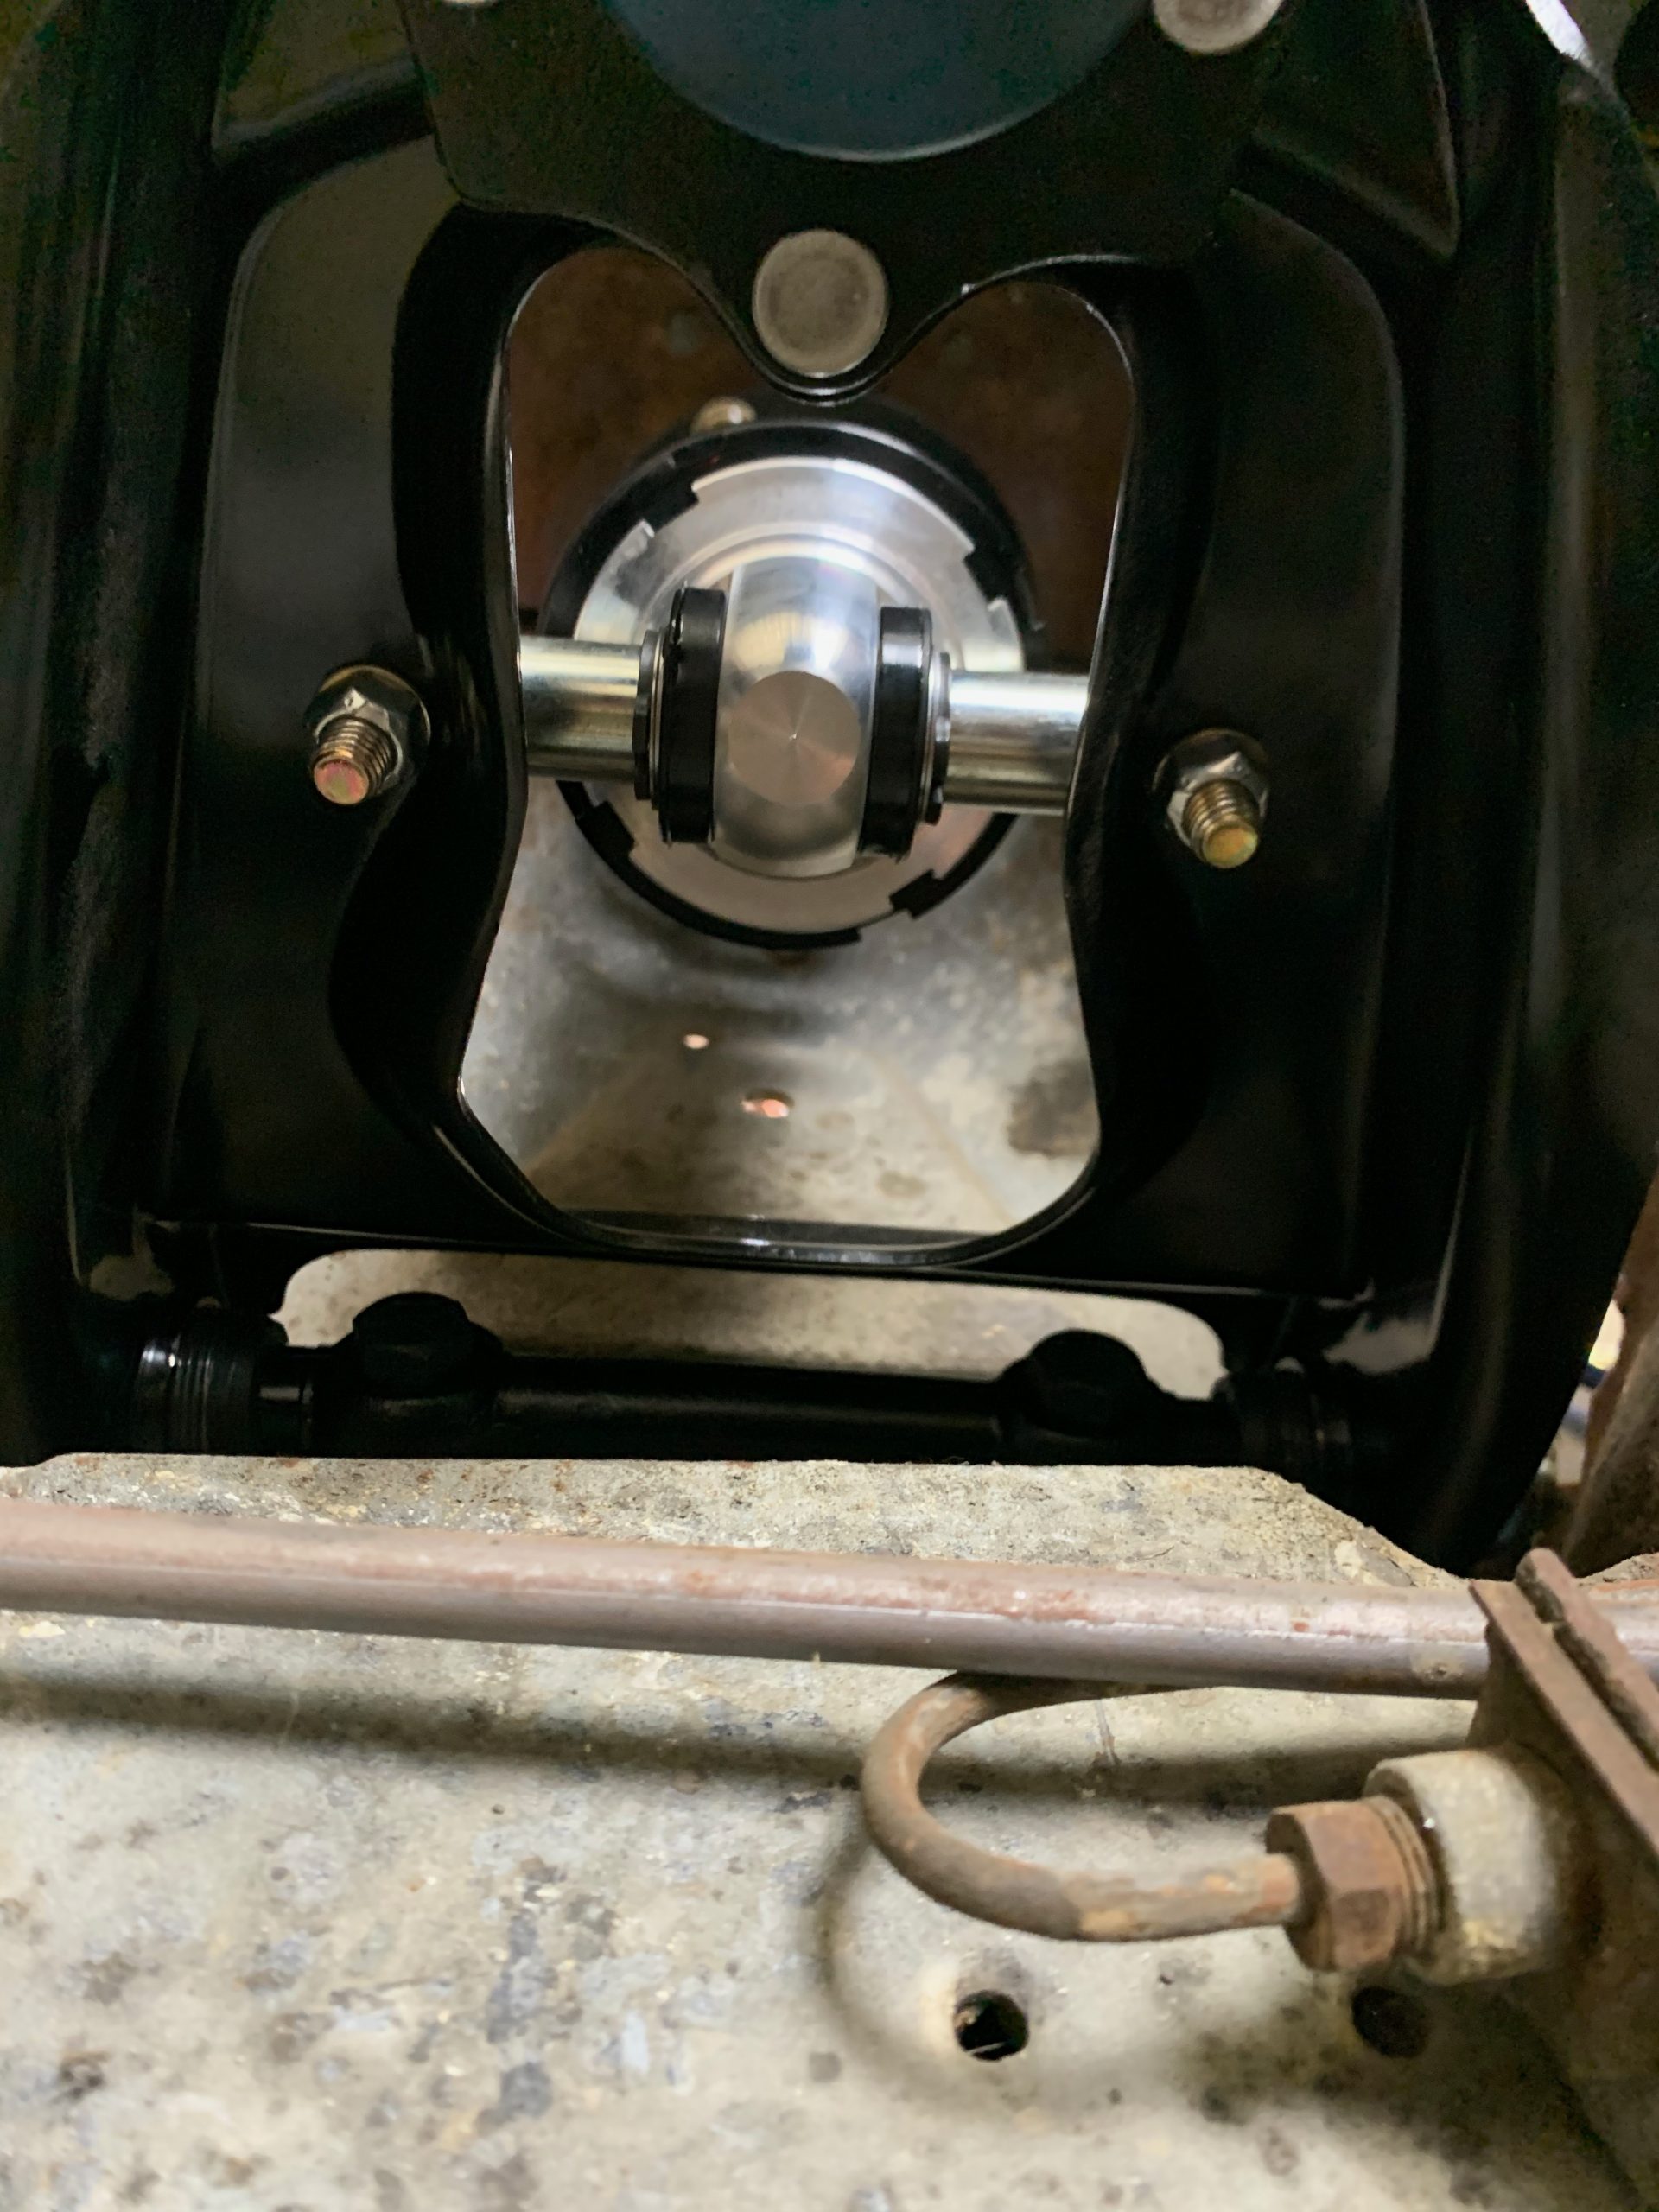
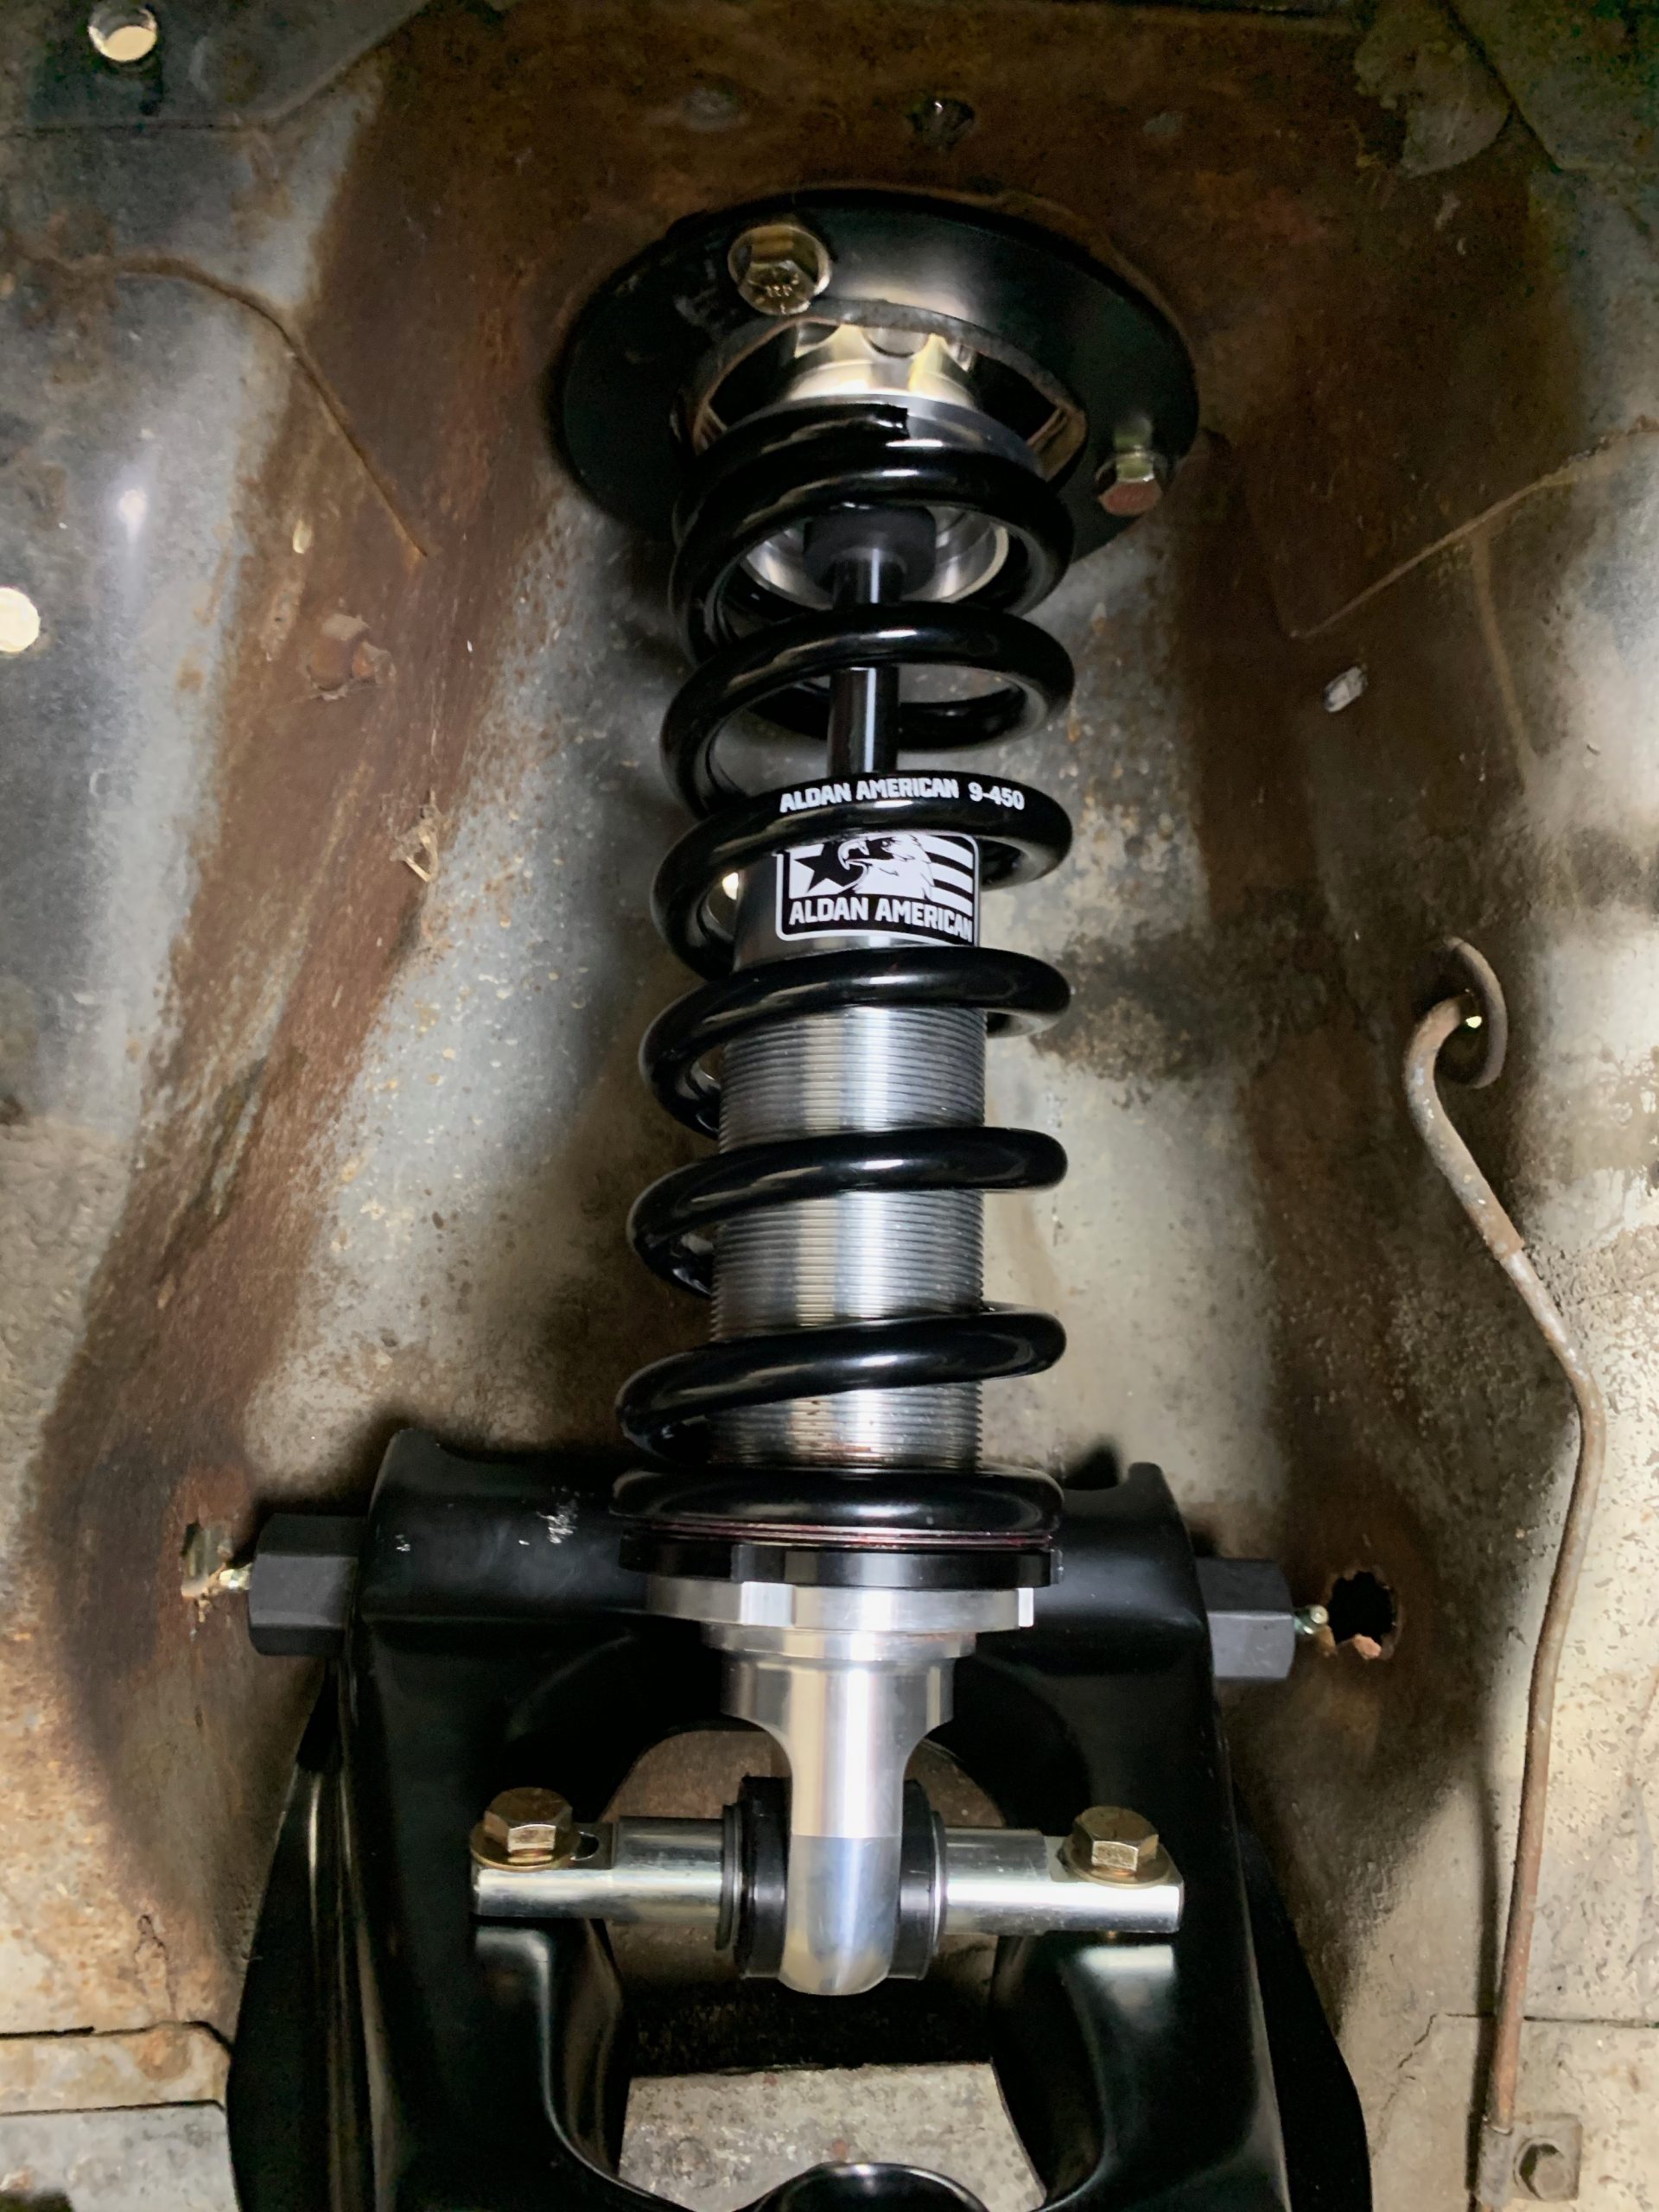
Step 10: With the upper shock mount in place – it’s time to install the new Aldan American coil over shock.
Step 11: Attach the lower mount of the Aldan American coil over to the upper control arm.
Step 12: Now your car is ready for the alignment shop!
Check out our latest products and get your stance dialed in with Aldan American’s suspension kit upgrades designed to handle all your high performance driving needs.
Shop Coilover kits today!
Are you restoring a Ford Ranchero? Click here

