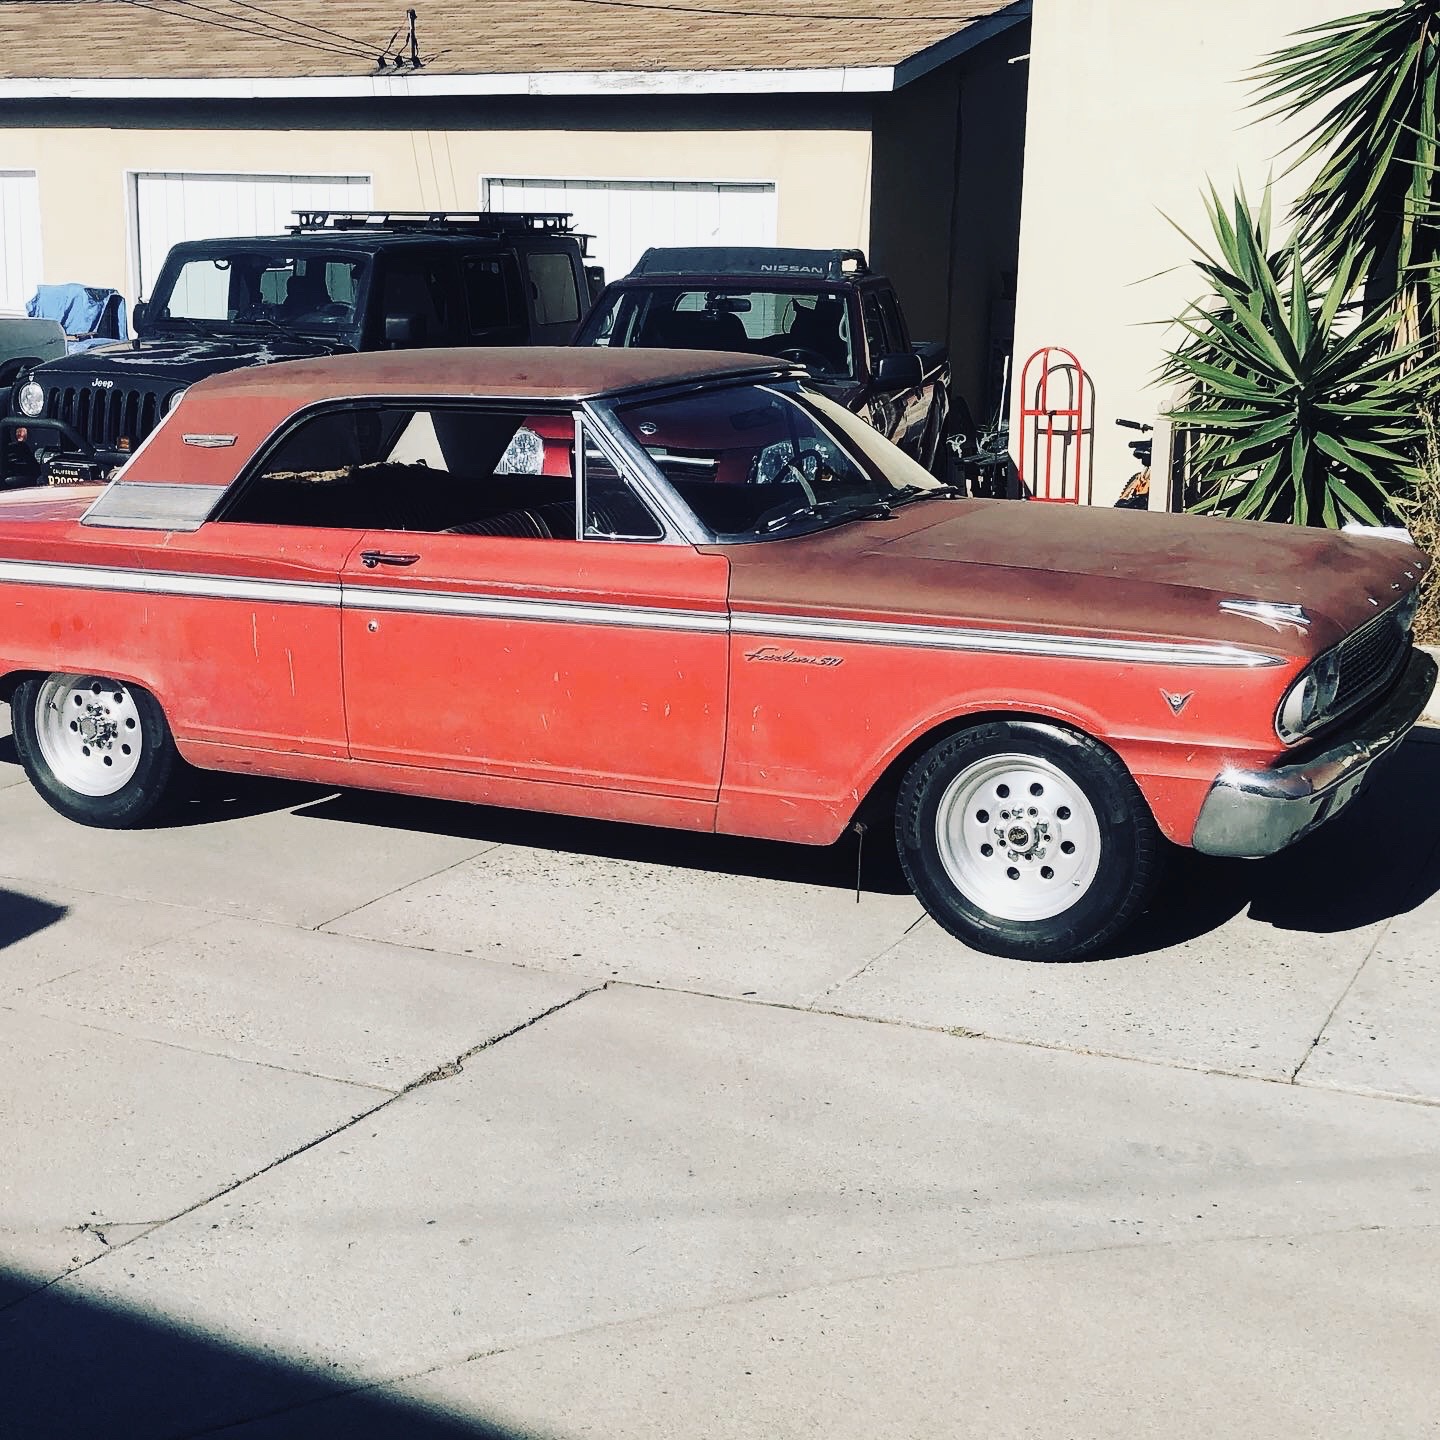
1963 Ford Fairlane Coil over install tutorial
Getting started
The original Fairlane front shocks consisted of a conventional shock and spring mounted to the upper A-arm at the bottom and secured to the top via a stem and bushings on the top.
Before disassembly, we want to measure the initial ride height. You want to take a baseline ride height measurement, so you have a set point on where your car is currently. This baseline measurement will give you a reference point on where your car was originally as you’re adjusting your new coilovers once they’re installed.
The next thing is to make a safety note; keep in mind that this process does require the use of the spring compressor for disassembly. Due to the nature of a spring compressor, it is possible to be injured by improper usage.
Removing the OEM shocks and springs
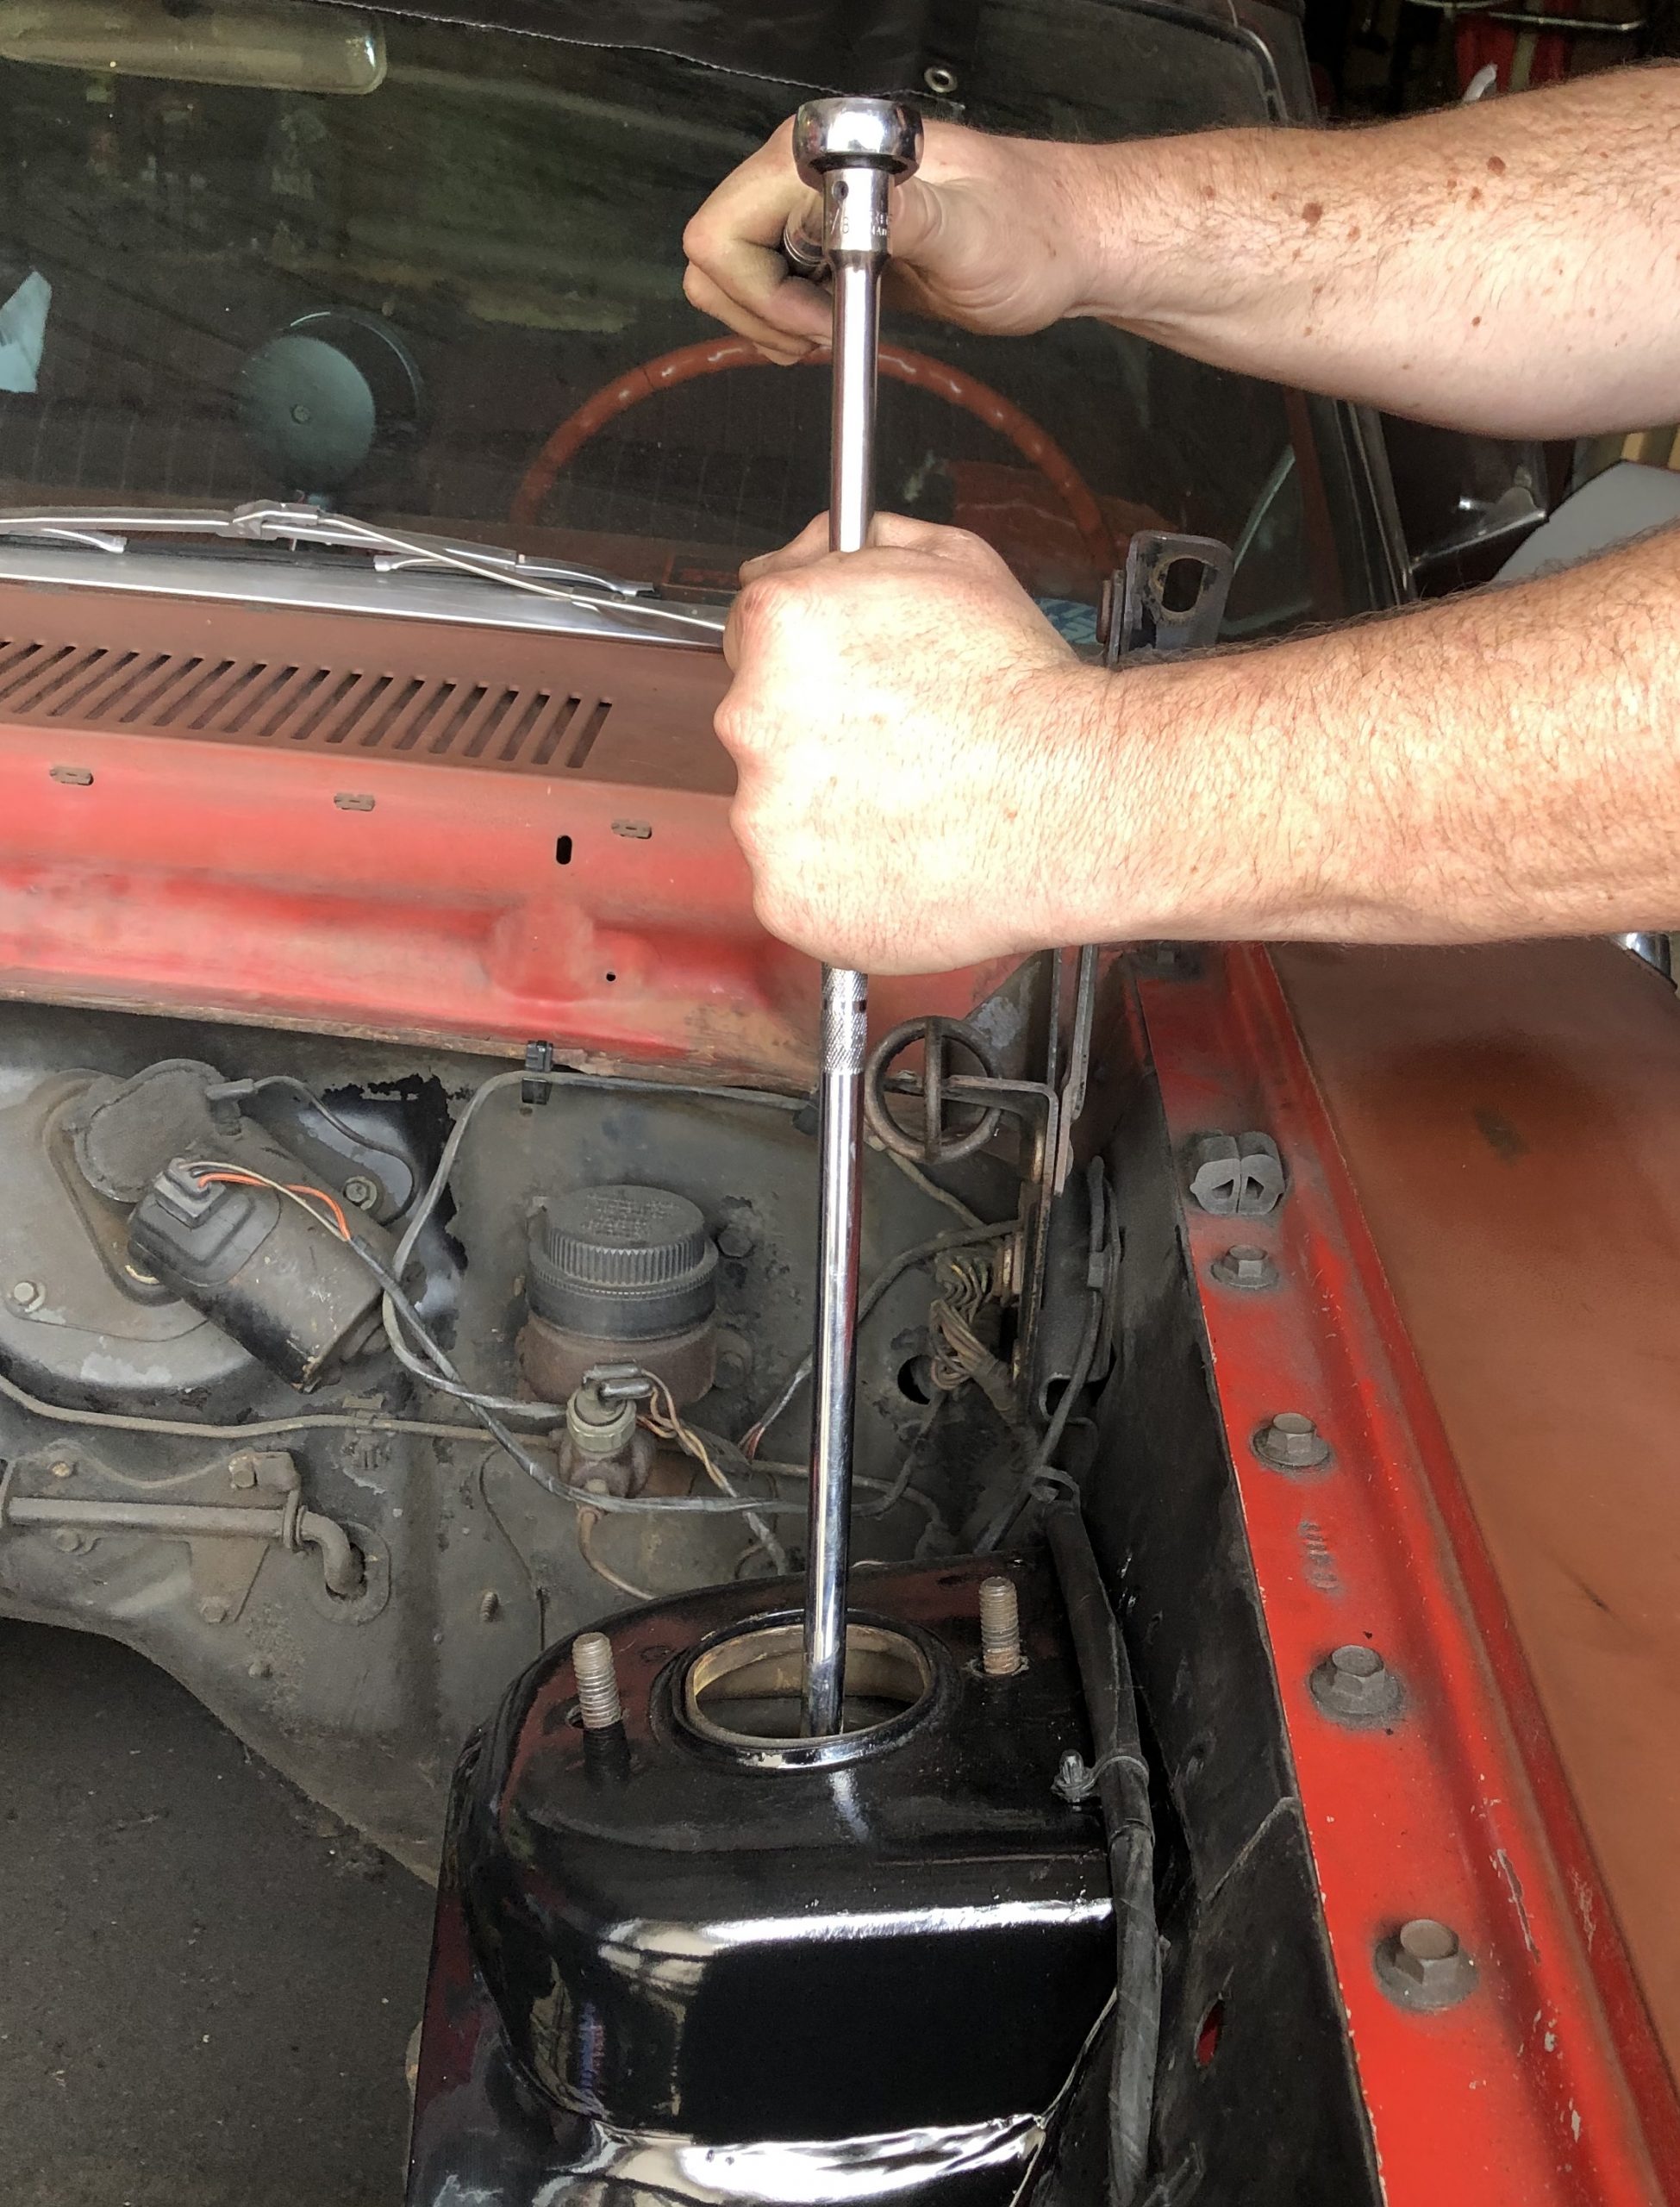
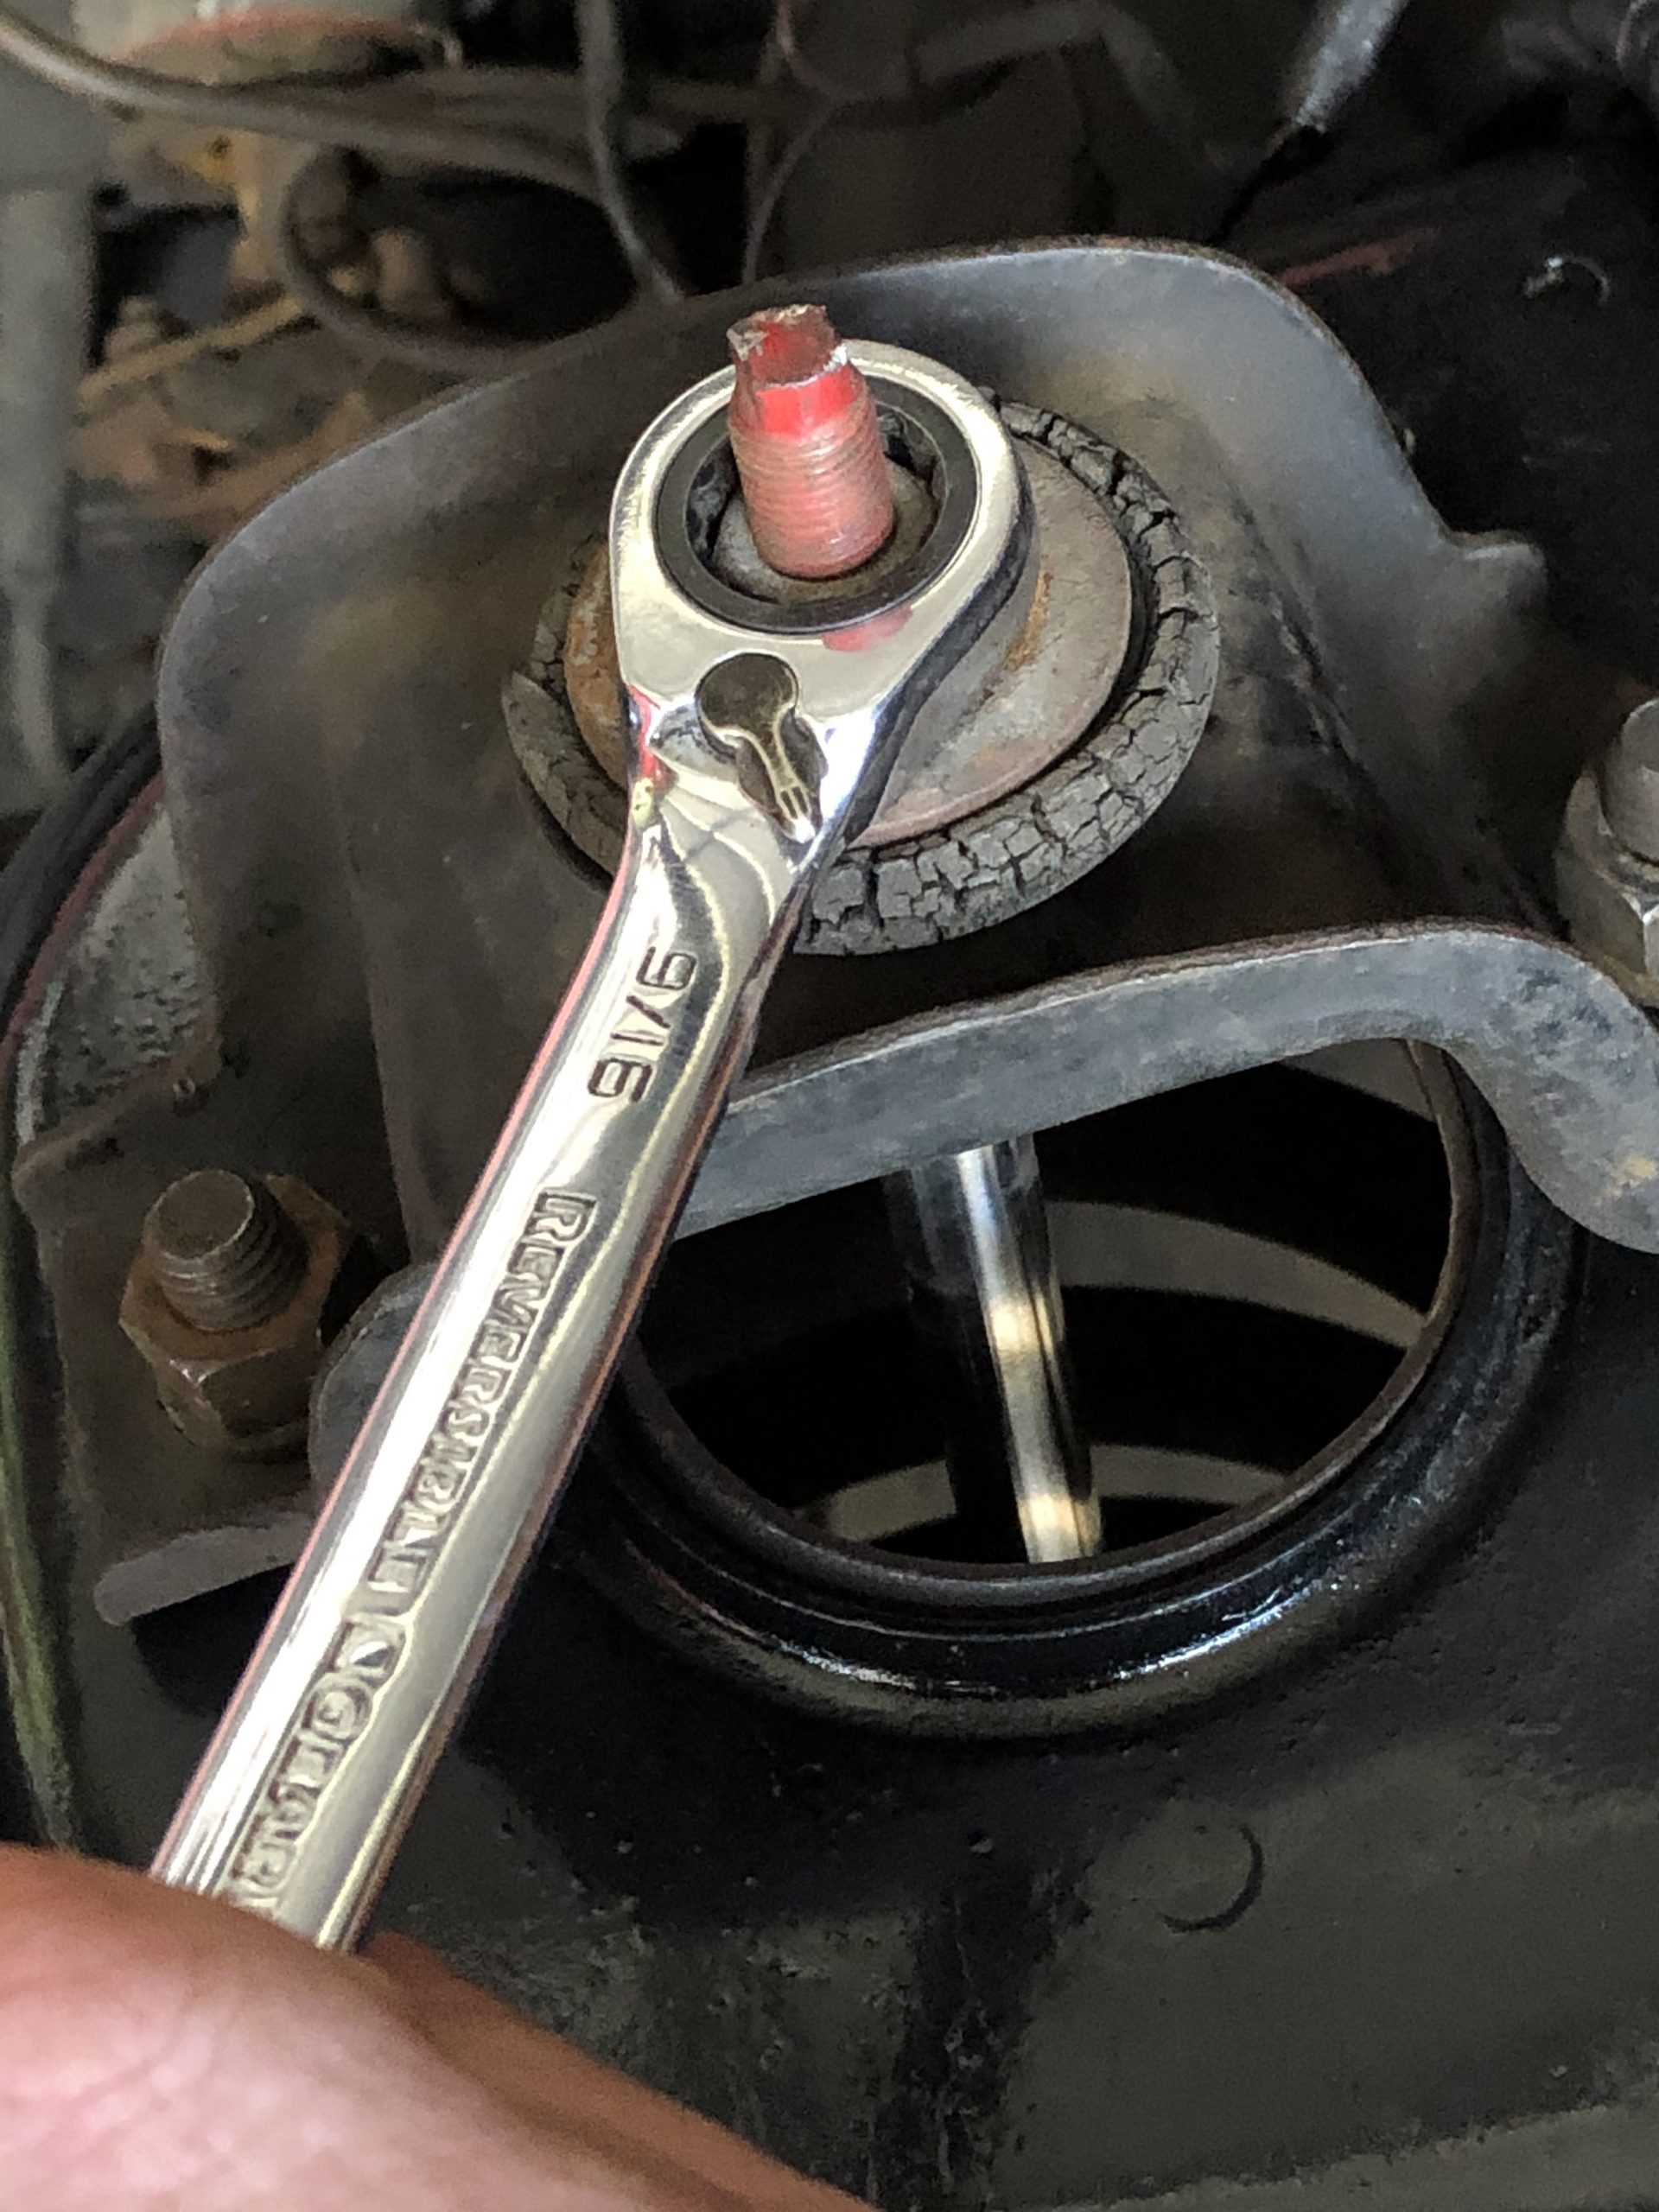
Located on the top shock mount is a bolt attached to the shock absorber. Our next step is to remove it the shock absorber and the two bolts attaching it to the upper A-arm.
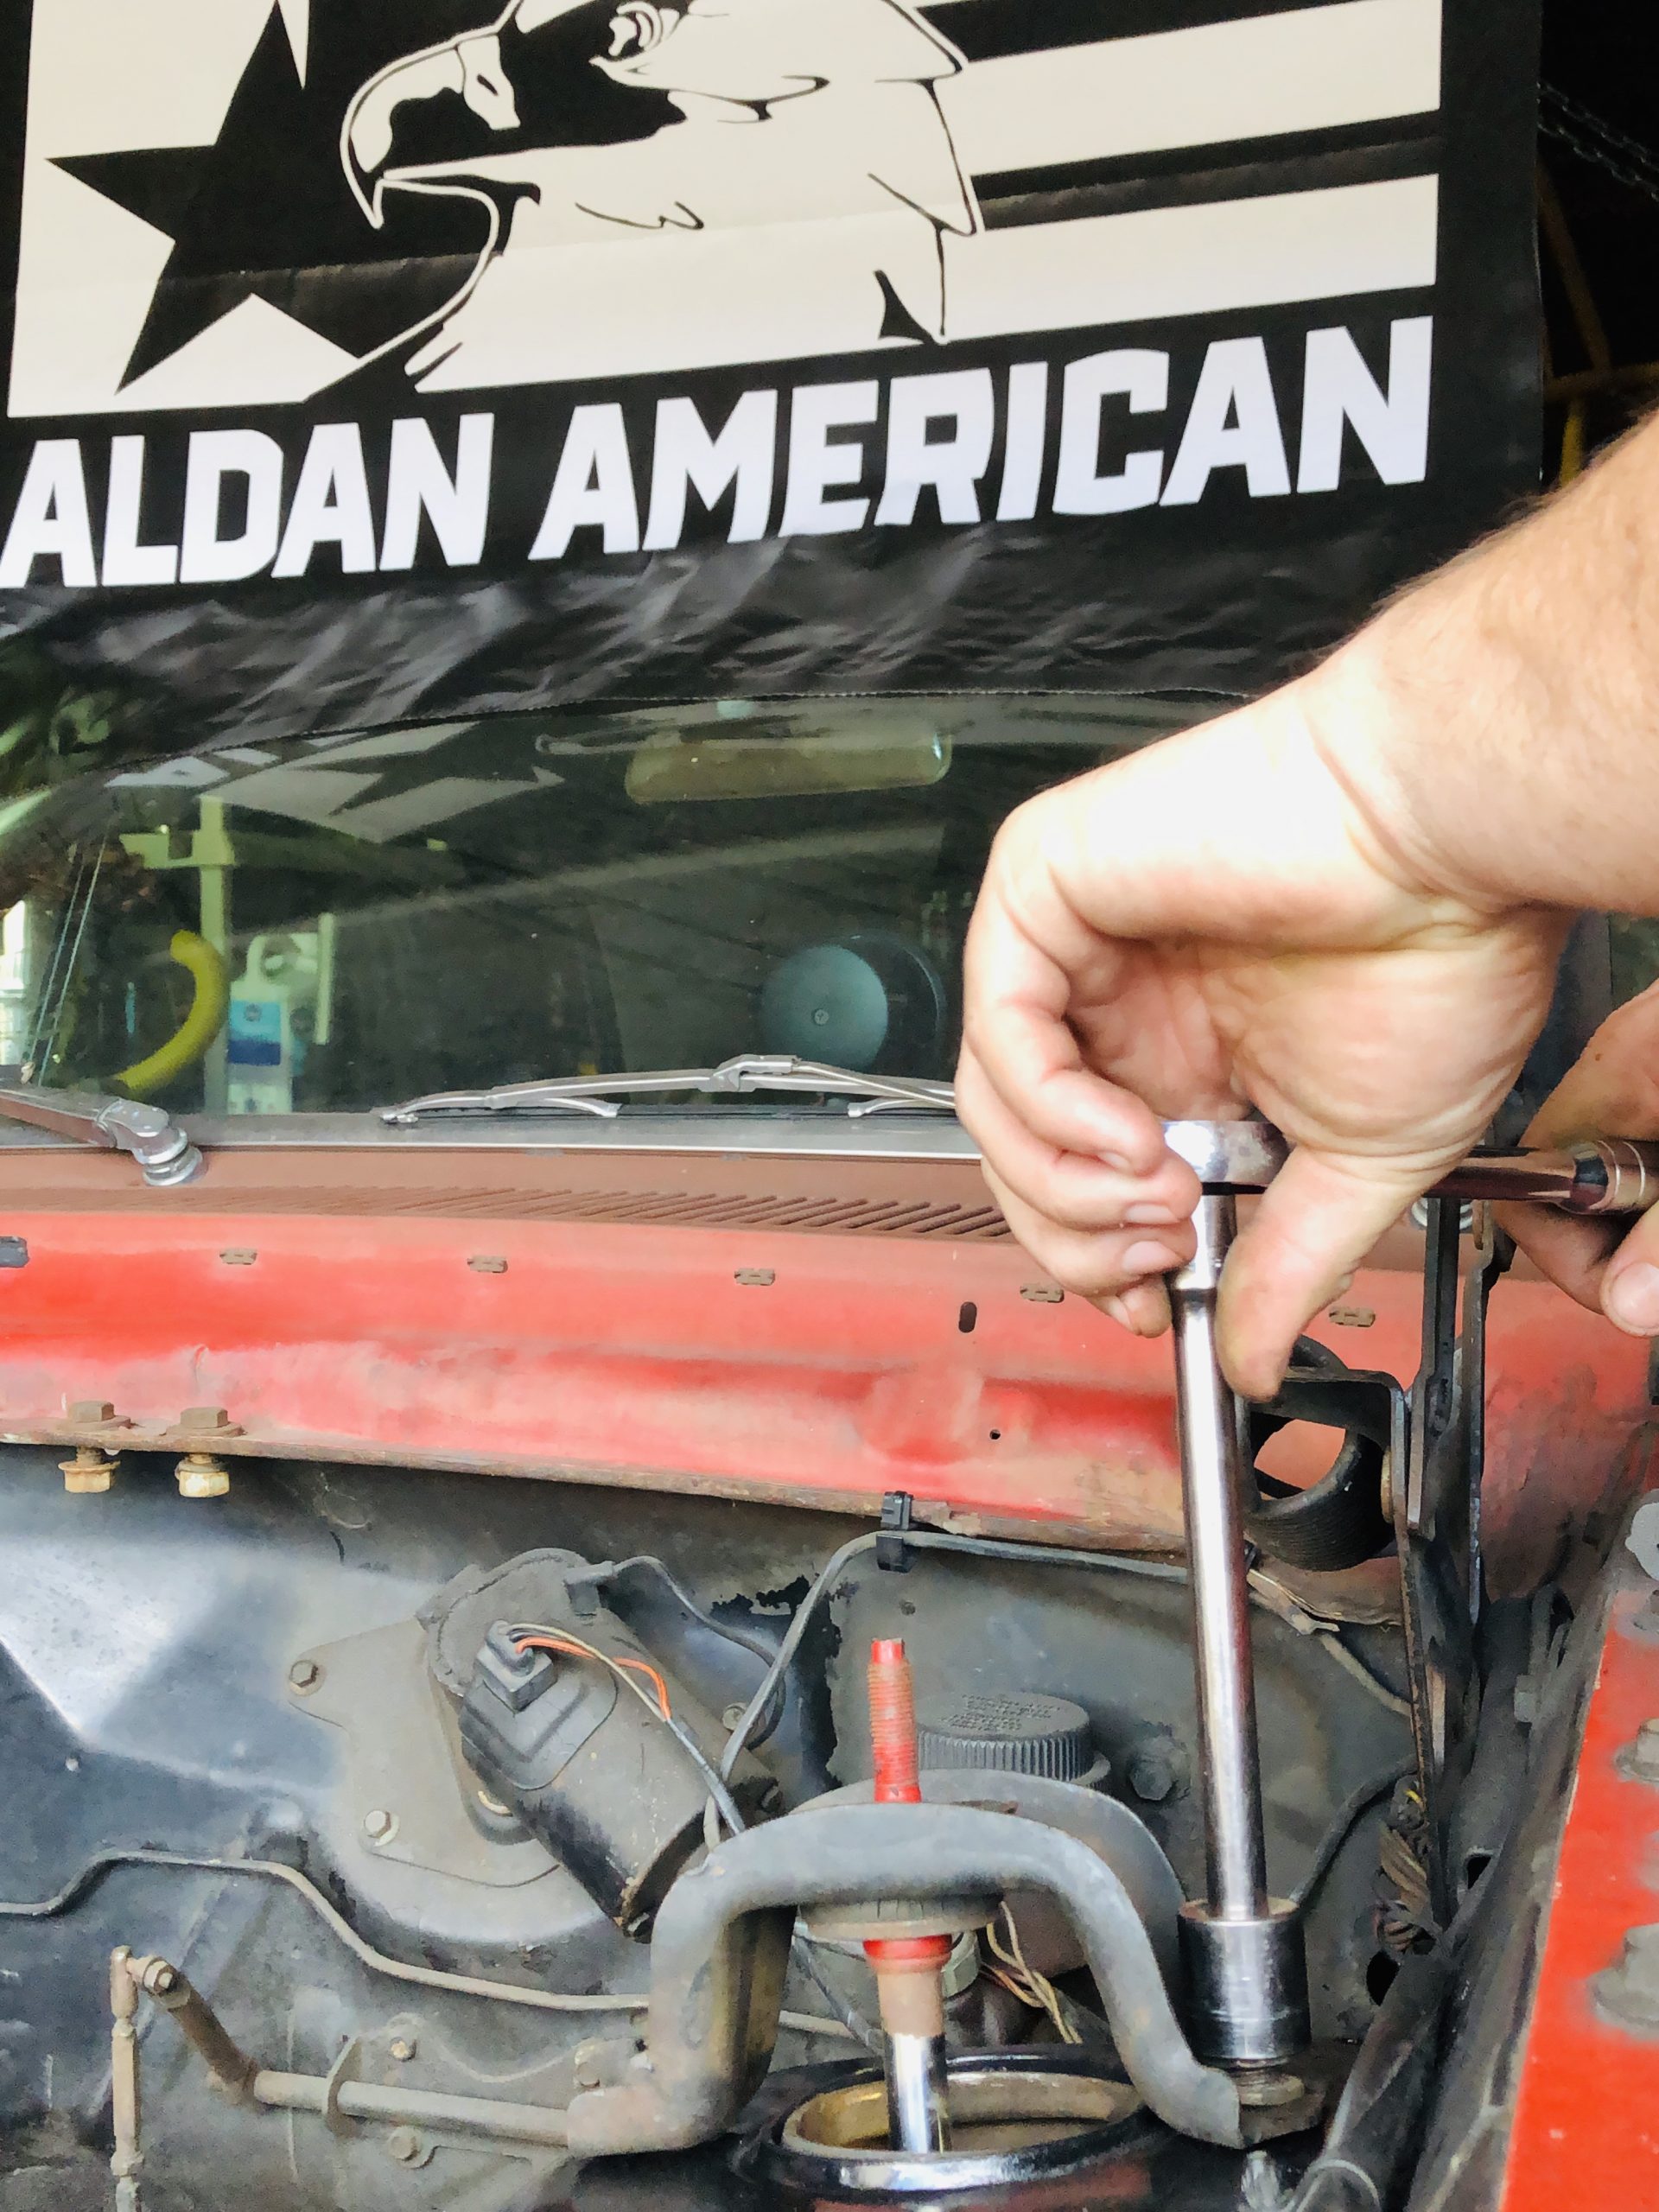
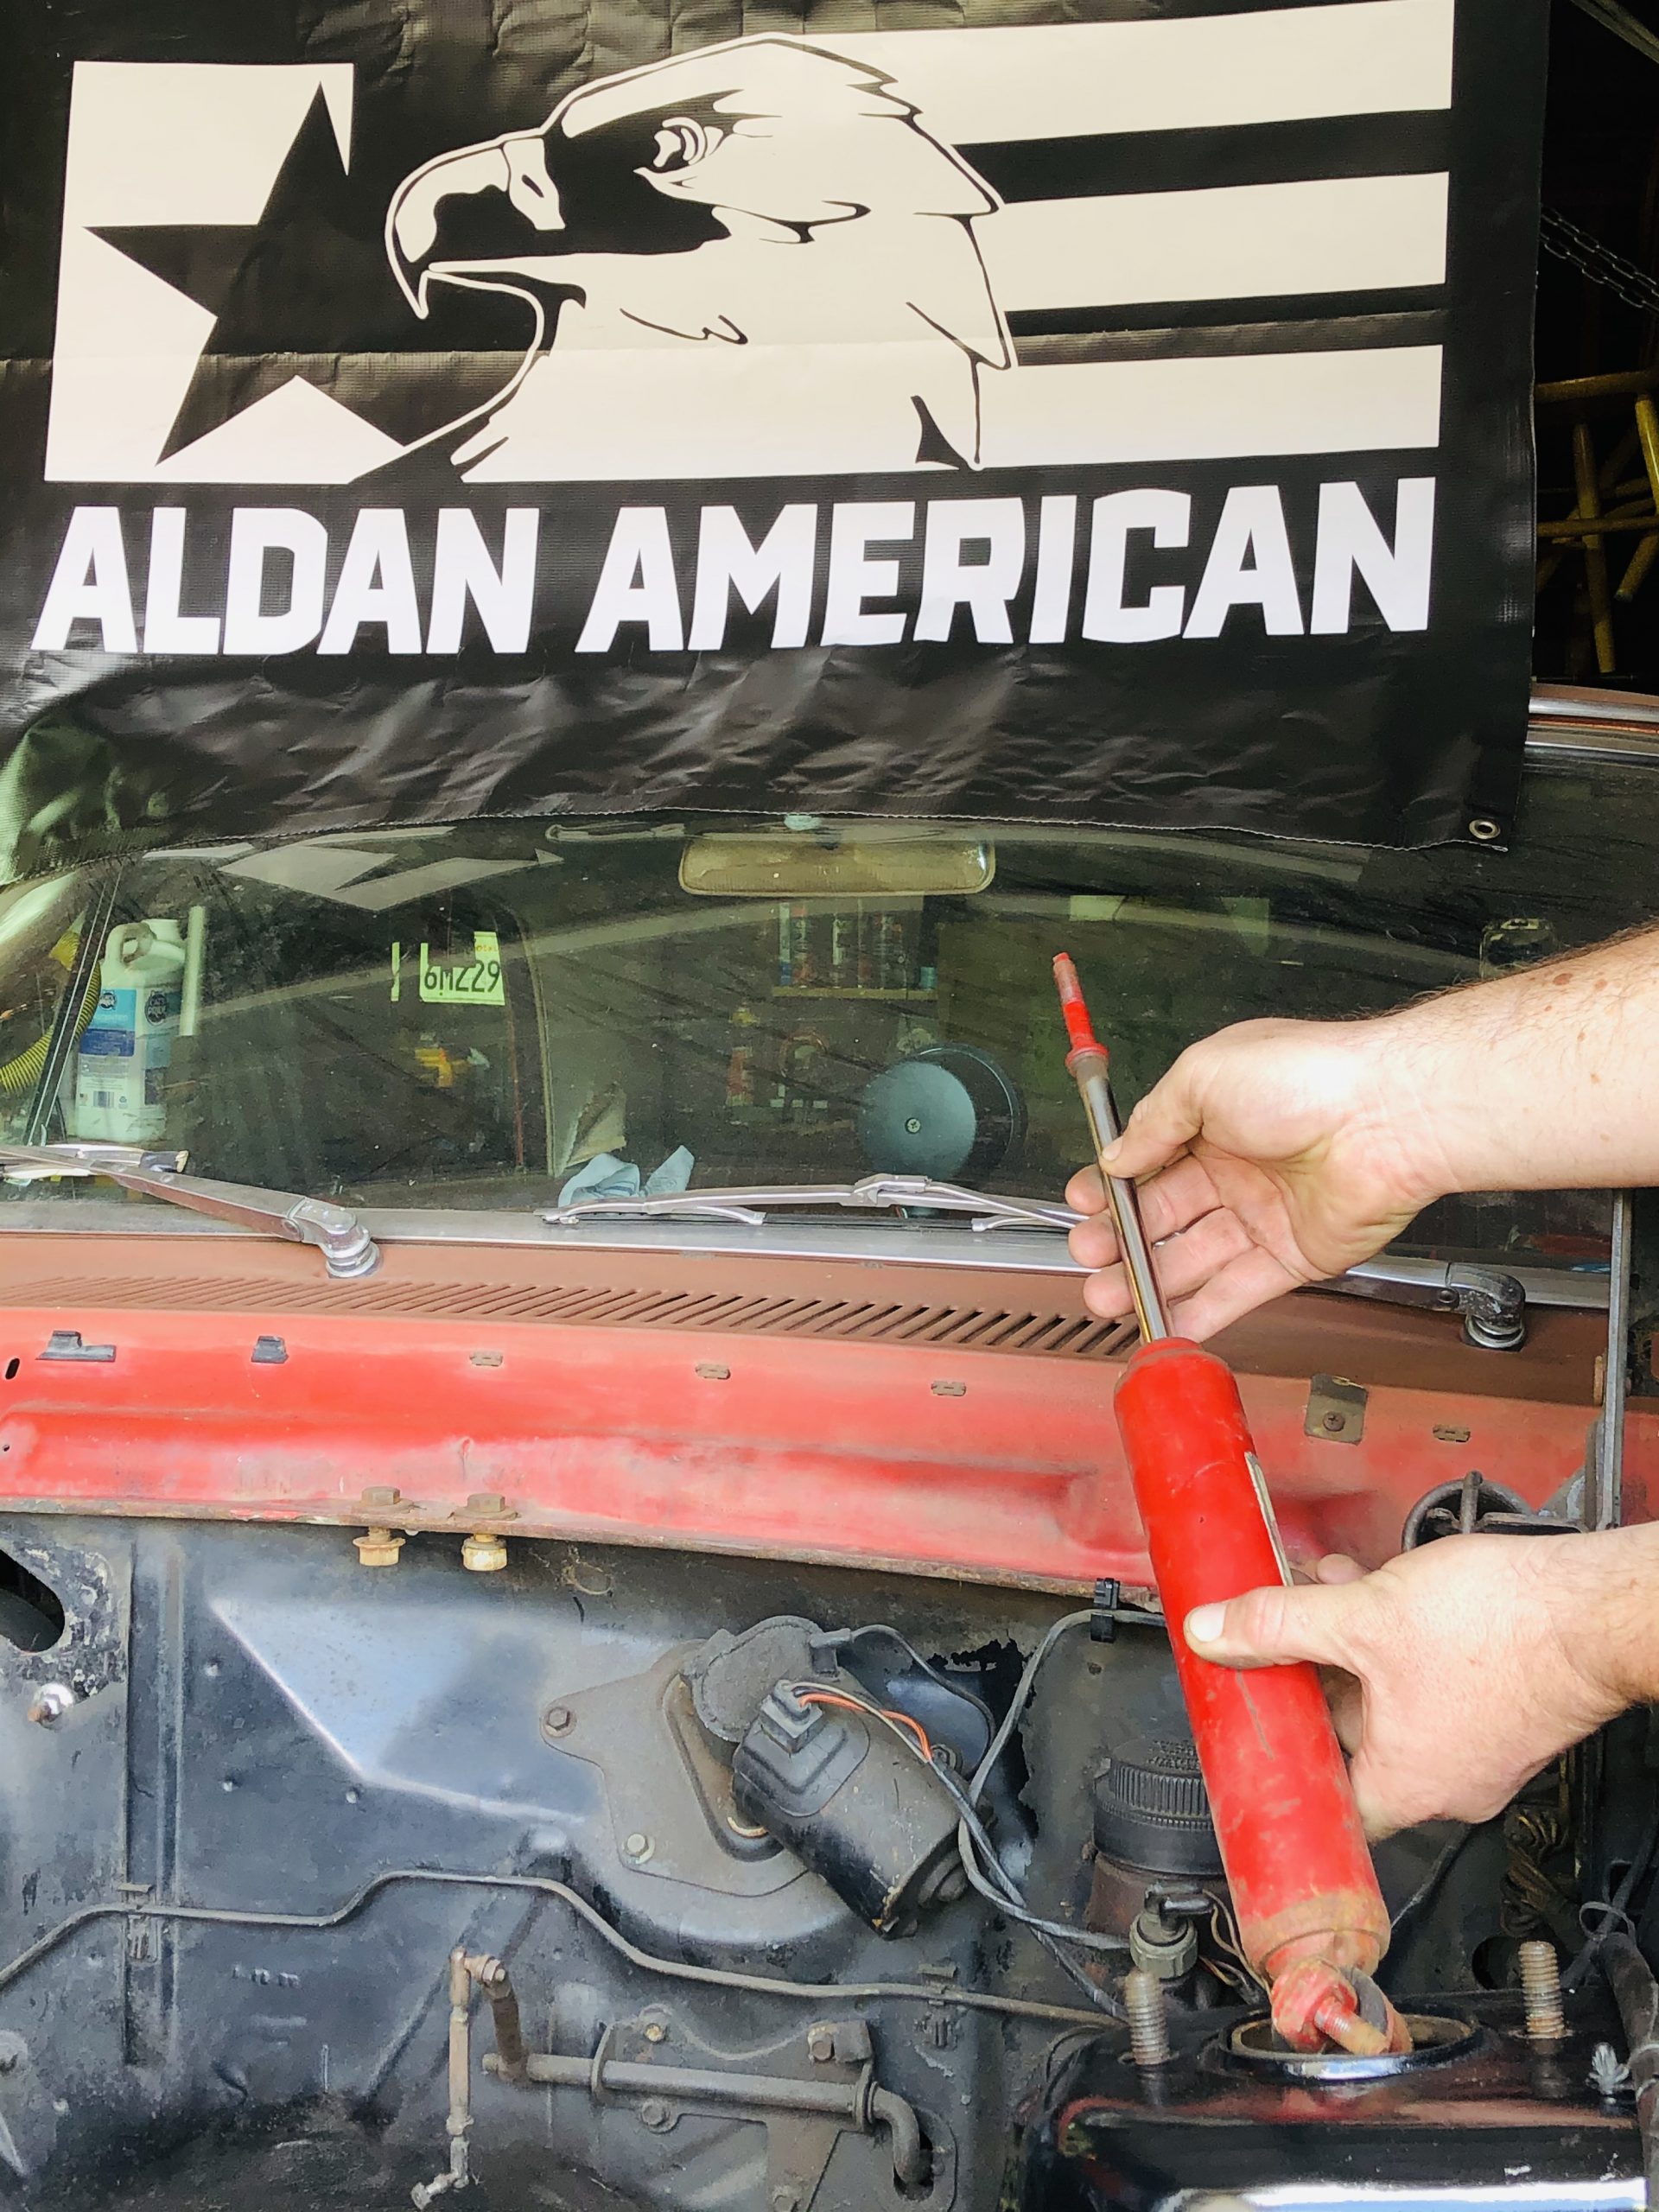
Stock coil spring with suspension at full droop. Remove upper shock nut with 9/16 wrench. Remove upper shock mount nuts (2) using an 11/16 socket. Remove lower shock nuts (2) with 9/16 socket. After removing upper shock mount, pull absorber up through the top of the shock tower.
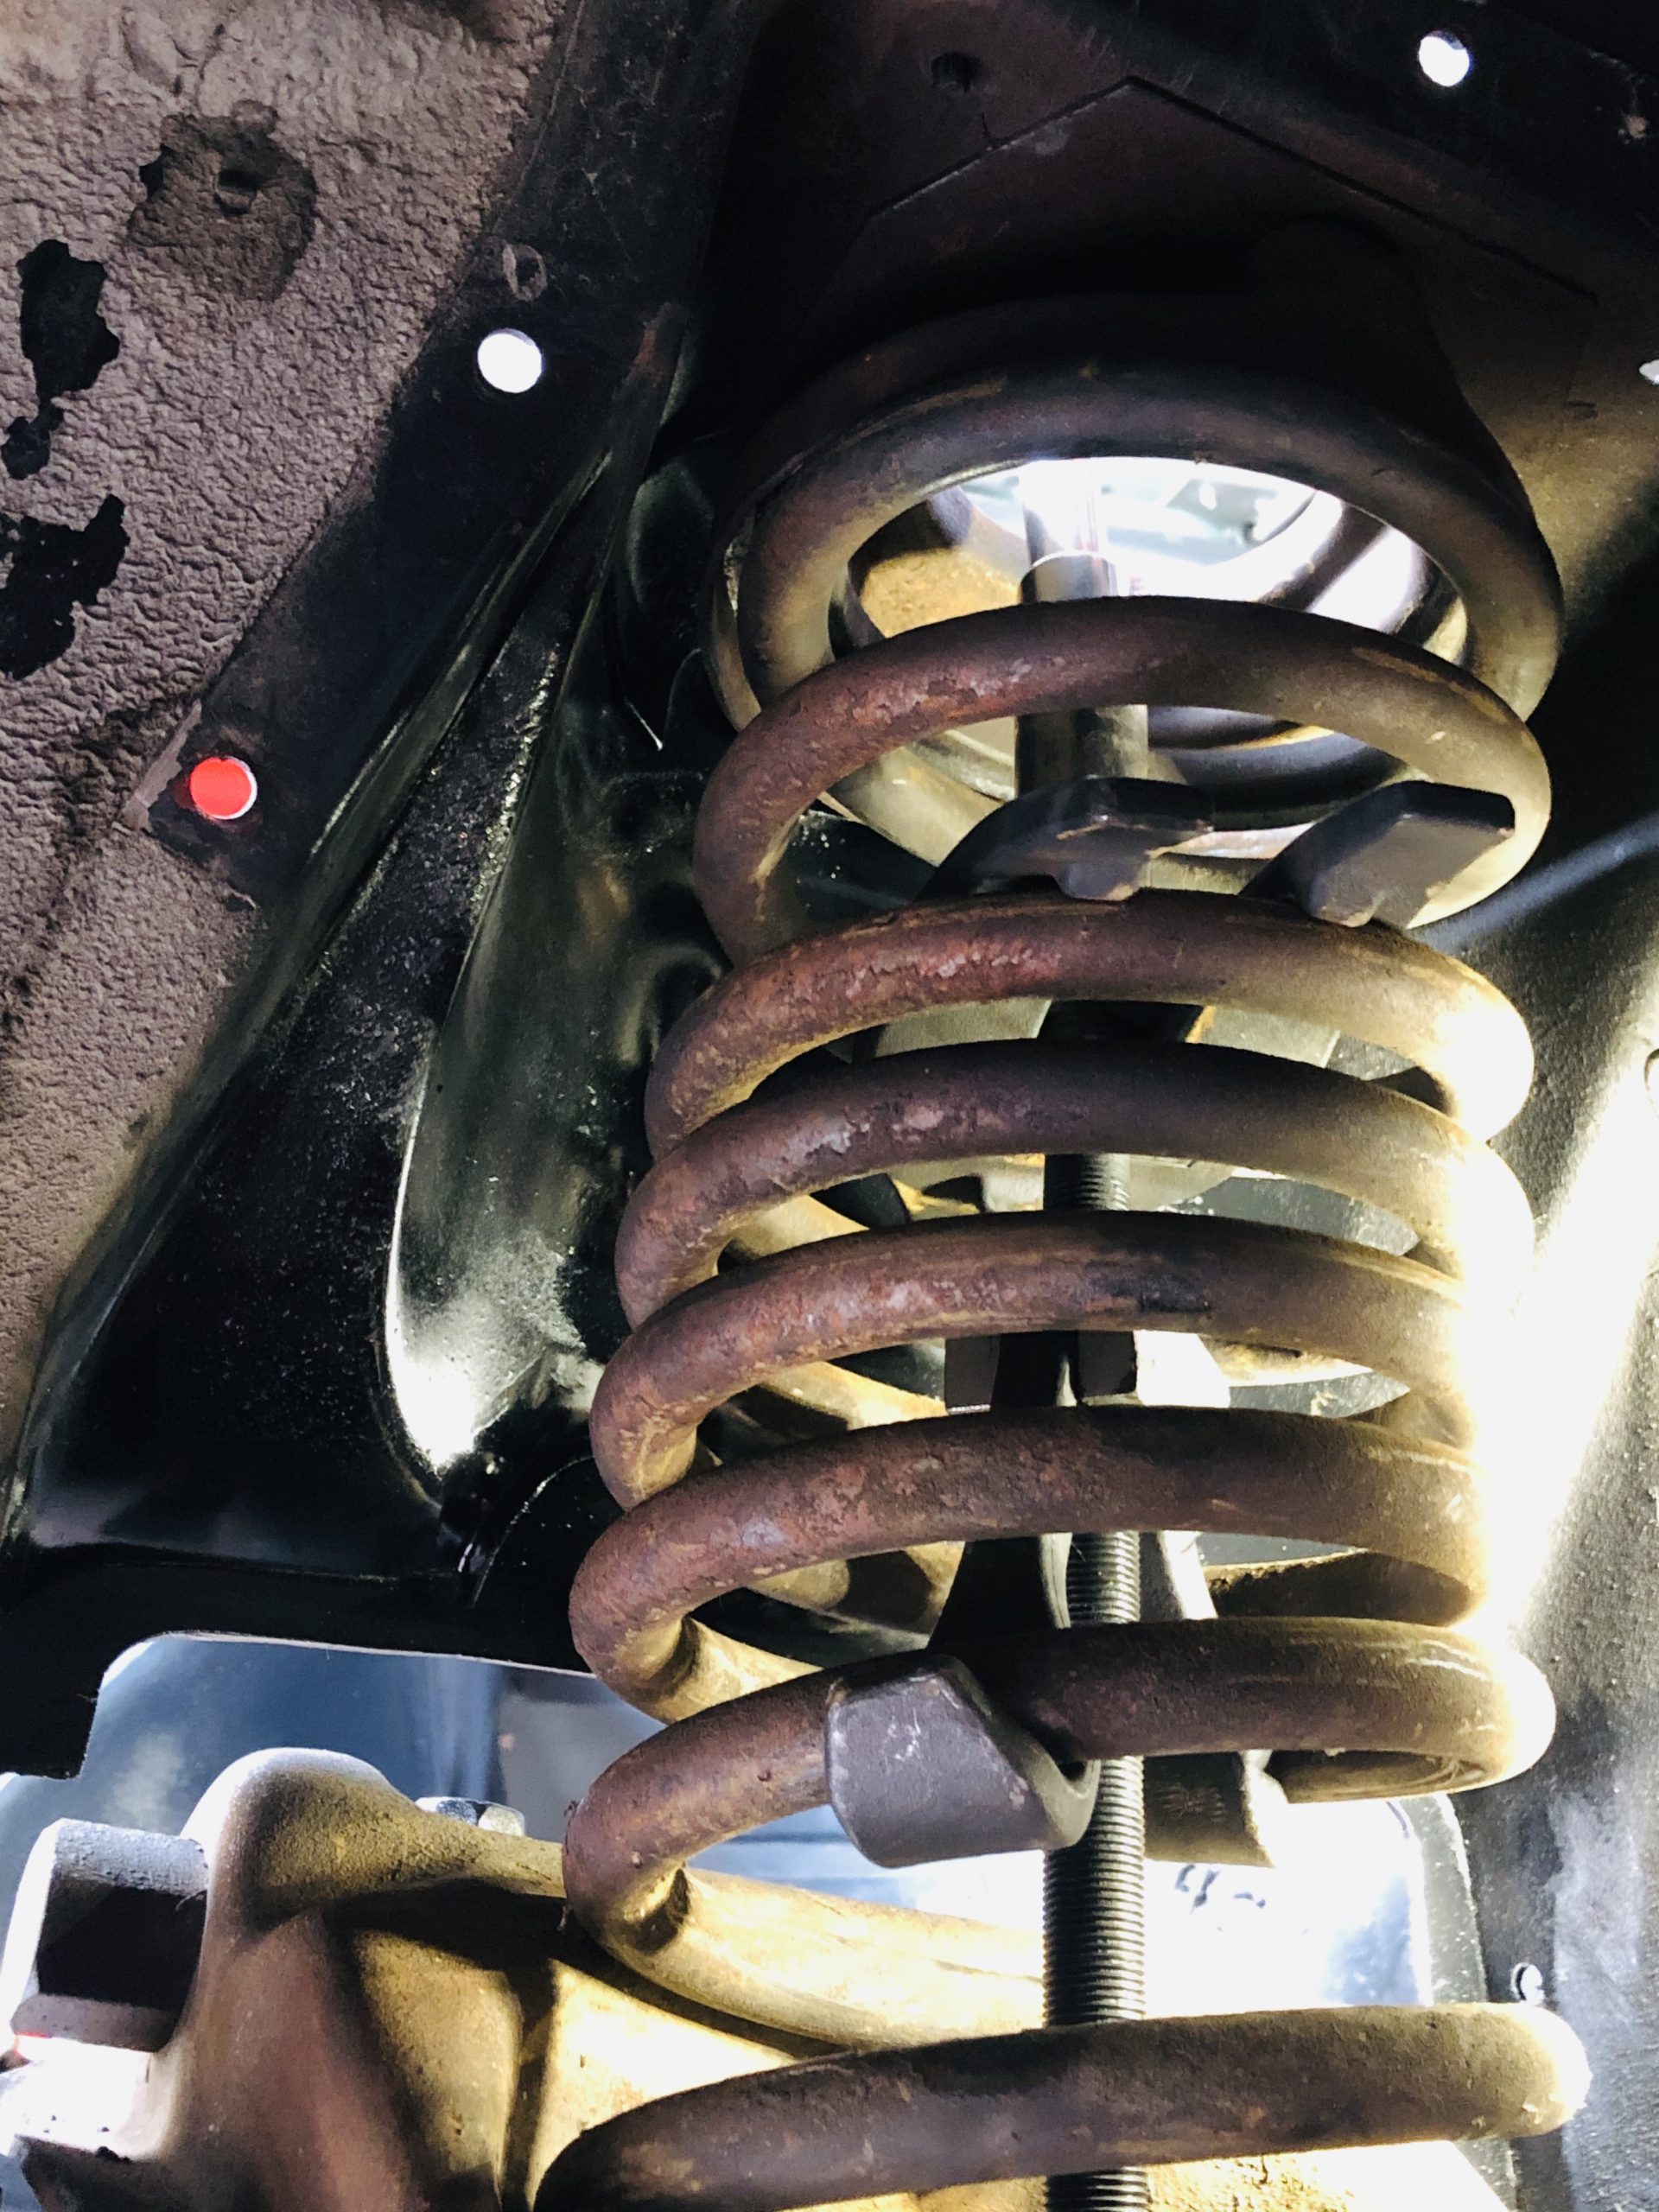
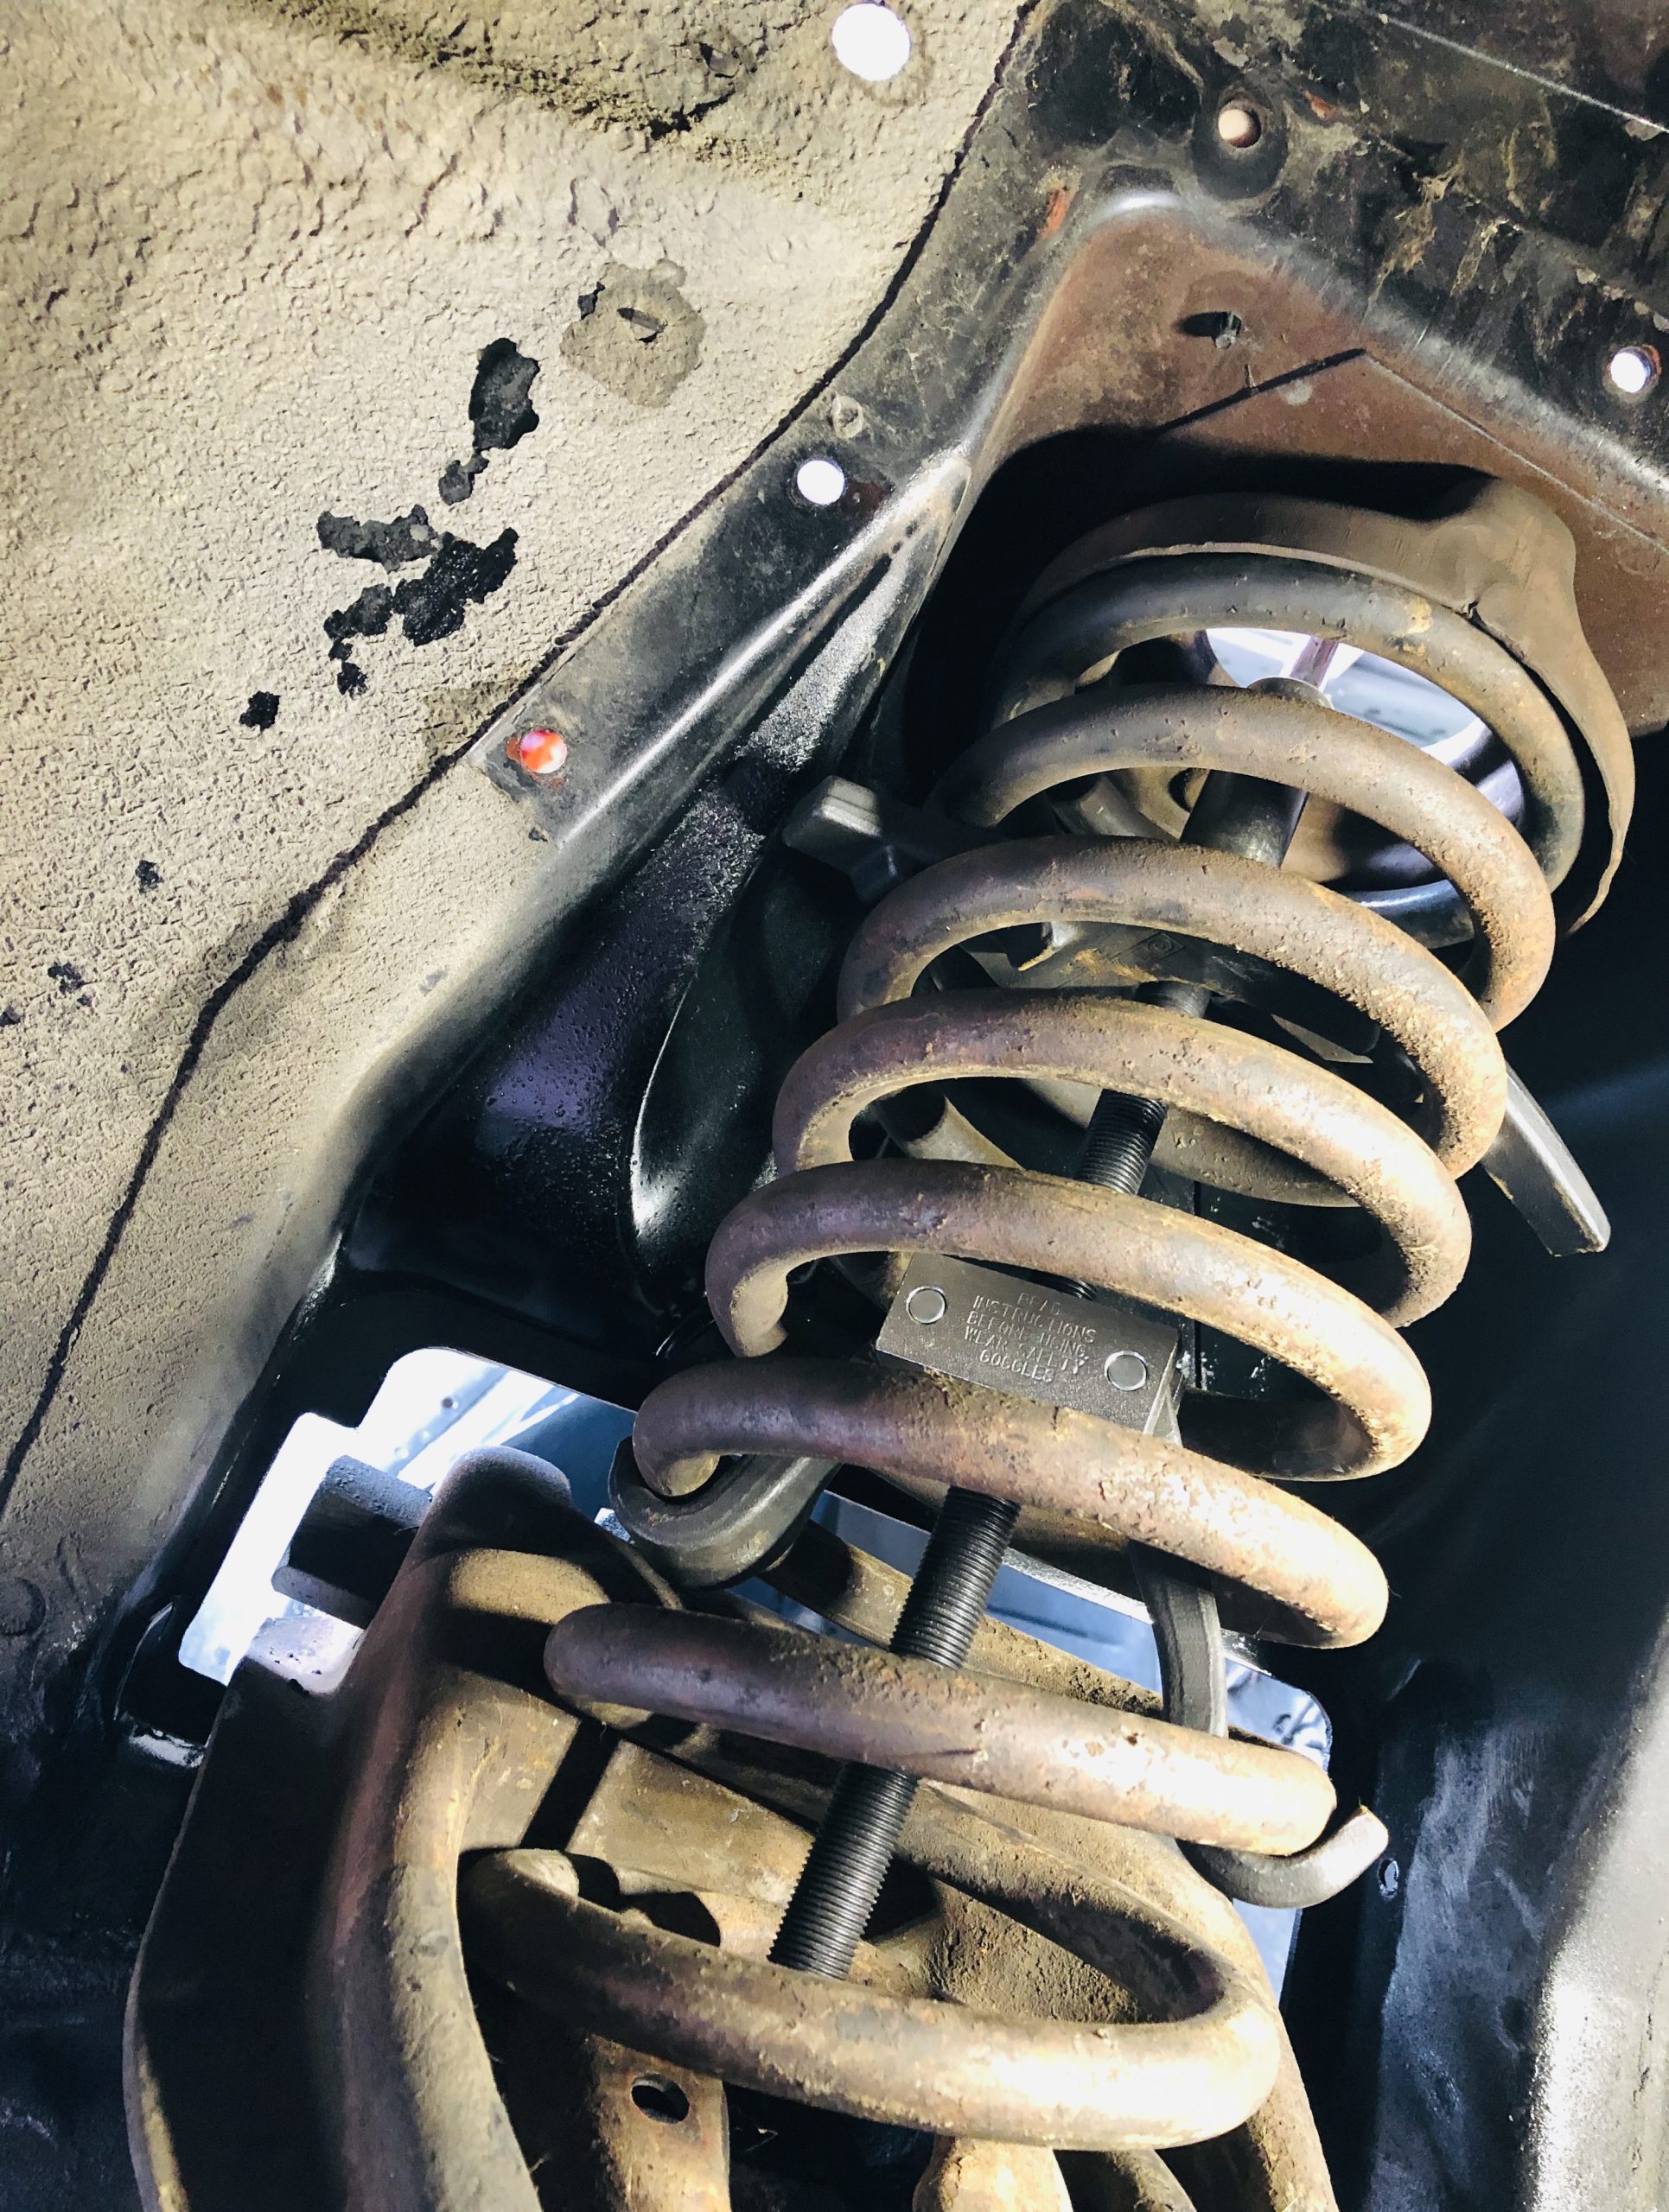
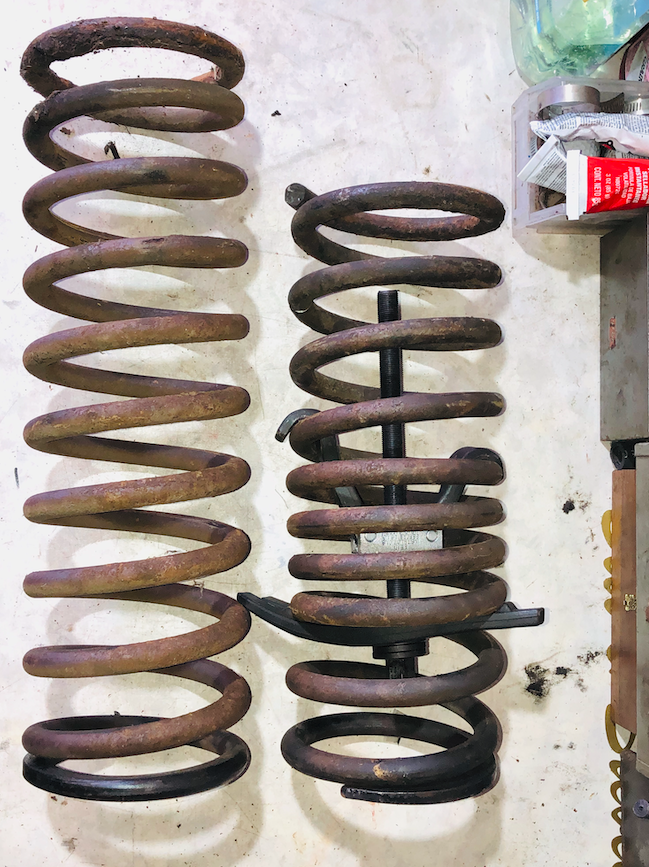
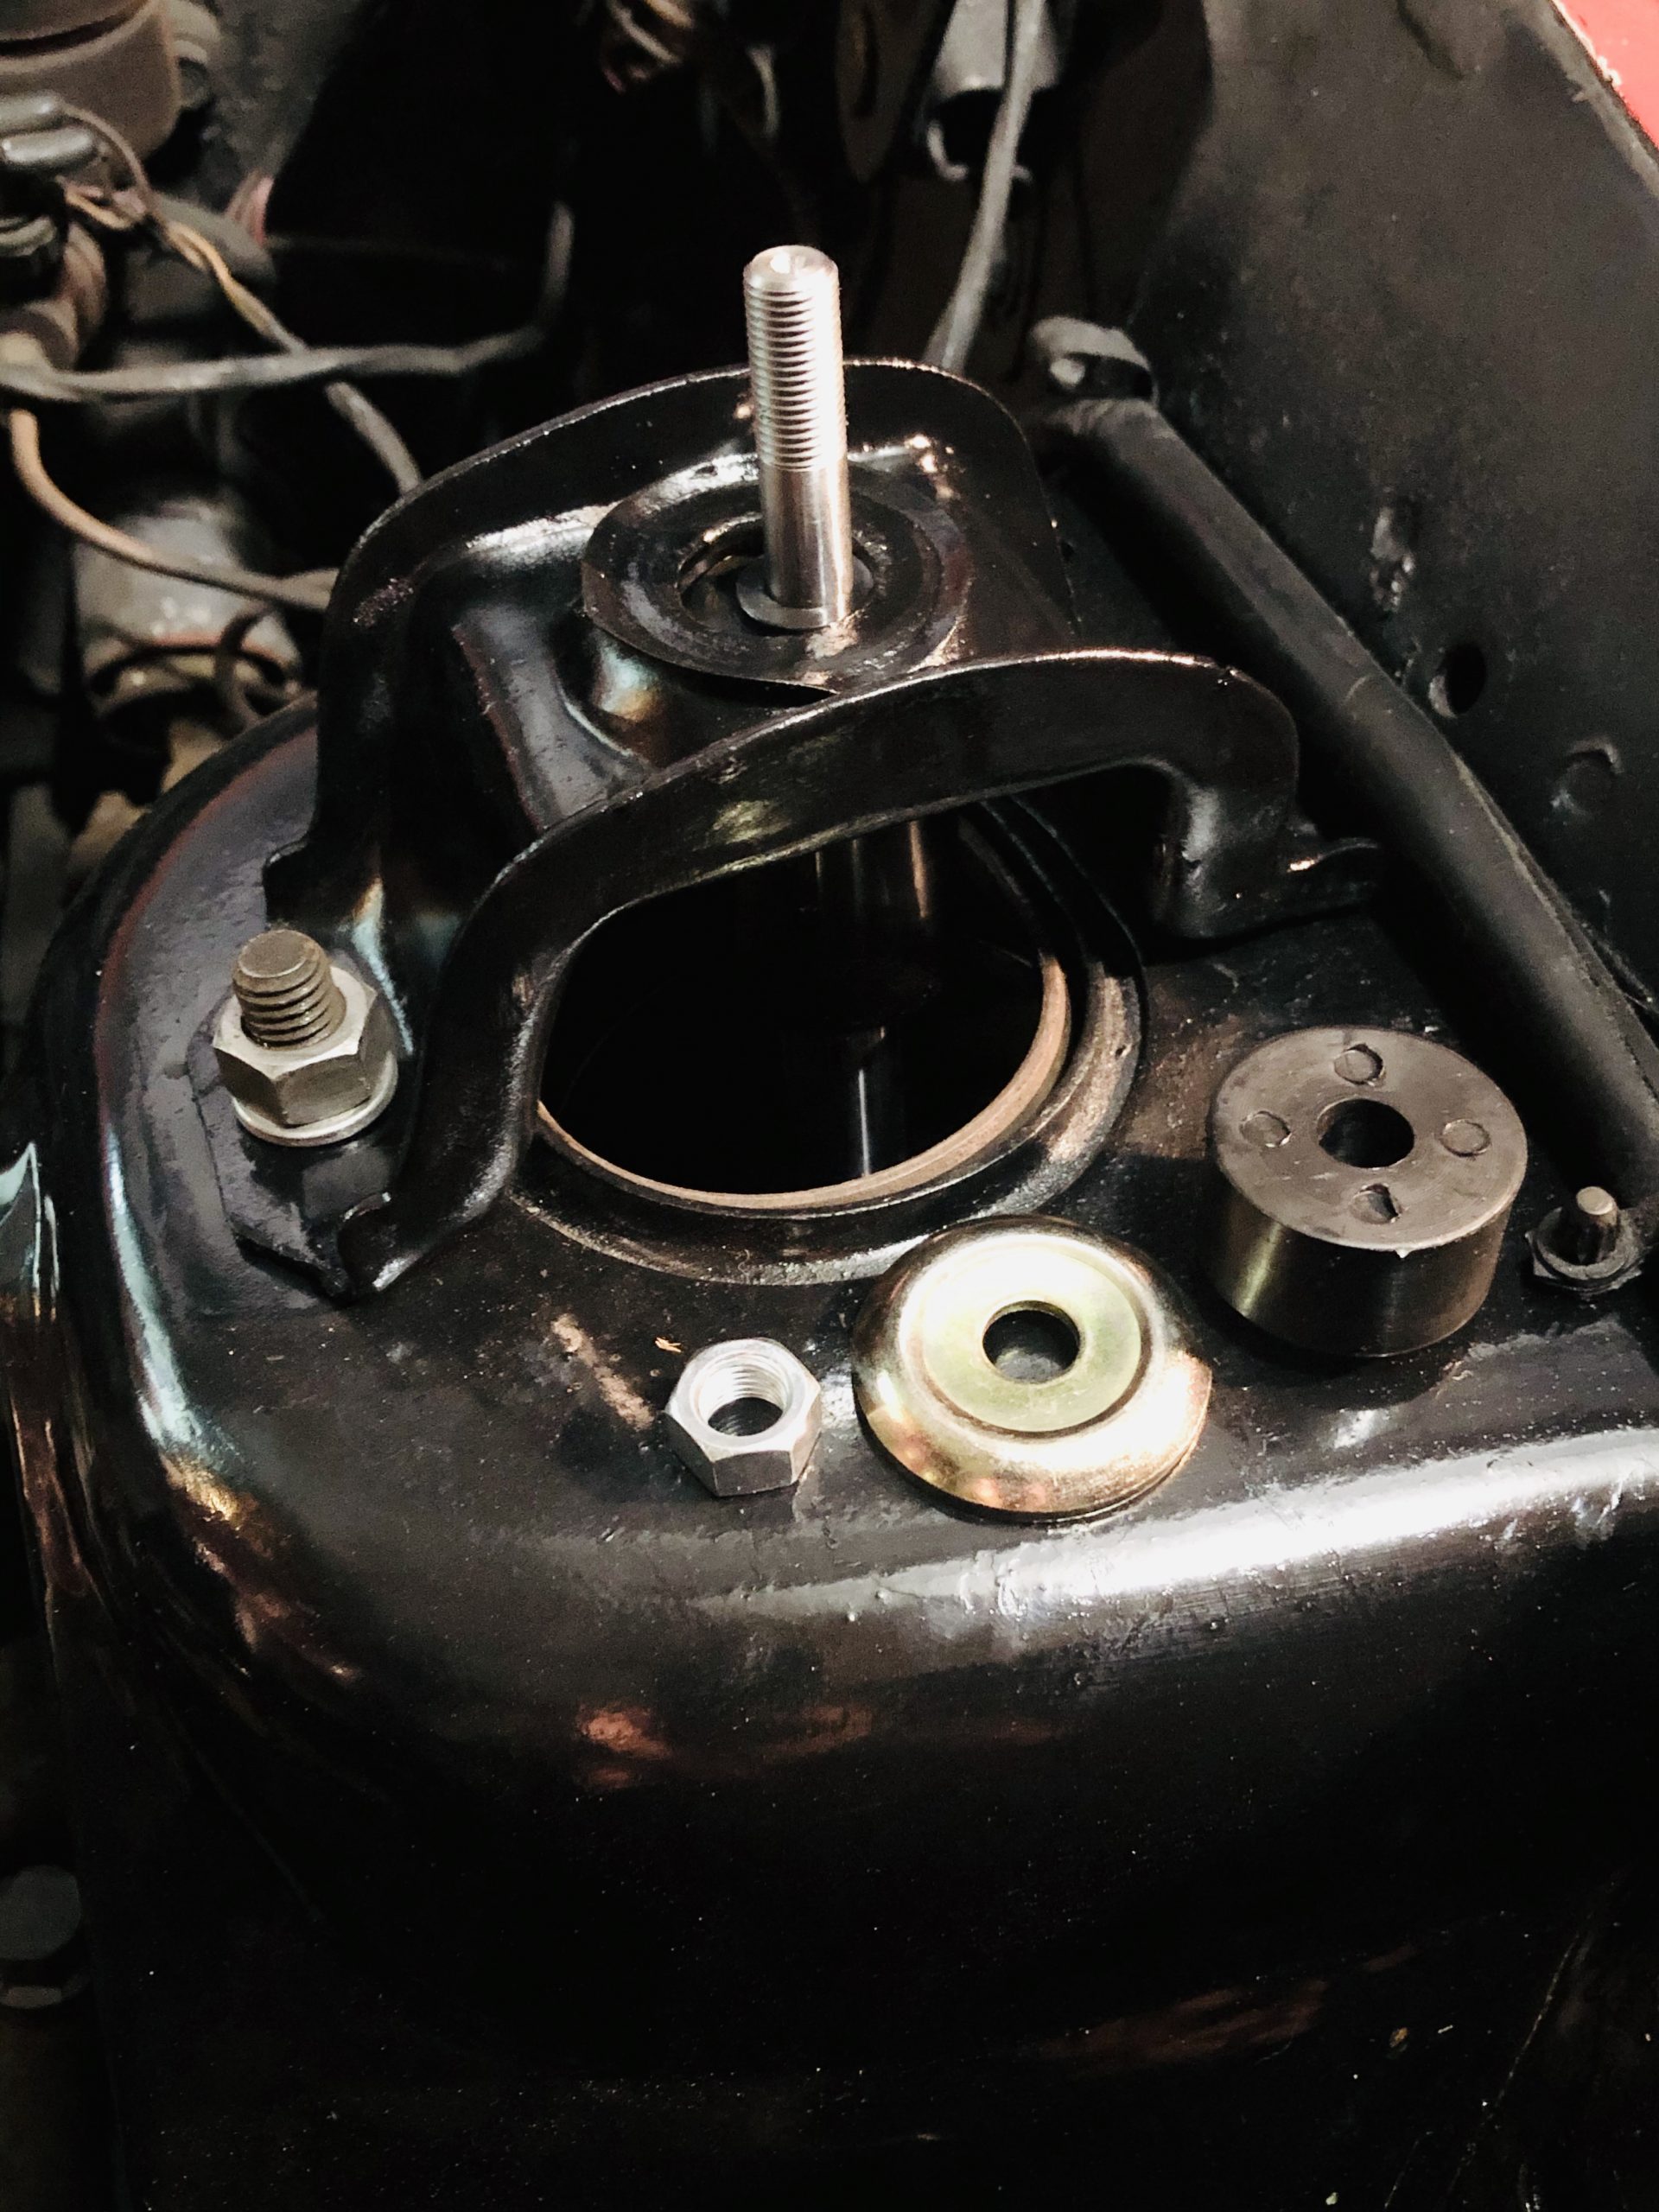
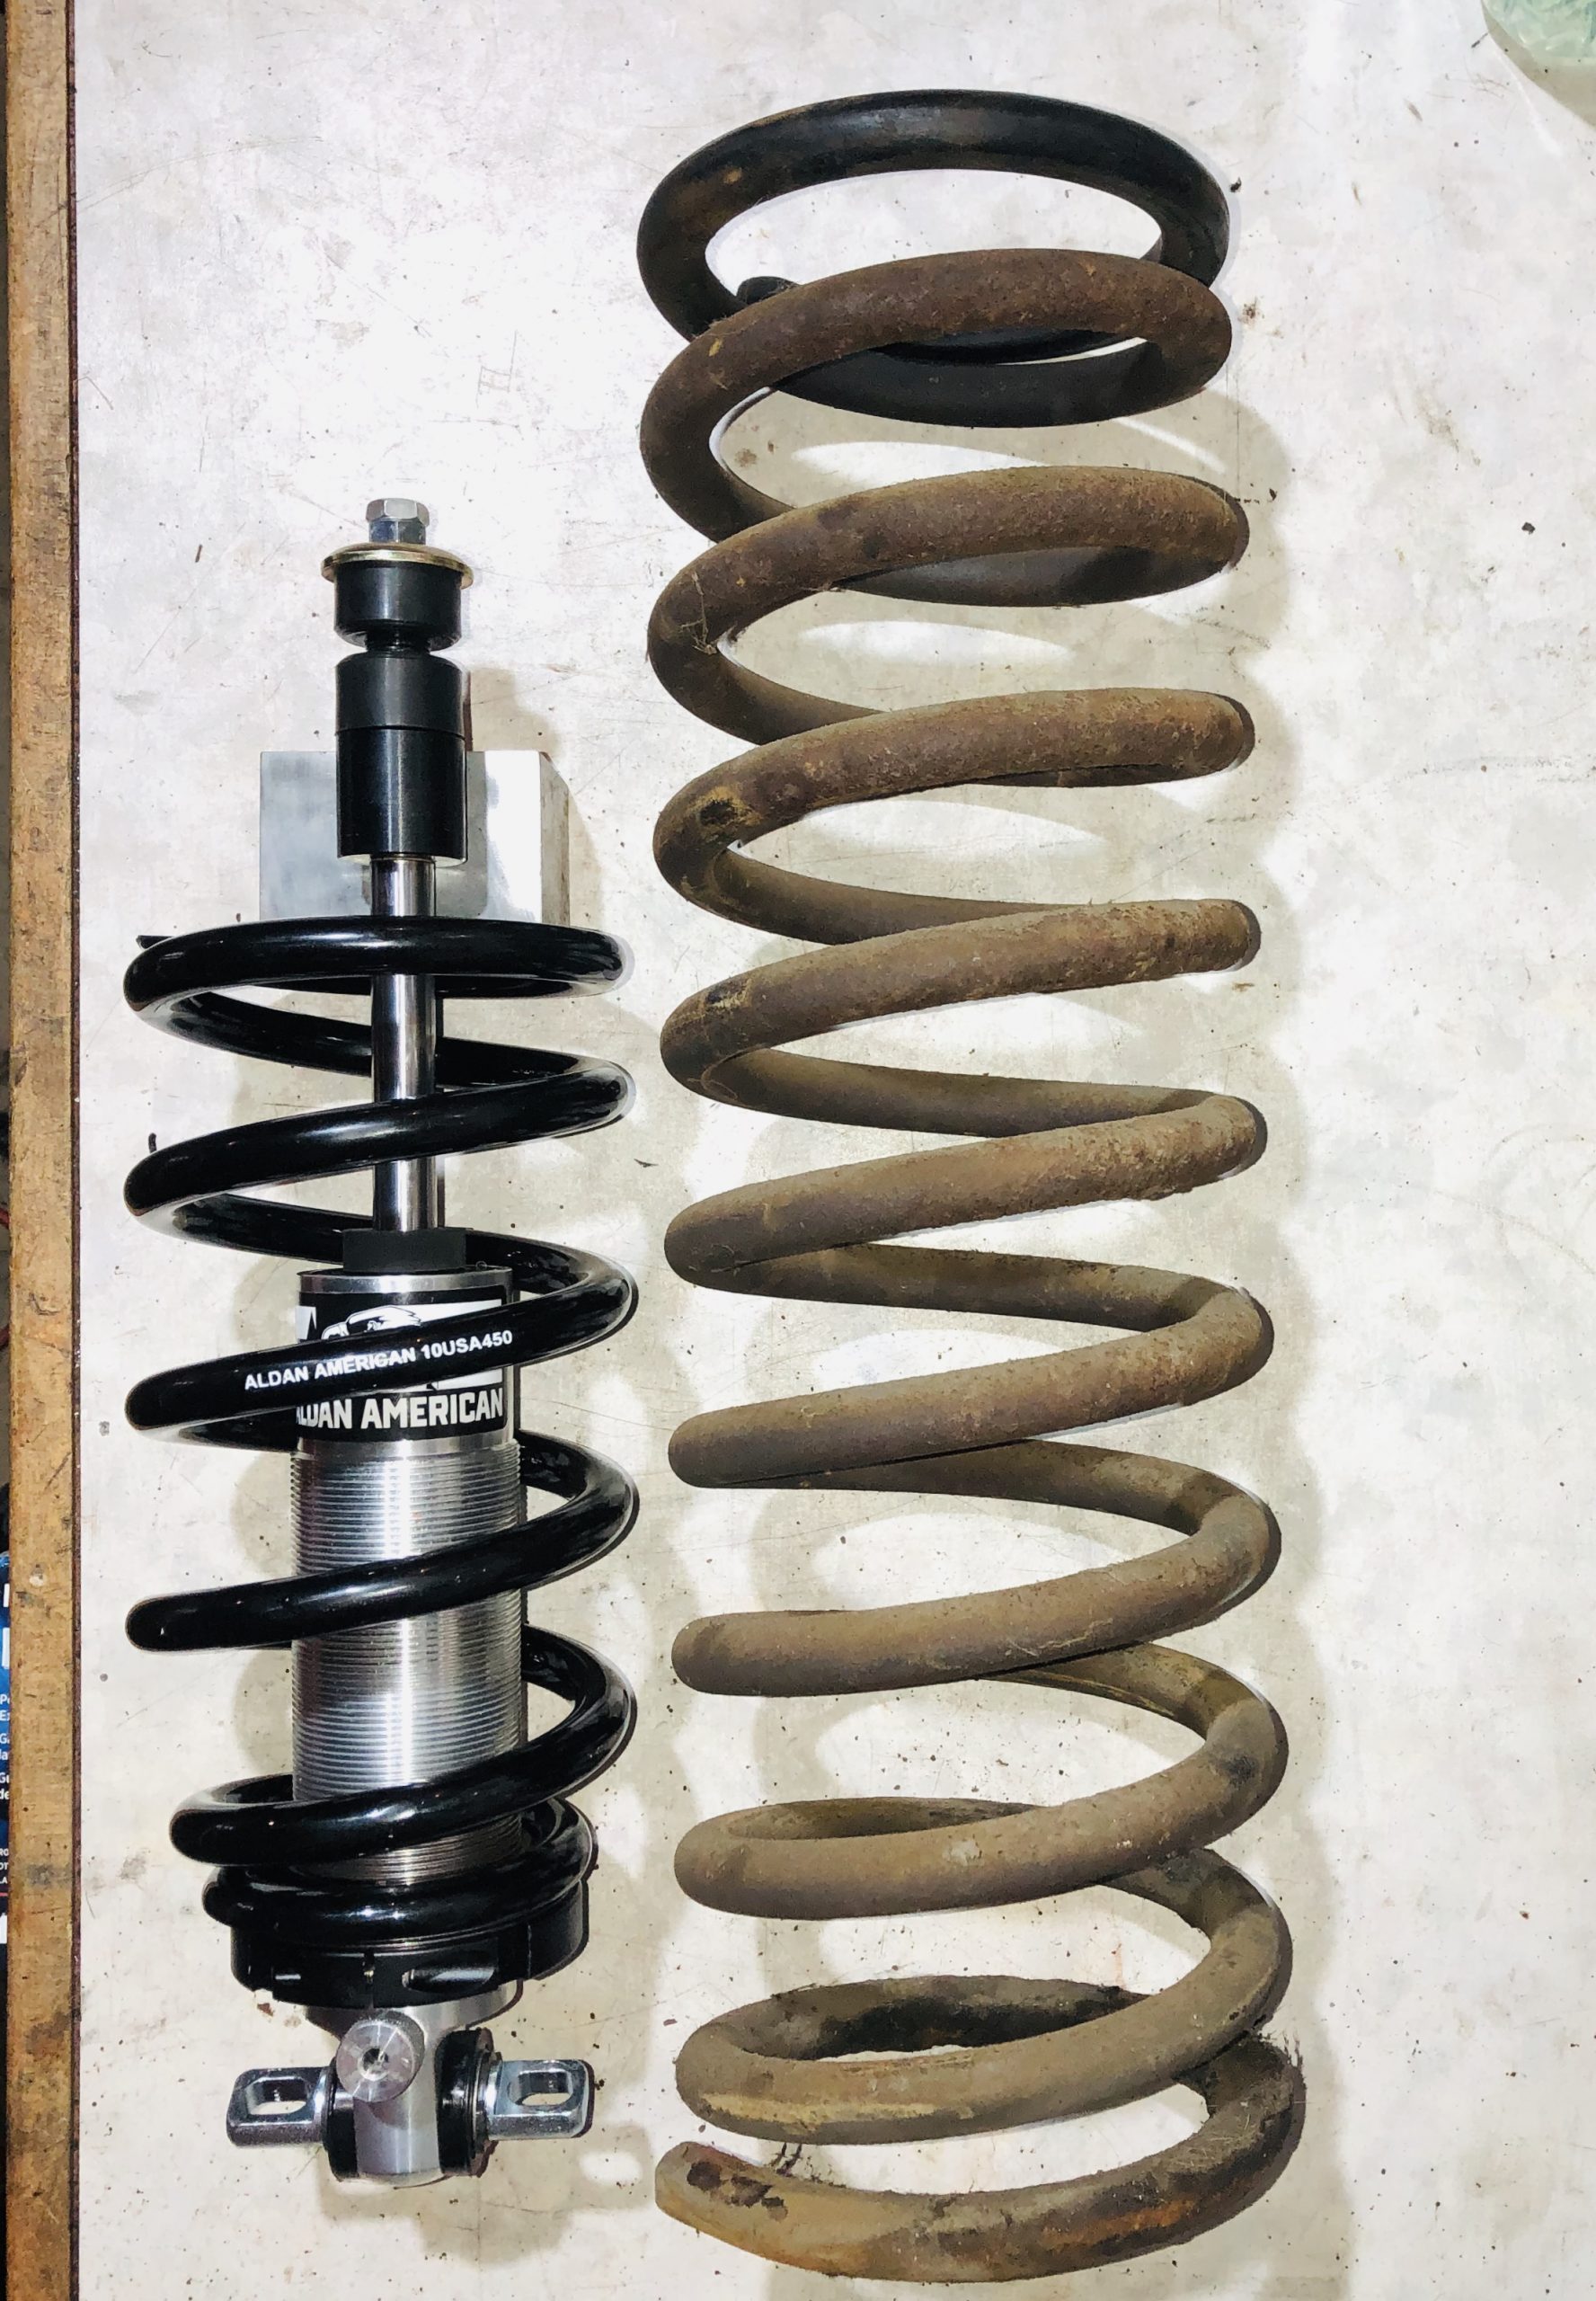
Carefully remove the now free shocks, next remove the shock mount from the shock tower, this is done to allow for the spring compressor to be lowered in and attached to the stock spring. Carefully remove the spring, decompressing it in an open space. Then repeat the process on the other side. Reference pictures of spring removal are provided.
Preparing the Coli Overs & Shock Towers
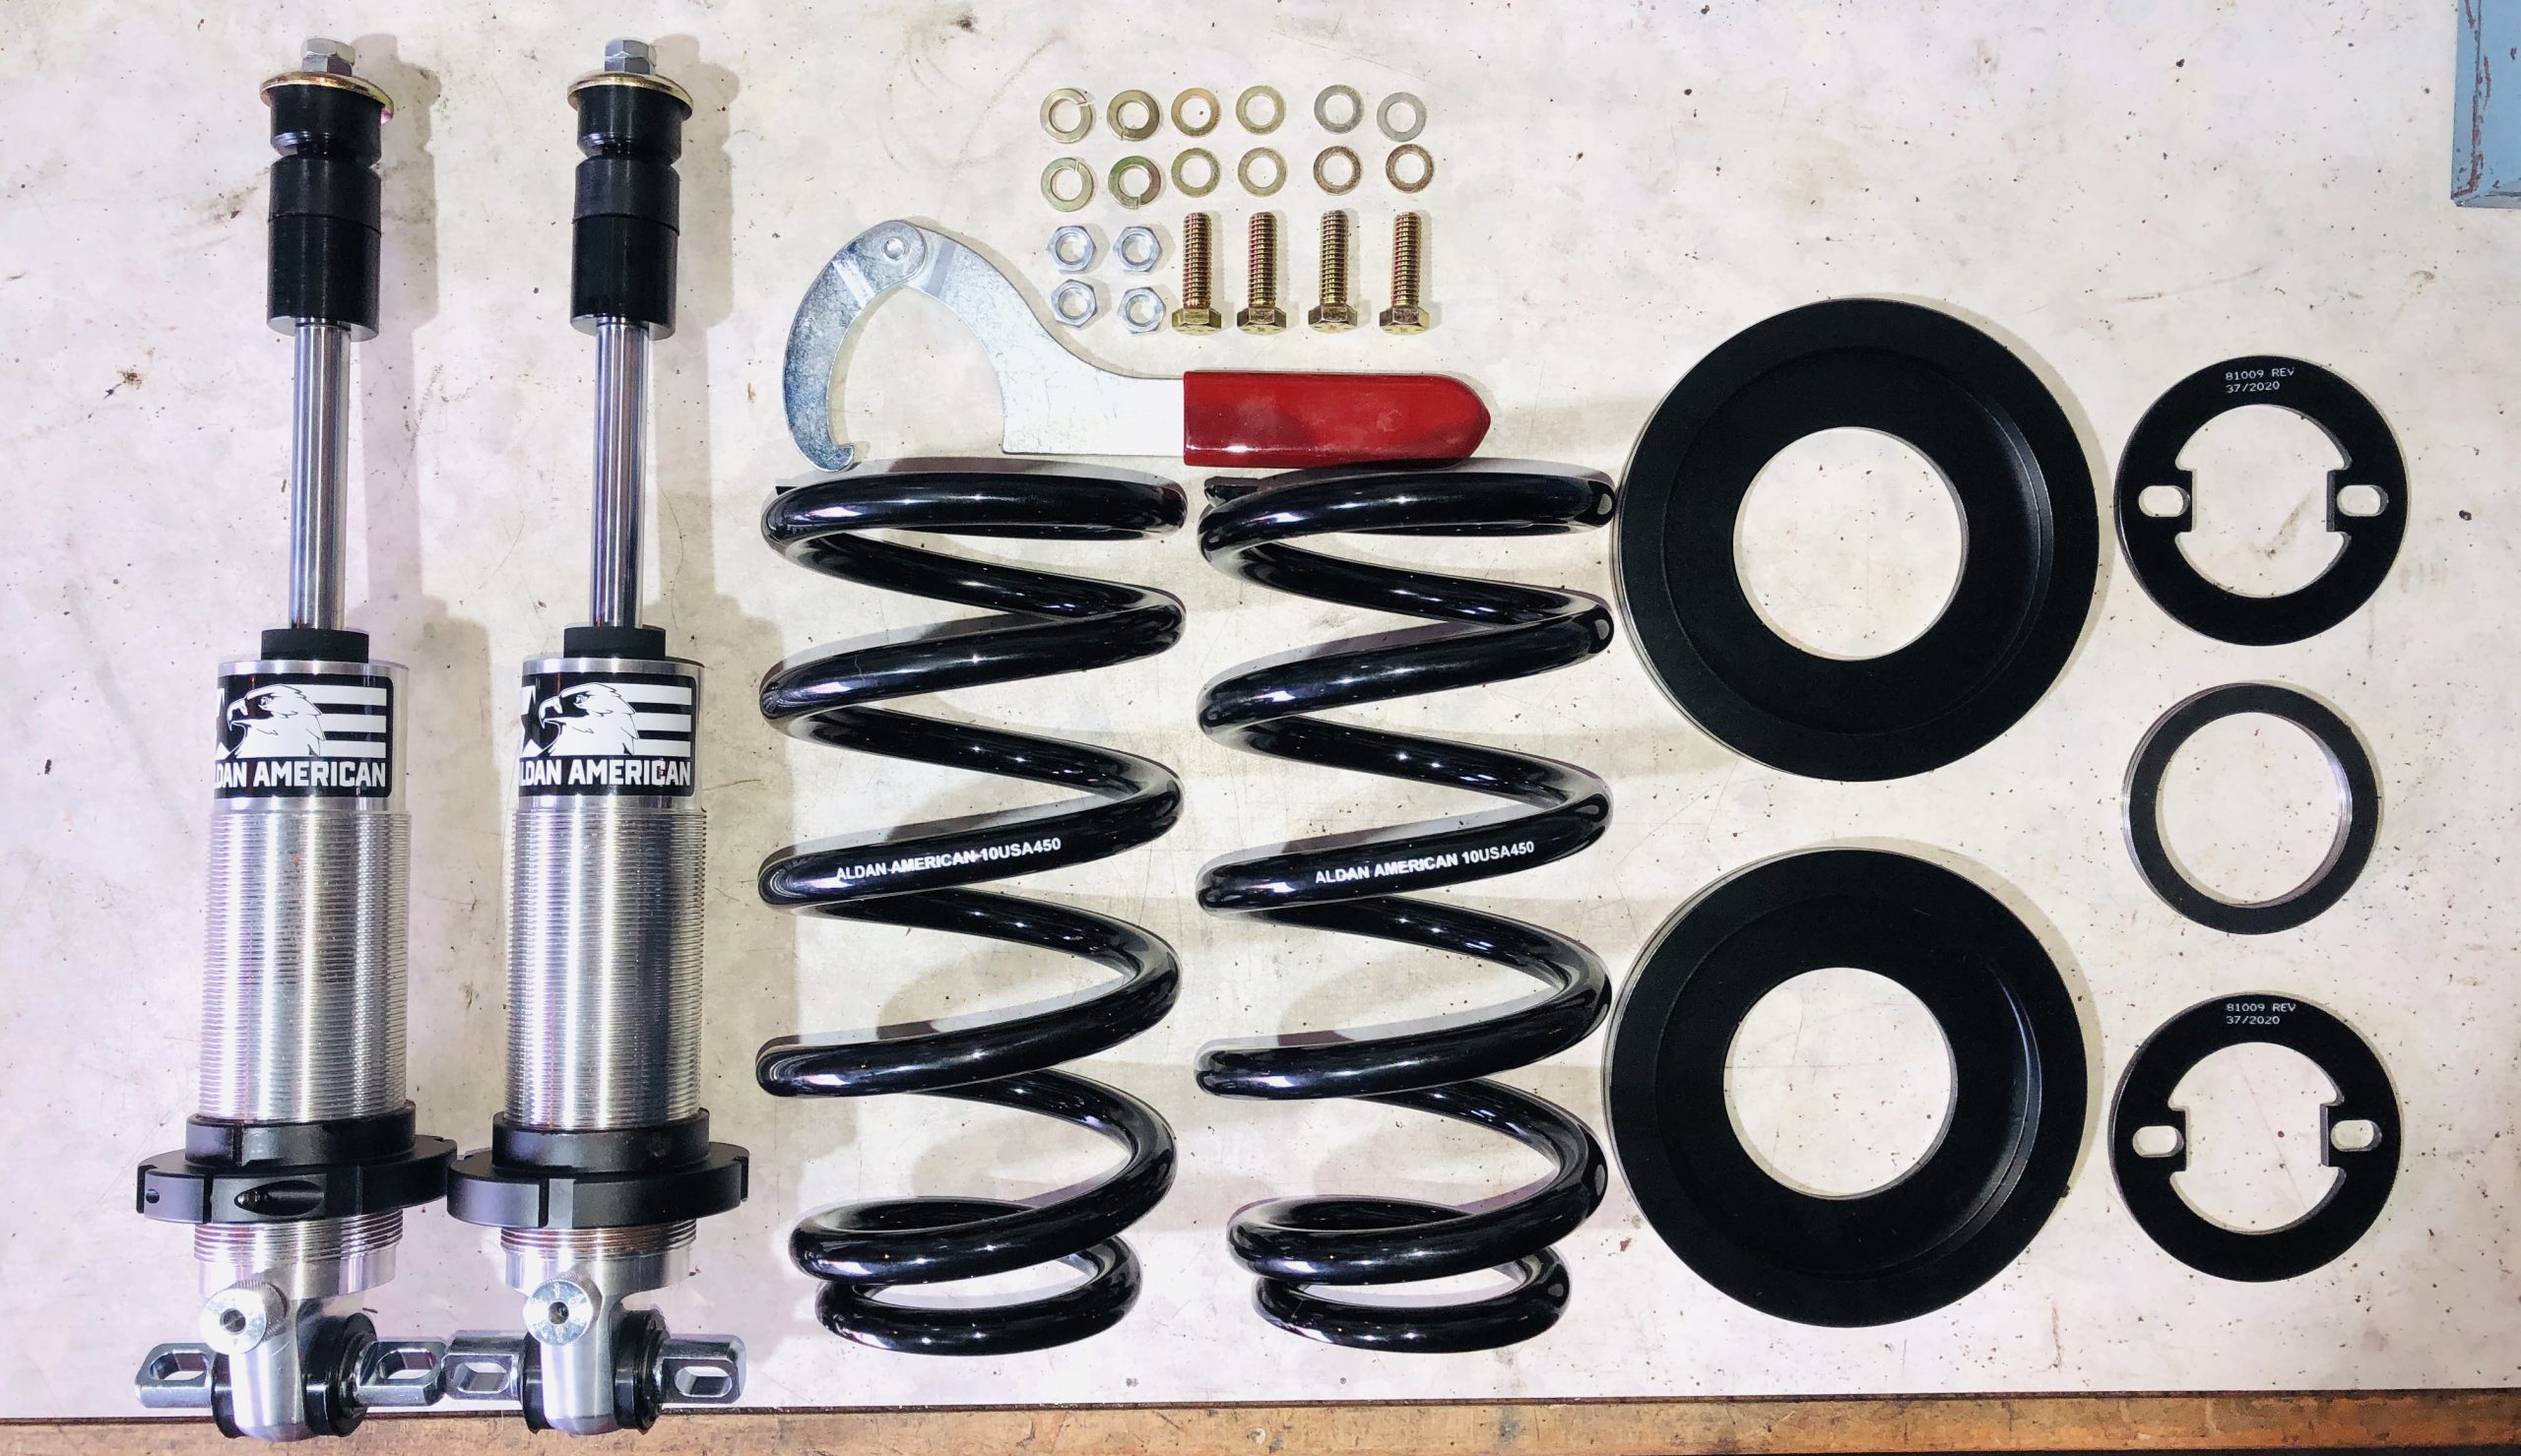
This is a kit it comes with everything needed to install! Before installing your new coil over shocks, lay out the contents of the box to familiarize yourself with the components.
This kit contains two shocks, two Springs, two controllers arm adapter plate, two spring adapter plates, two lower reinforcing plates, two thrust bearings, hardware, and a spanner wrench.
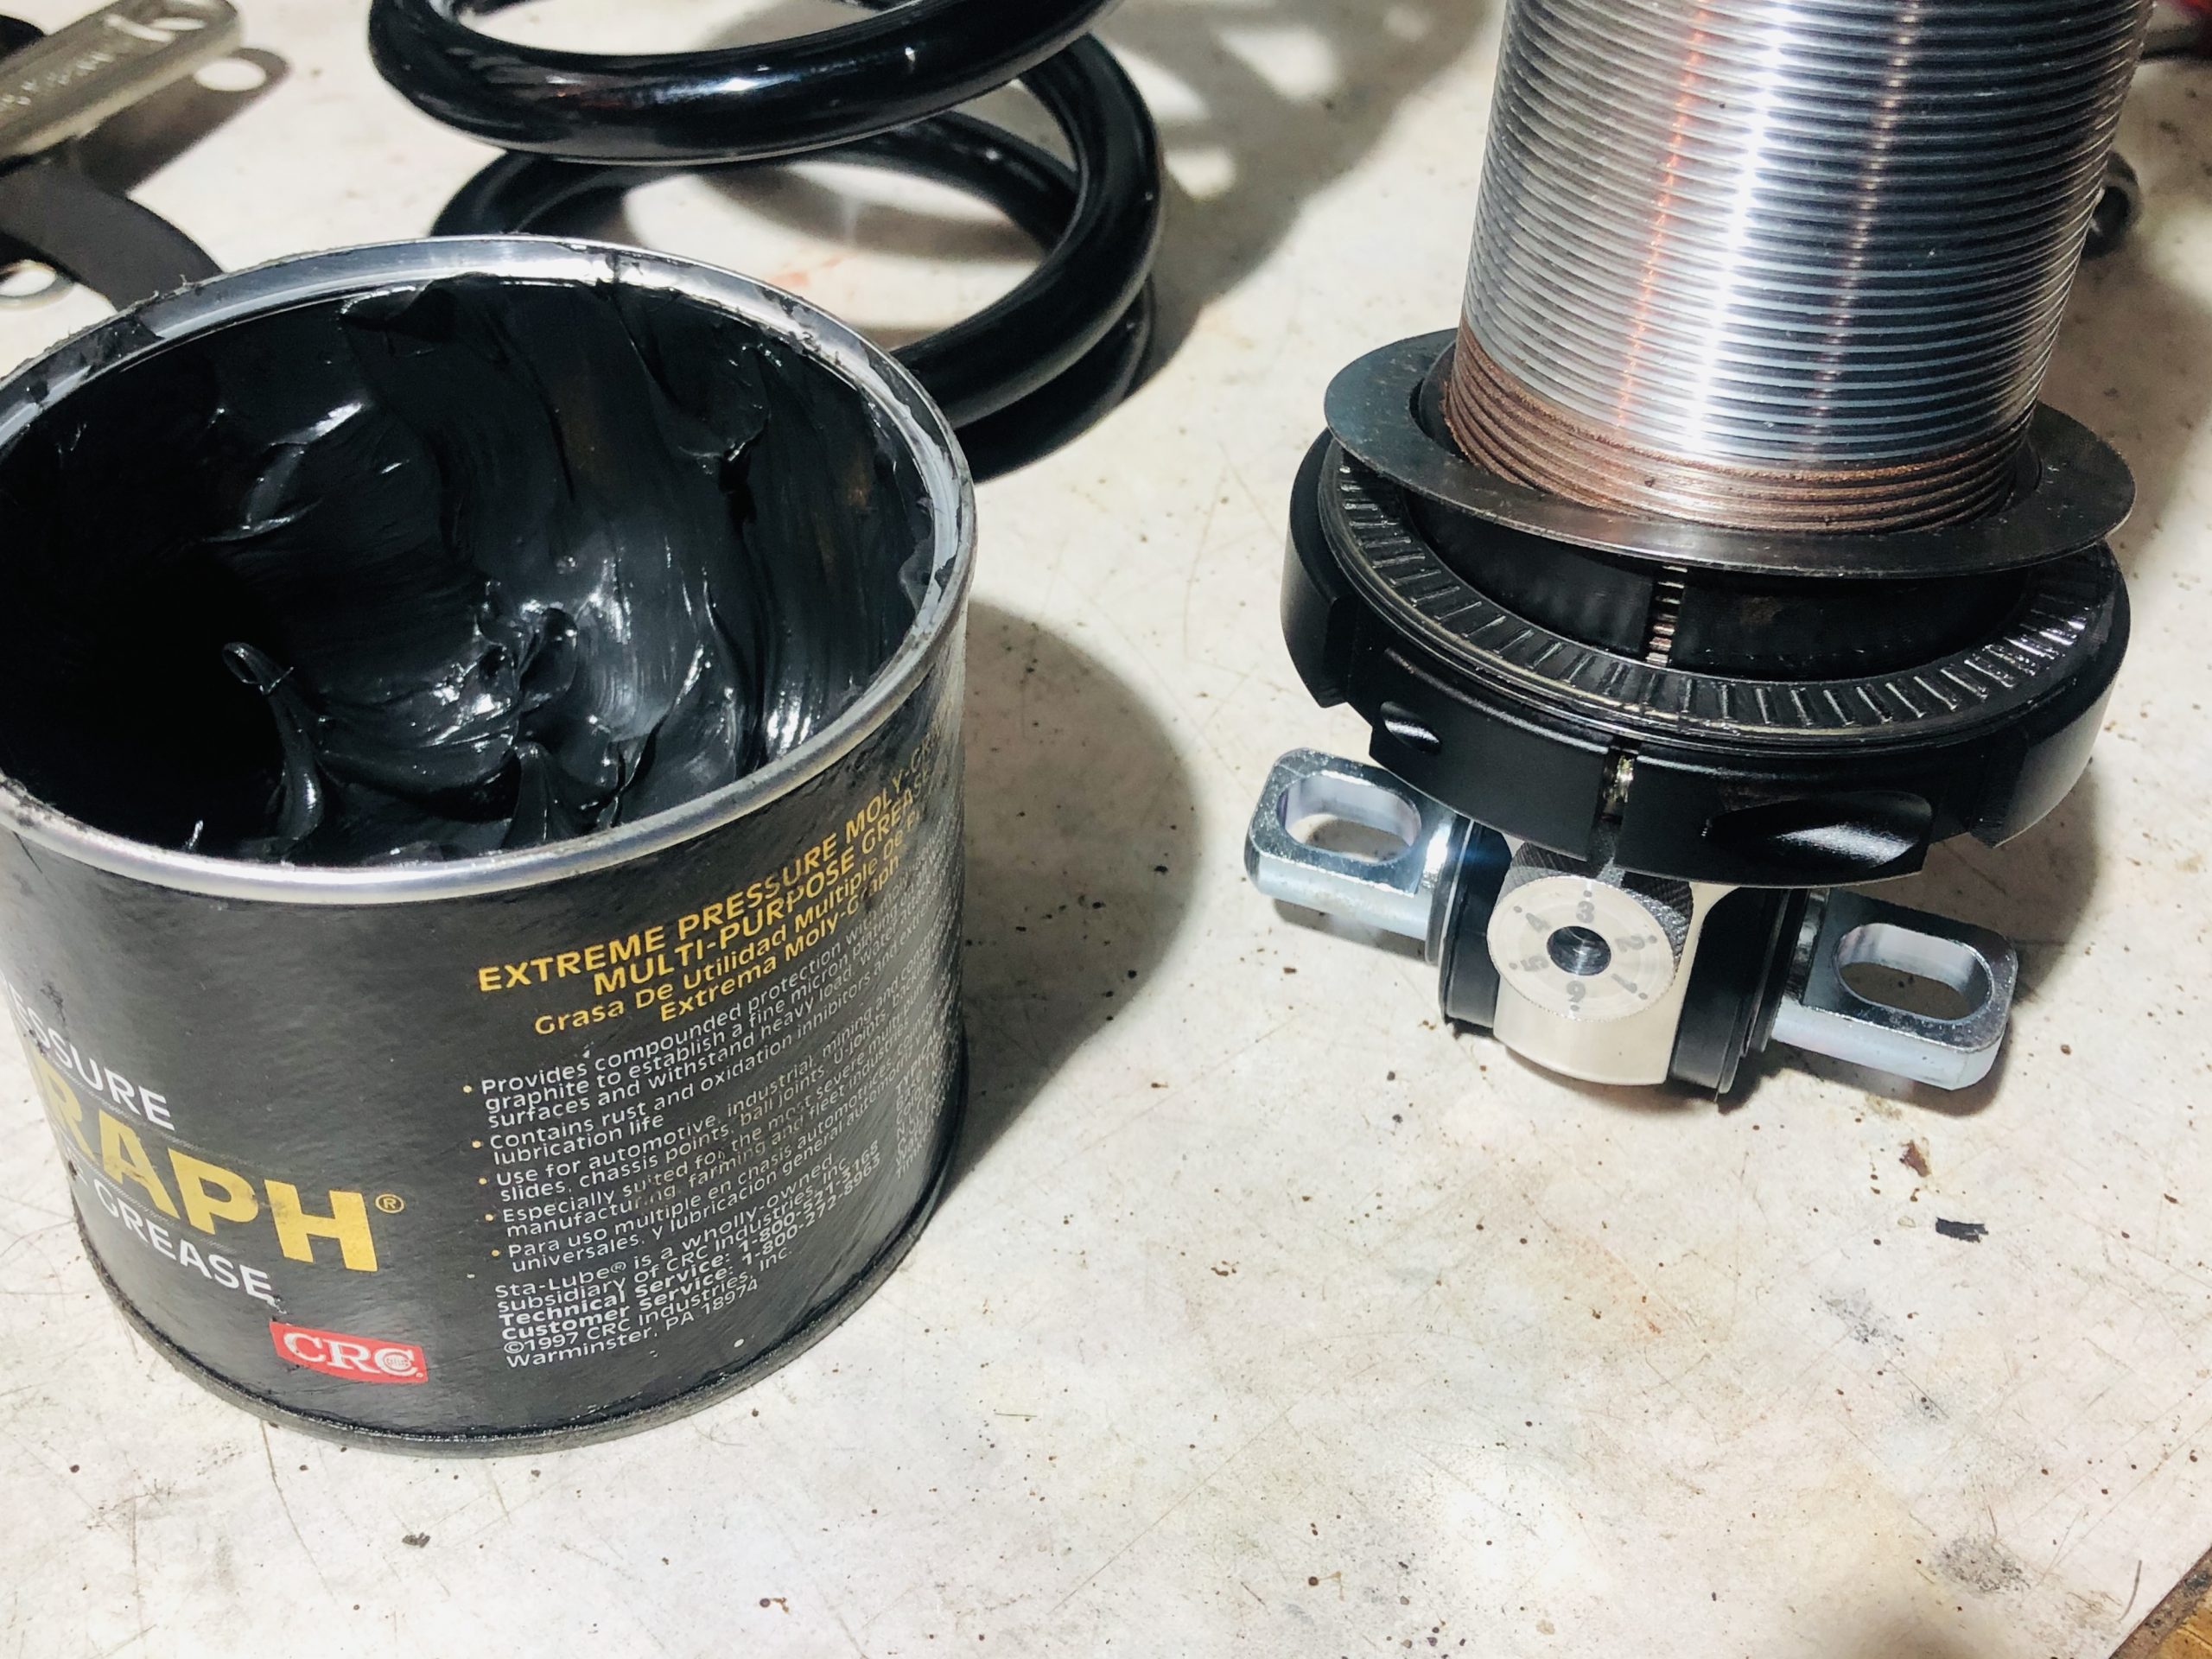
Apply grease to bearings supplied with kit.
Install the thrust bearings on the lower spring seat, add grease to the bearings. Lower spring seat has a Alan pinch bolt to lock the seat after final adjustment.
The lower shock mounting holes on the upper A-arm will need to be drilled out to 3/8”
The original top shock mount will be reused and can be reinstalled with the original hardware.
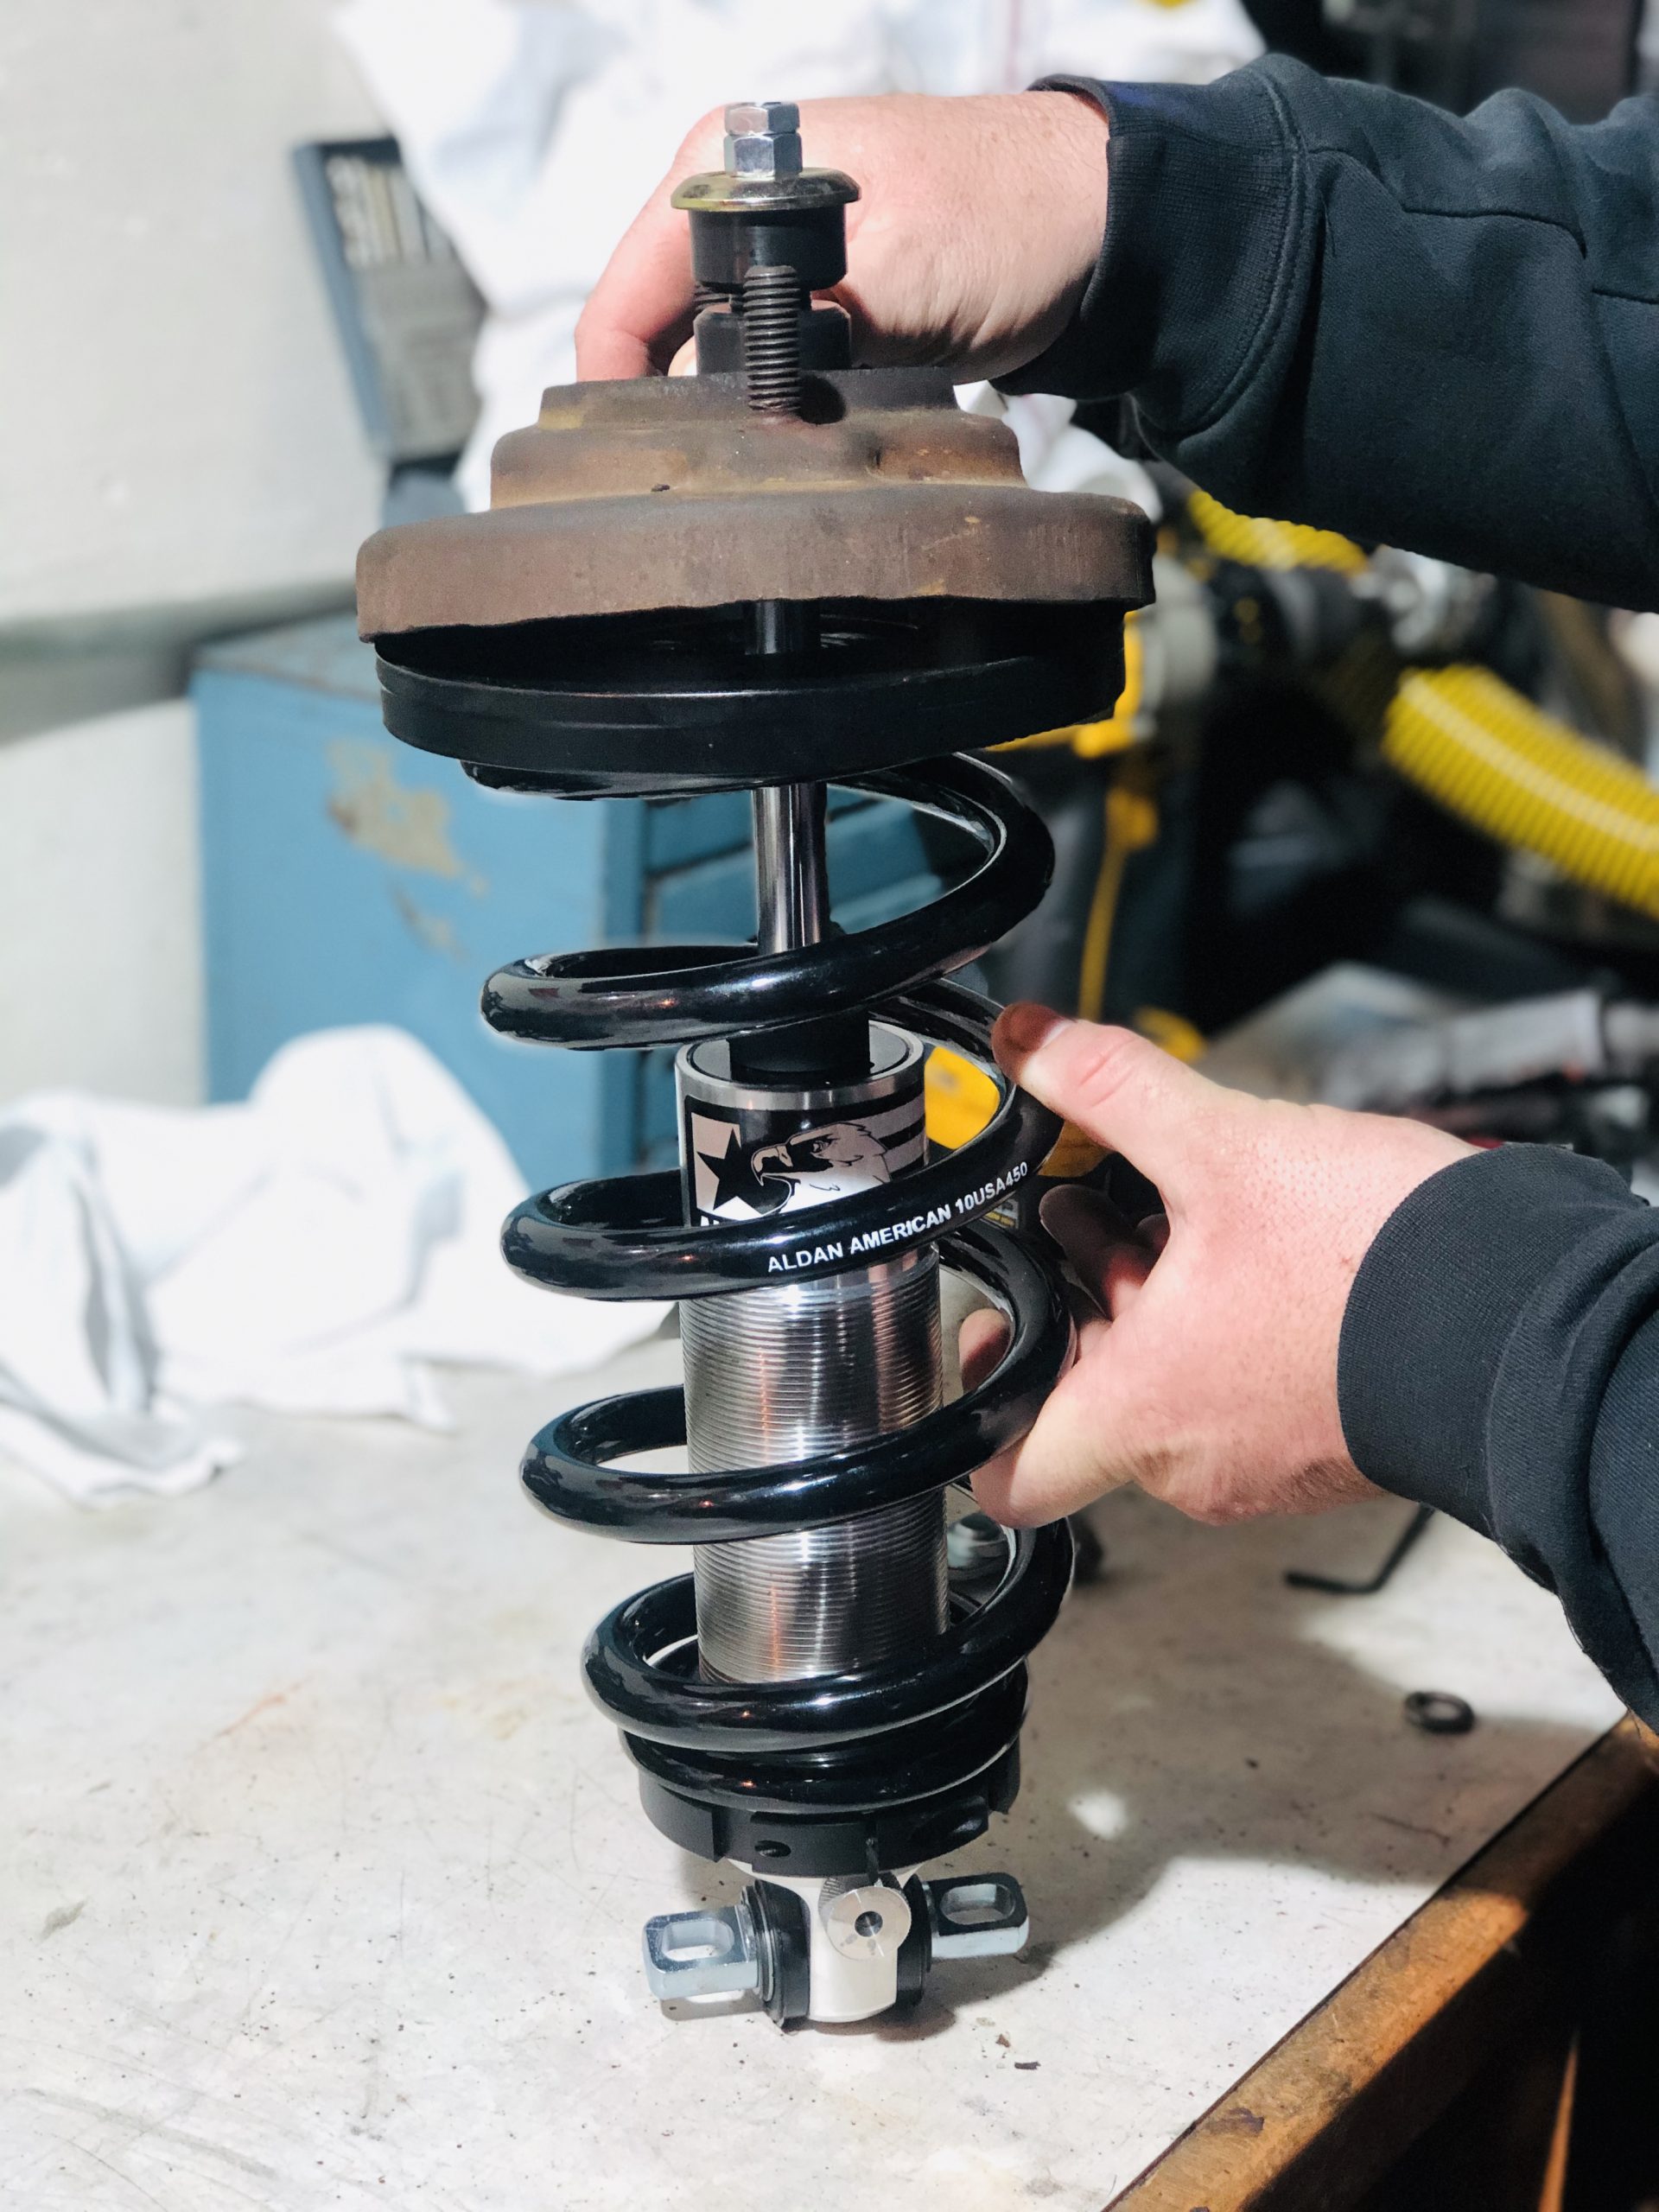
Place the spring on the shock and install the upper spring adapter on the top of the spring. The adapter will sit in the factory upper spring pocket. Install the top bushing, washer and start the nut to hold the shock and spring.
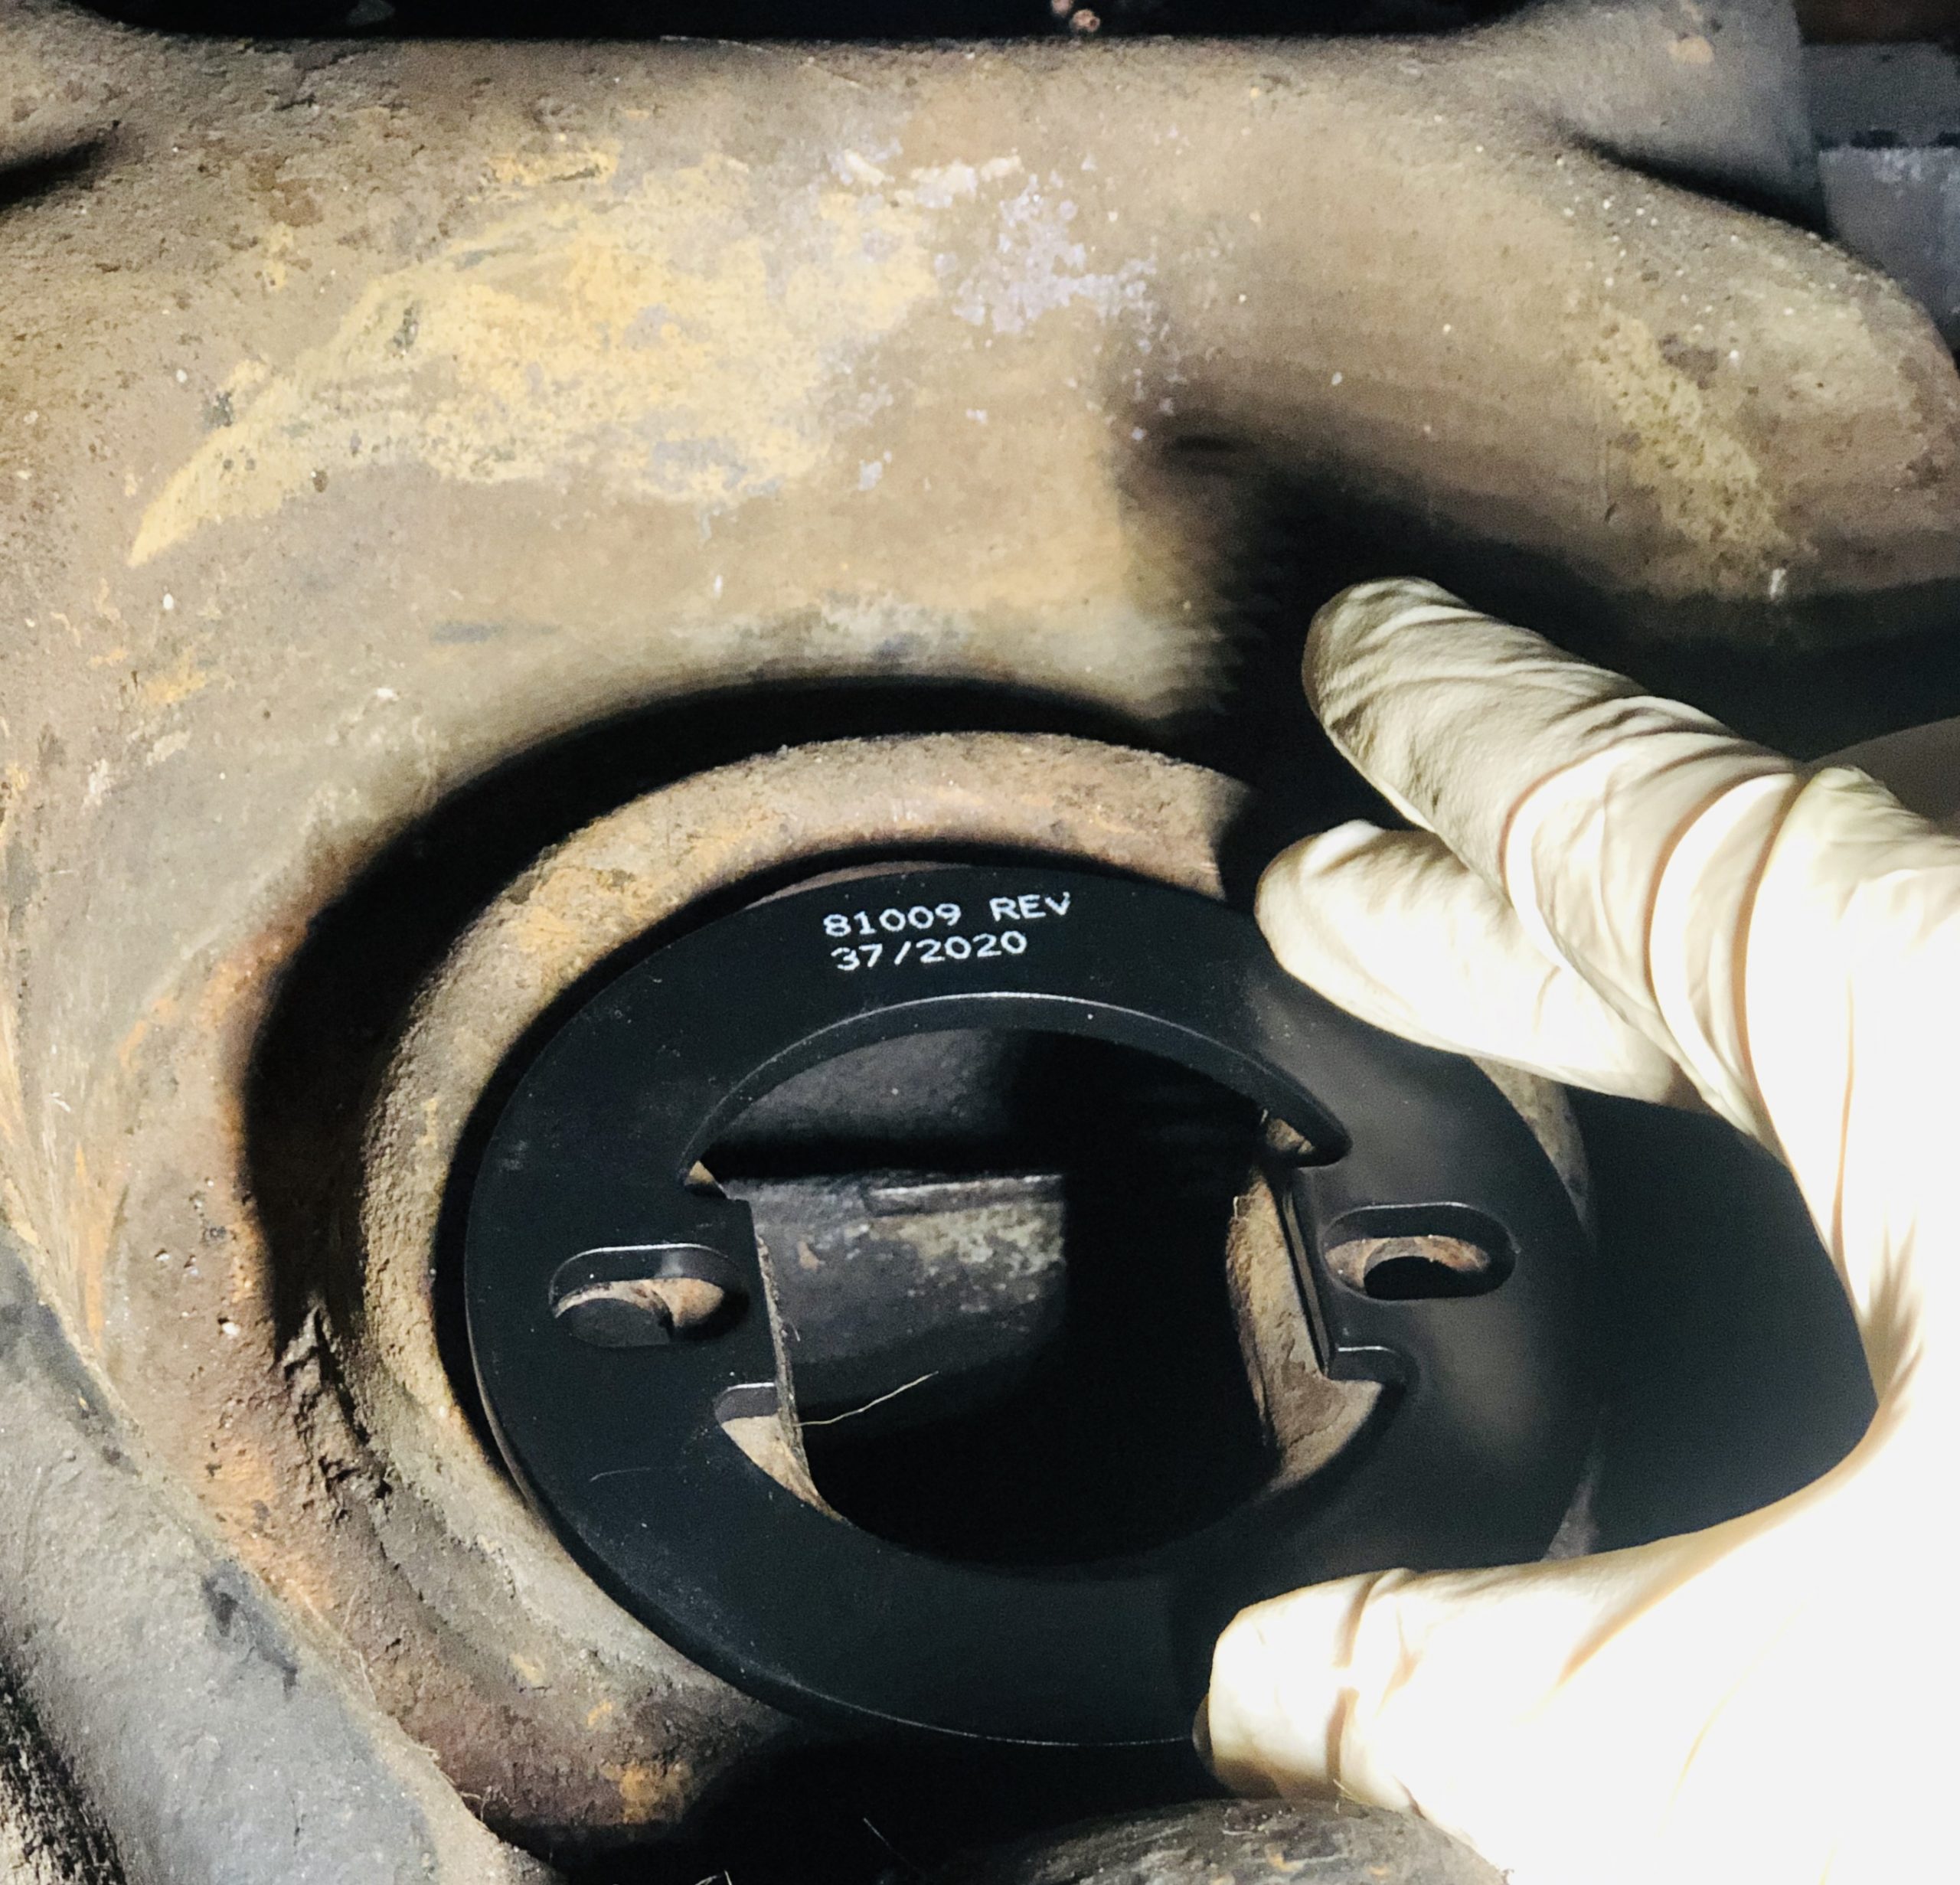
The reinforcing plate will go between the T-bar and the A-arm. Place a jack under the lower A-arm and jack up the suspension to install the supplied bolts for the lower shock T-bar, reinforcing plate to the A-arm. Torque to 35-foot pounds.
After the car is on the ground the top stem bushings can be tightened so the bushing starts to bulge, do not overtighten the bushings.
Installing your new Coil Overs
Place spacer plat on top of upper control arm. The Aldan Coilover will sit on top of this plate. Install Stock upper coilover mount using existing hardware. Install new coilover rubber and washers/nut.
Setting ride height:
A good place to start is with the wheels off and suspension at full droop, put about ½” of preload on the spring with the lower spring seat. Install the wheels put the car on the ground roll the car to settle the suspension, measure and compare with starting measurements. To raise the car the spring seat will need to be tighten, to lower the car the spring seat will need to be loosened.
The final task is to tighten the spring seat pinch Alan bolt to lock the adjustment.
As stated, before we are using the original mounting locations to avoid any fabrication, mount the bottom of the shock to the top of the reinforcing plate and secure with the hardware bolts provided. At the top of the shock tower reinstall the mounting bracket and secure shock steam to the top. Ensure that the shocks are compressed 1/3 at ride height, this will avoid both bottoming and topping out of the shocks during normal driving conditions. Repeat this process on the other side. Take another set of measurements of the ride height, the car needs to even on both sides before additional stance retakes can be made. This kit is designed for a 1” to 2” drop while also being effective. The most important thing when changing suspension components is to get an alignment.
Check out our latest products and get your stance dialed in with Aldan American’s suspension kit upgrades designed to handle all your high performance driving needs.
Shop Coilover kits today!

