A Winning Upgrade Combination for G-Body Performance
Aldan American Coilover Kits Now Come with Control Arms for amazing handling!
Any experienced car builder will tell you, its never just one thing that delivers the best results. Ultimate performance is derived by finding the best combination of carefully selected parts designed to work as a team then carefully tuning them to your personal preference.
Proving that point perfectly is the newest Aldan American/Spohn Performance kit for General Motors G-Body vehicles (which covers 1978-87 Buick Regal/Grand National, Chevrolet Malibu, Oldsmobile Cutlass and Pontiac Gran Prix). This “system” utilizes those tried and true Aldan American’ double adjustable coilovers in tandem with Spohn Performance tubular A-arms. While the addition of either of these parts individually will greatly improve your General Motor G-Body’s handling characteristics, when you install both components, your G-Body’s cornering efficiency is simply breathtaking.
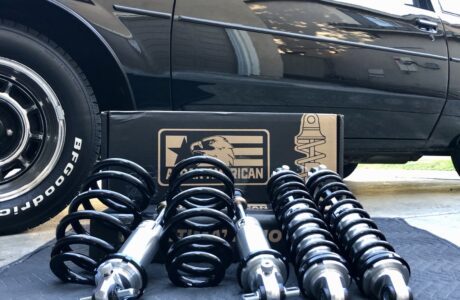
Aldan American has developed this new package which includes our coilovers (single or double adjustable) along with Spohn Performance’s tubular A-arms as a kit, no need to chase parts on two different websites and then wait patiently for two separate boxes to arrive on your porch. Nope, not here. One stop, one click, instant performance.
Why this Combo is an Easy Install With PRO FIT Results!
Aldan American now offers a variety of peak-performance control arms, meticulously selected to match our quality standards, and available in our coilover kits or sold separately. In this build we feature a kit with Spohn Performance’s RRx Upper and Lower tubular A-arms, which are cut from DOM machined tubing making them stronger and lighter than the factory A-arms. The Spohn Performance components are finished in gloss black powder coat and feature 2.0-degrees of added caster for improved stability and on center driving feel. Each kit includes new ball joints and sway bar end links along with heavy-duty fasteners to mount them on the chassis.
Instead of the factory rubber bushings, Spohn installed Delrin “Zero Deflection” bushing that take the flex out of the chassis mounting point for better alignment control and improved handling. Each bushing includes a grease fitting to ensure that the joint is properly lubricated for long durability and smooth operation. These A-arms are designed to work with either stock length or drop spindles and Aldan American coilovers. No cutting or welding is required to install these parts, everything is simply bolt up, align it to spec and go.
But the real bonus to this package is the adjustability that comes from the Aldan American coilovers. Not only can you lower the vehicle ride height up to two inches (as long as tire to fender clearance allows), you can adjust the rebound and compression dampening “personality” of the shock with a simple twist of a knob.
Aldan American Offers Coilover Kits with Control Arms for GM G-Bodies & More!
Top Sellers

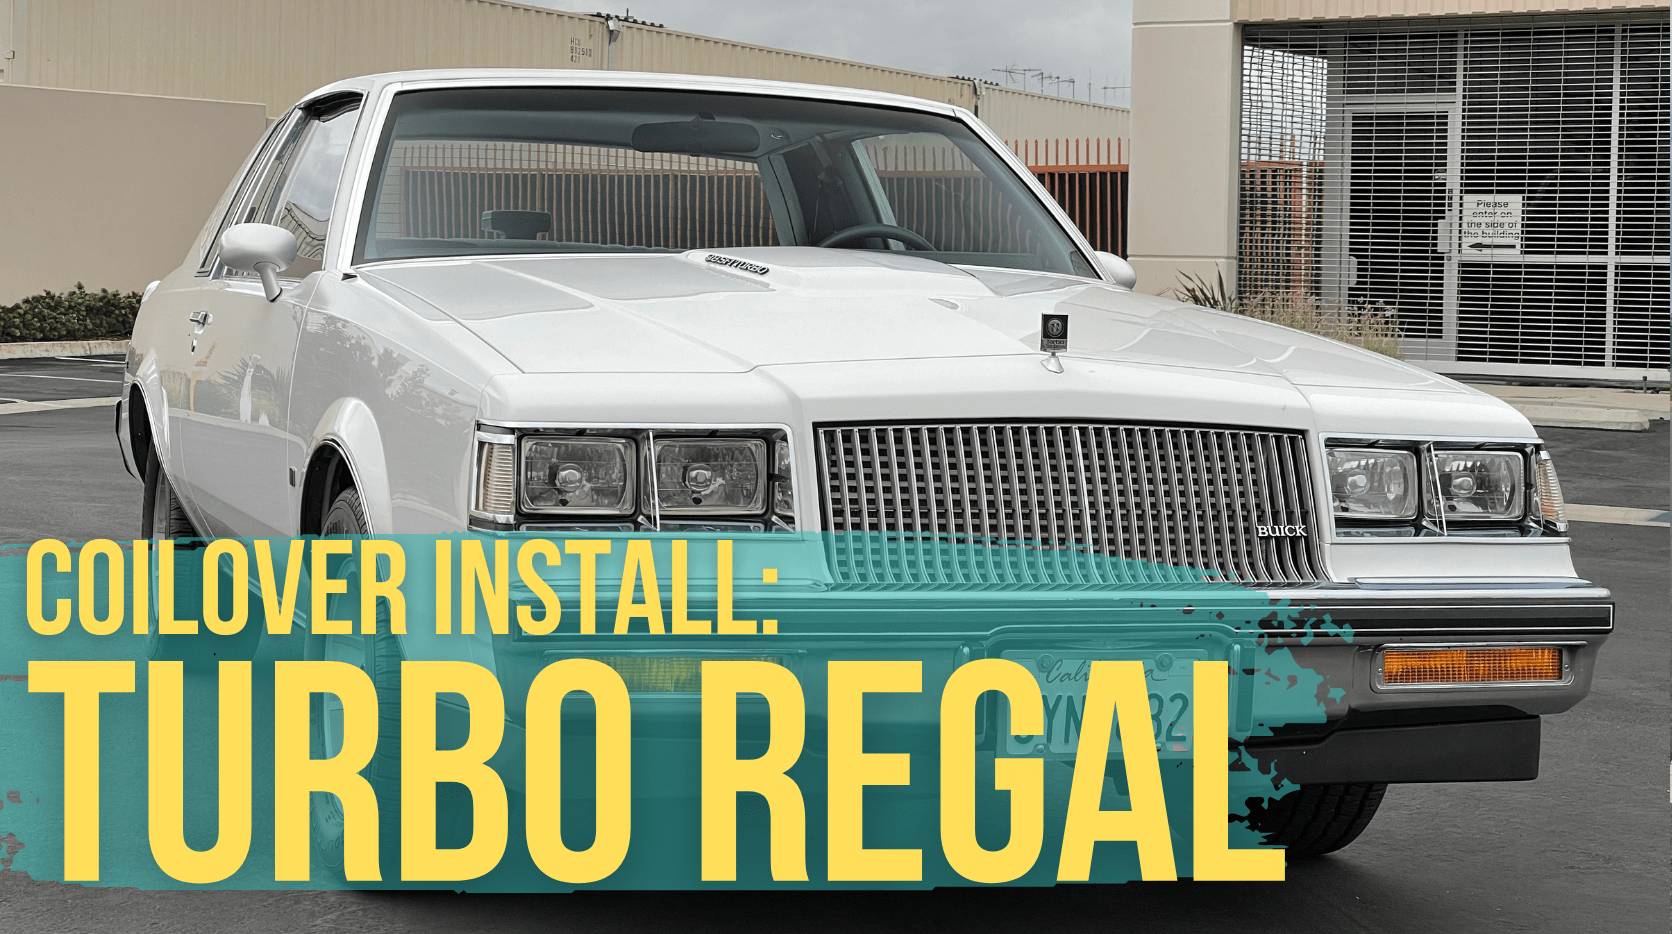
The Build: 1978-87 GM G-Body, Aldan American Coilovers & Spohn Perf. A-arms
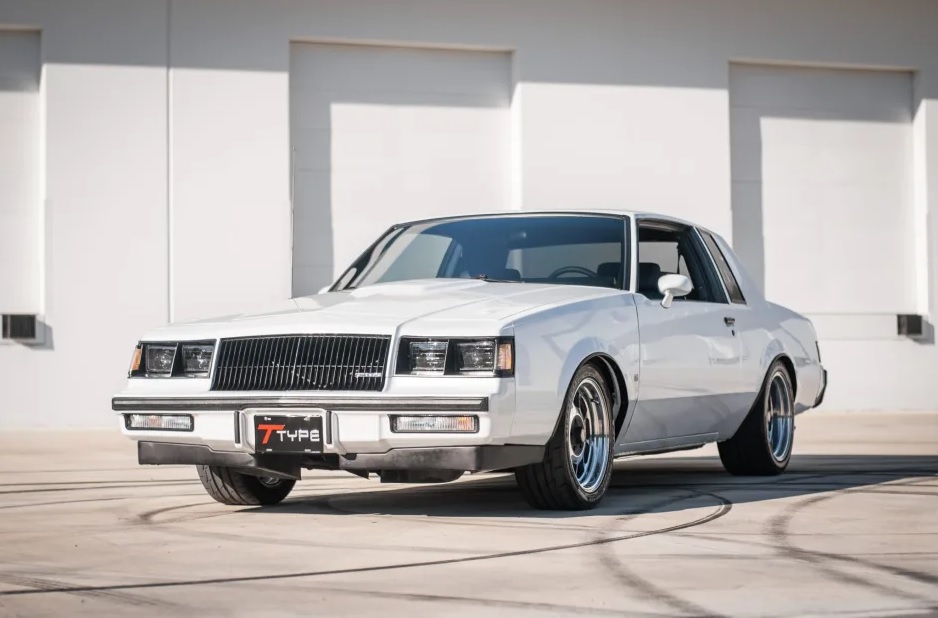
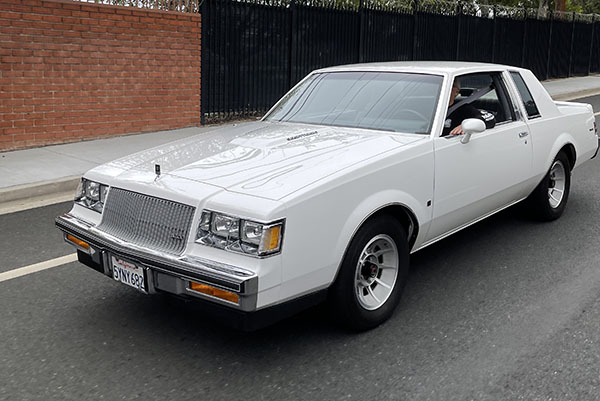
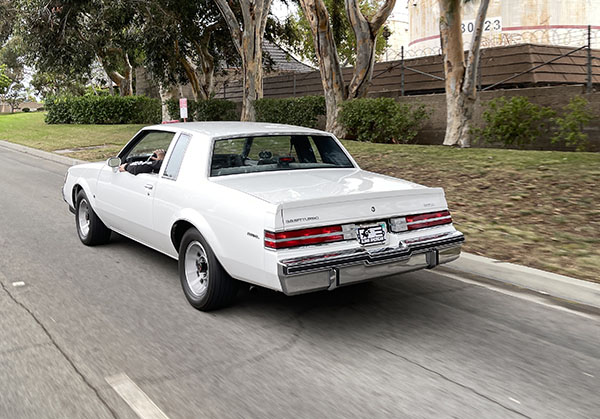
Our test case for this installation is a 32,000 mile, 1987 Buick T-Type that features most of the original parts plus some highly effective performance upgrades over the last 45 years. Truth be told, our Buick had received a set of Aldan American’s double Adjustable Coilover shocks in a previous garage session. Our newest plan now was to drop in the Spohn tubular front A-arms to up our handling game.
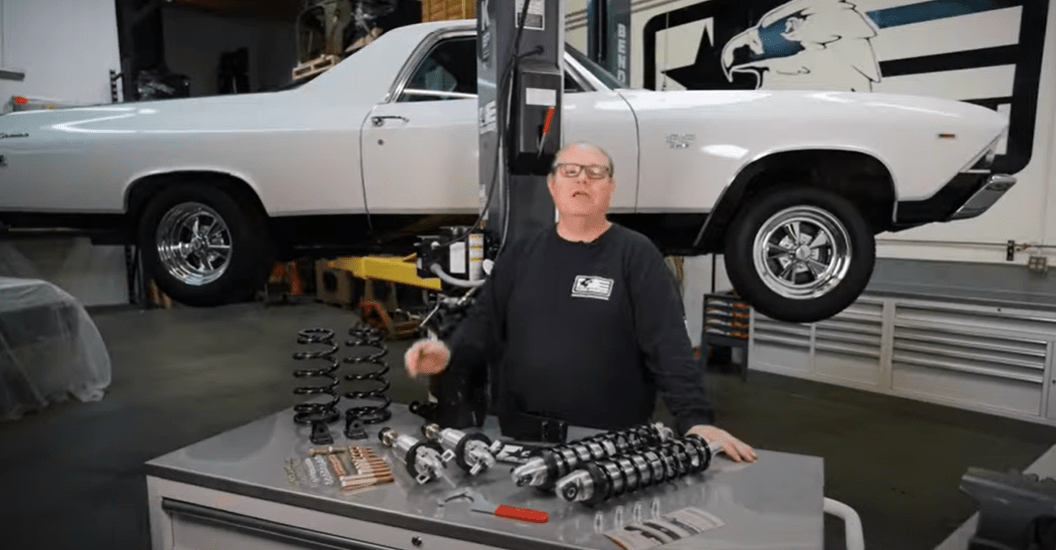
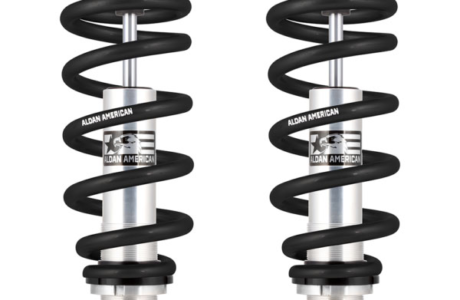
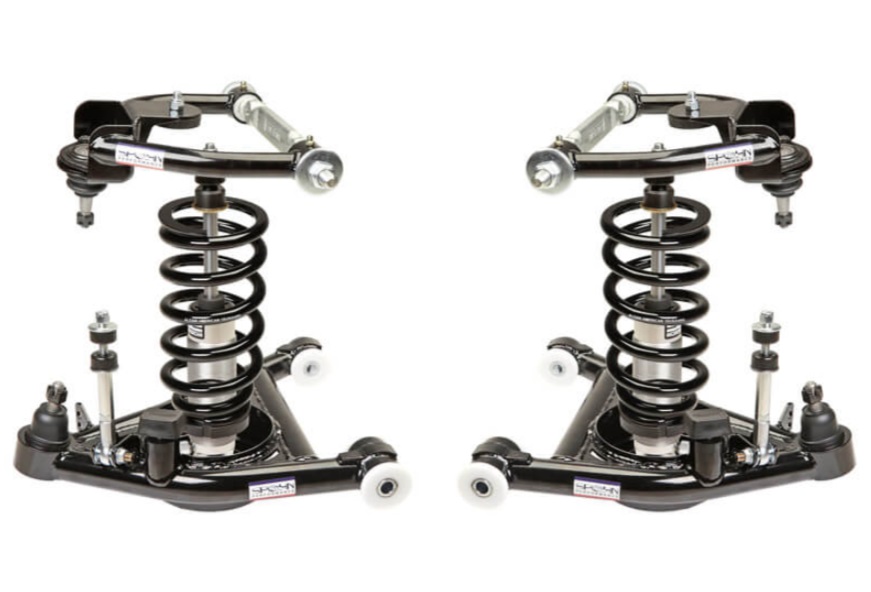
The Aldan American Coilover system shown in our walkthrough features 450 lb. per inch spring rate coil springs stationed around their signature aluminum shock bodies. These shocks have 20 points of rebound adjustment (the adjustment knob is located at top of the shock) and six settings for compression (another knob located at bottom of shock). Aldan American uses specially designed linear rate, cold wound, high-tensile Chrome Silicon steel coils to deliver the optimum in performance and they look great too.
So take a look as we upgrade our already impressive Buick with a set of Spohn Performance tubular A-arms. Remember to align your vehicle’s suspension with a reputable alignment shop to make sure you achieve the best possible handling. In addition, you should safety check your suspension after a few road miles to make sure everything is tight and secure. Paying attention to the details will deliver great peace of mind regardless of whether you are hanging it out in a tight autocross corner or simply cruising in the fast line on your next road trip!
Install Walkthrough Steps:
With only 32,000 miles on the odometer, this 1987 Buick Regal T-Type was the perfect test bed for our installation of Aldan American Coilovers and Spohn Performance tubular A-arms.
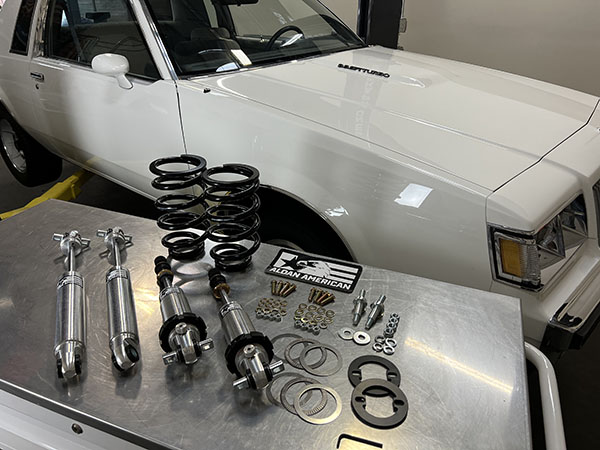
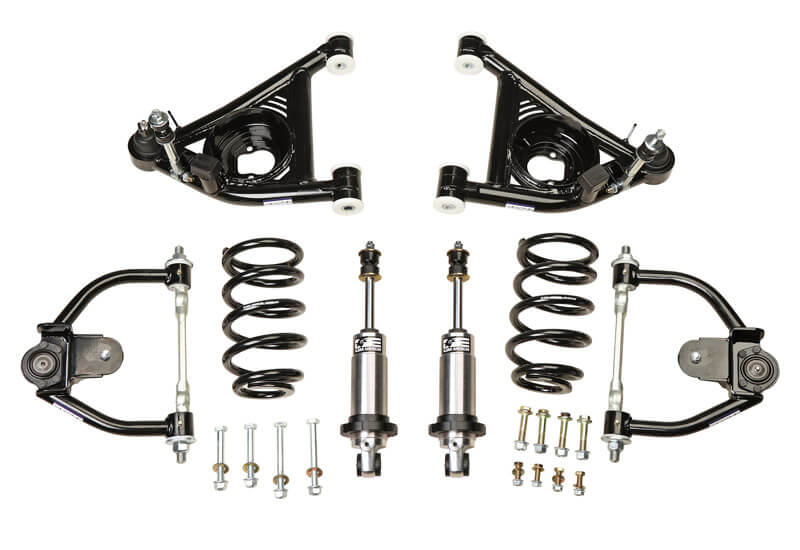
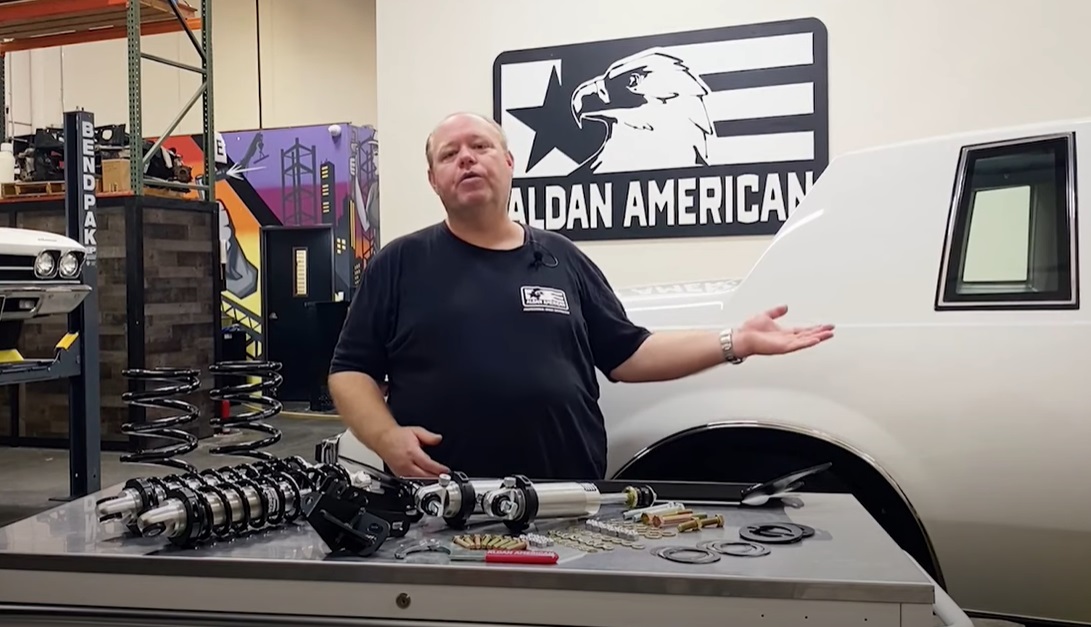
Previous to this effort, we had already installed at set of double adjustable Aldan American coilovers to the front of the Regal. That kit includes everything shown here with the exception of the smooth body Aldan American shocks on the left, which will be installed in the rear suspension.
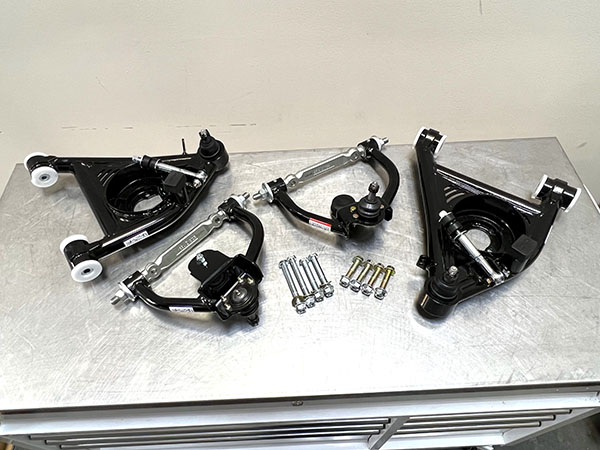
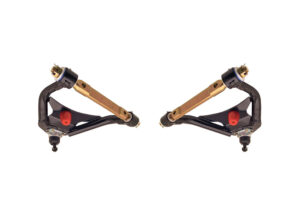
Spohn Performance makes a lot of great stuff but for this installation we selected these upper and lower tubular A-arms. This system can be ordered along with the Aldan American coilovers and the bolt kit also shown here. The A-arms come powder coated black and include the while Zero Deflection Delrin bushings as well.
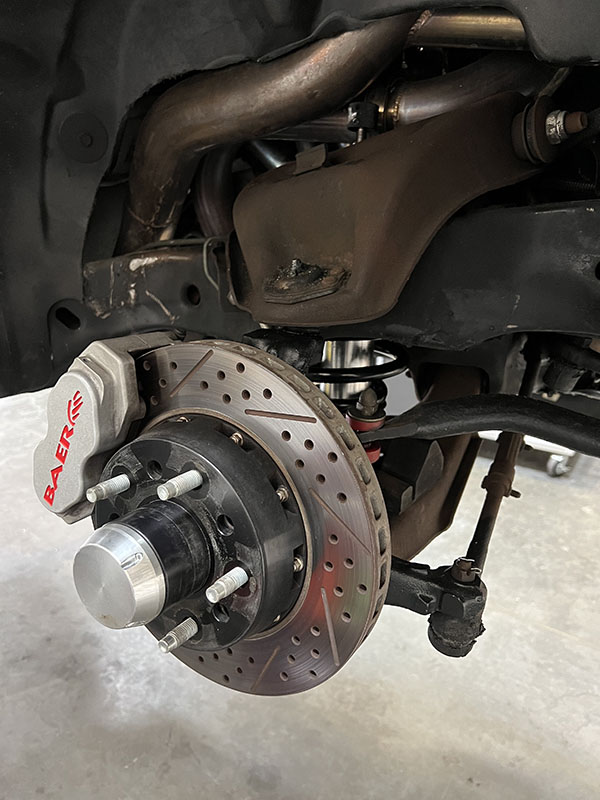
Our Regal had seen a few light upgrades including the Baer Brake package and enlarged Helwig sway bar noted here. Other than that the suspension was pretty much as delivered off the assembly line 45 years ago.
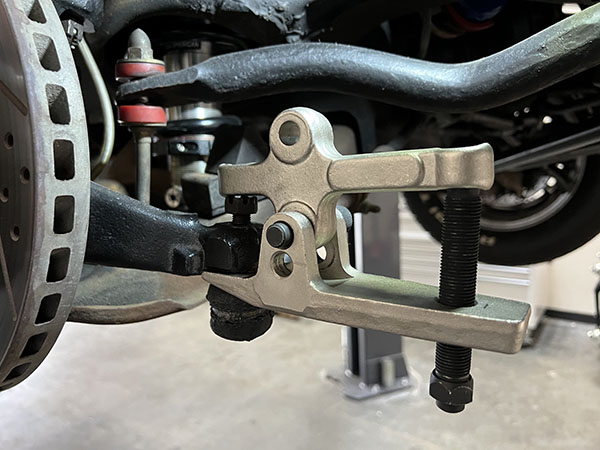
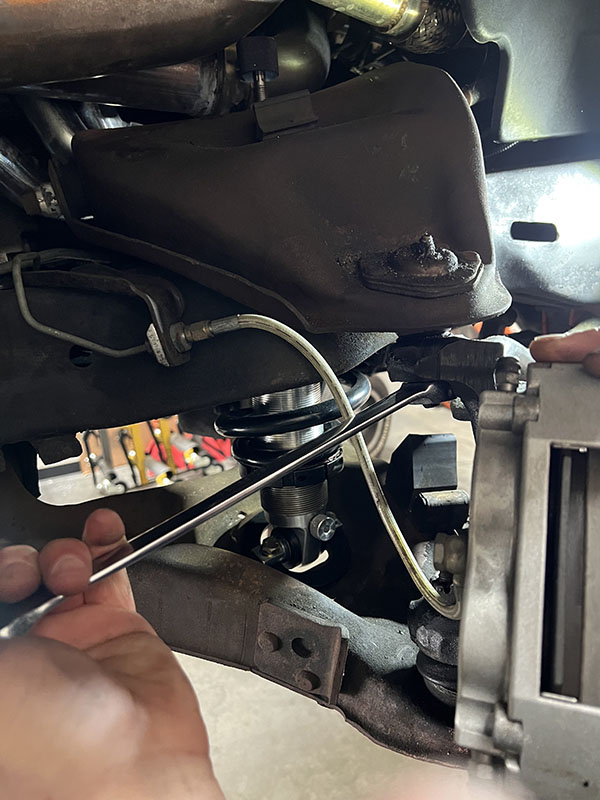
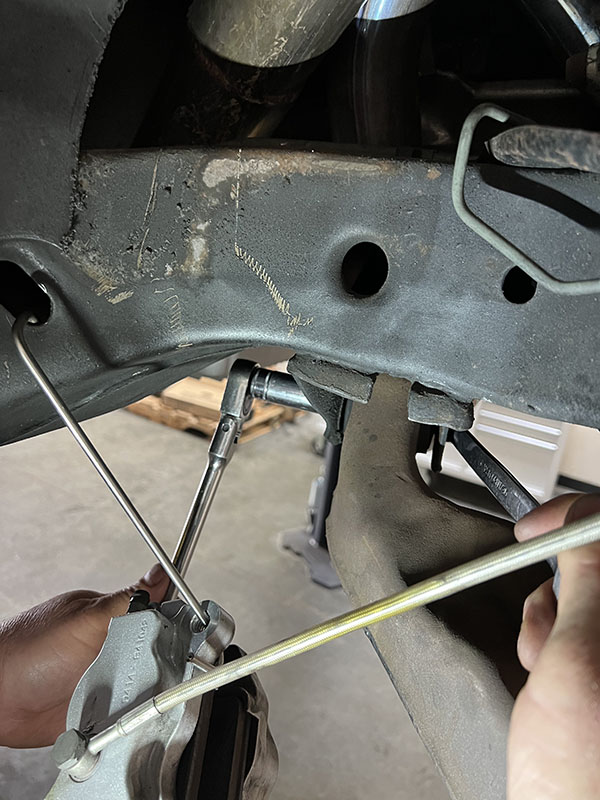
After a careful inspection of the suspension for any wear or damage, we started the A-arm install by disconnecting the tie rod end links. This cool tool pushes the tapered tie rod end out of the spindle connection without damaging either part.
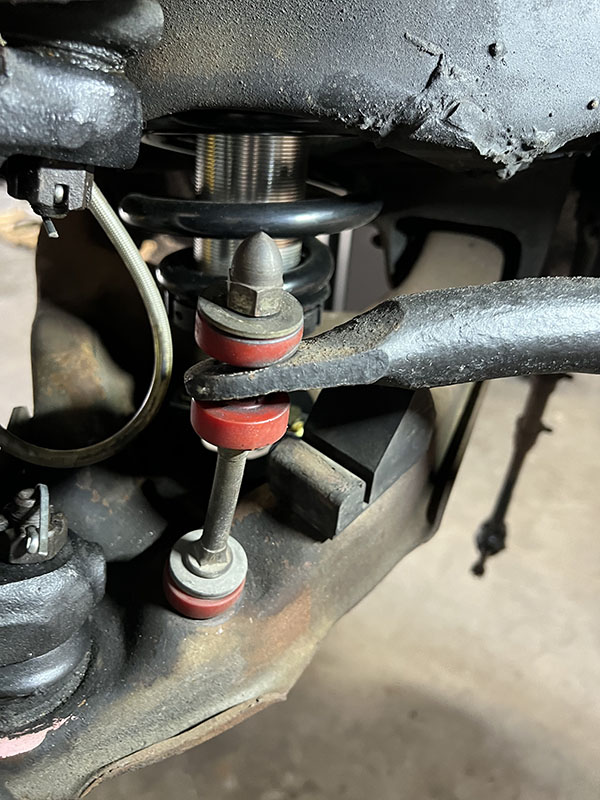
Next we disconnected the sway bar end link. Helwig uses those cool tapered top nuts so don’t be confused, they spin off with an end wrench. The entire link assembly will not be reused with our Spohn Performance A-arm upgrade.
We removed the cotter pins holding the upper and lower ball joint studs to the spindle. Next we loosened the nuts holding the spindle in place. The ball joint studs will be pressed out later to release the spindle.
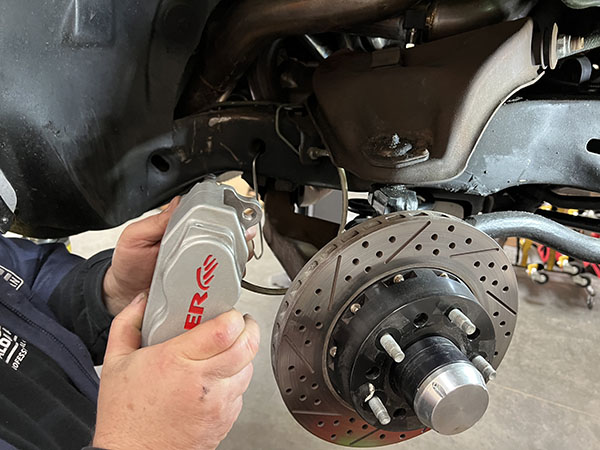
For ease of disassembly, we removed the Baer brake caliper and hung it inside the fenderwell making sure not to over extend the brake line.
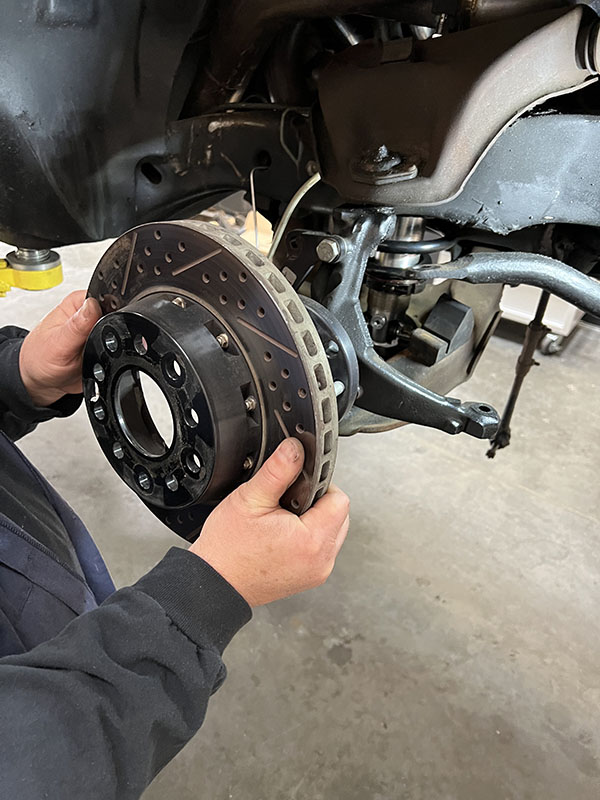
With this aftermarket Baer Brake package, the disc brake hat slips off the spindle in this manner. With stock style parts, the brake rotor is attached to the spindle using a wheel bearing assembly.
After pressing the ball joint studs out of the spindle, the entire section will slip out of the way like this. If you have stock springs in place, you MUST retain the spring in the pocket or it could jump out and injure you. A spring compressor is advised here. In our case, the Aldan American coilover is still bolted to the A-arms so the spring pressure is controlled.
Next we removed the two bolts attach the bottom of the Aldan American coilover to the lower A-arm. Retain all hardware, as it will be reused.
To get the lower A-arm to rotate freely, we loosened the bolts that hold the A-arm to the chassis. For each lower A-arm, there are only two bolts holding it in place when the spindle is out of the way.
We unscrewed the upper adjustment knob from the top of the Aldan American coilover and then the nuts that hold it to the A-arm. Everything simply unbolts without any need for special tools.
The bolts that hold the lower A-arm to the chassis often need some persuasion to remove so using a large punch and hammer to tap them out usually does the trick. These bolts will not be reused.
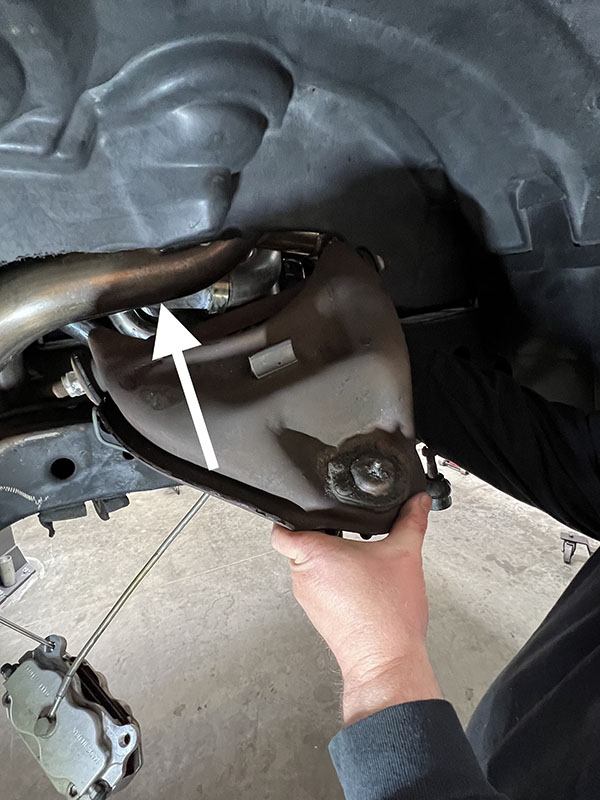
Next we removed the bolts holding the upper A-arms in place. Two bolts hold the A-arm in place with two nuts that can be reached through the engine compartment. The turbocharger tubing shown here (arrow) will not be found in most cars, our T-Type Buick having received a huge aftermarket turbocharger upgrade.
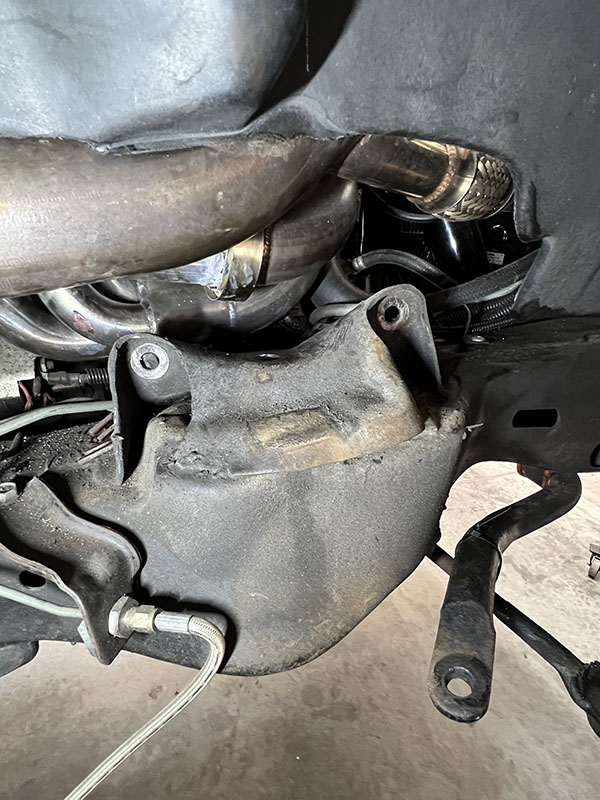
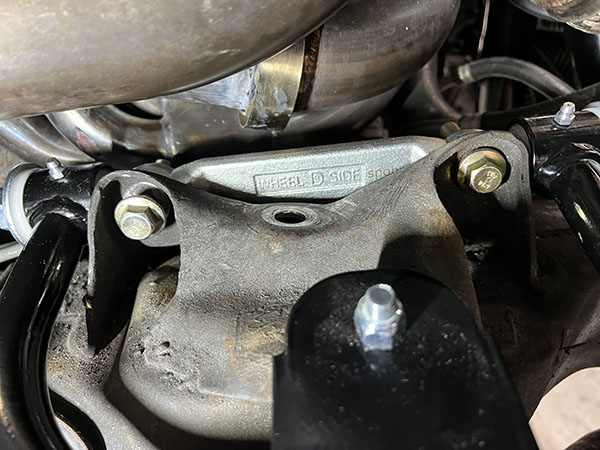
This is what the mounting bracket the holds the upper A-arm to the chassis looks like with the A-arm out of the way. Note the two holes where the attachment bolts go.
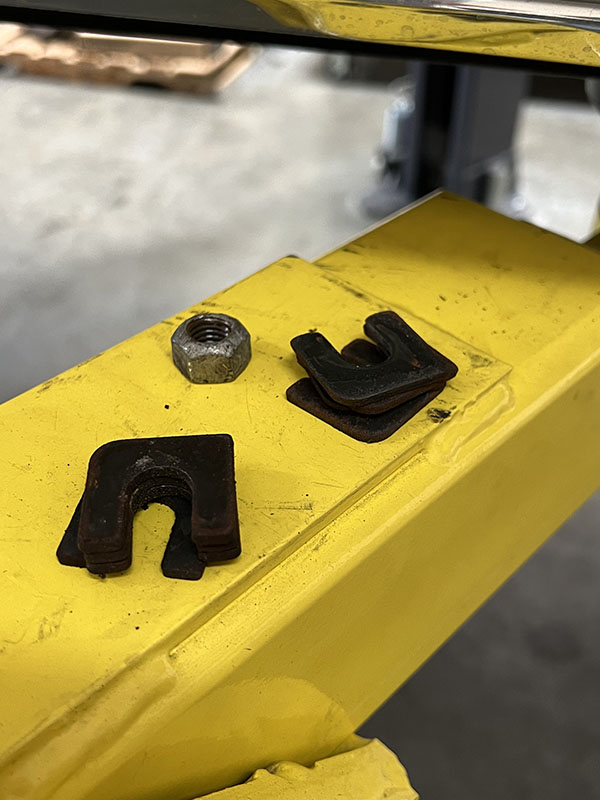
Of great importance during the removal of the upper A-arm is to note the number and position of alignment shims used. These shims are used to set the upper A-arm alignment and fit between the A-arm and the bracket and over the attachment bolts. We will duplicate this positioning when we install the new Spohn Performance A-arms.
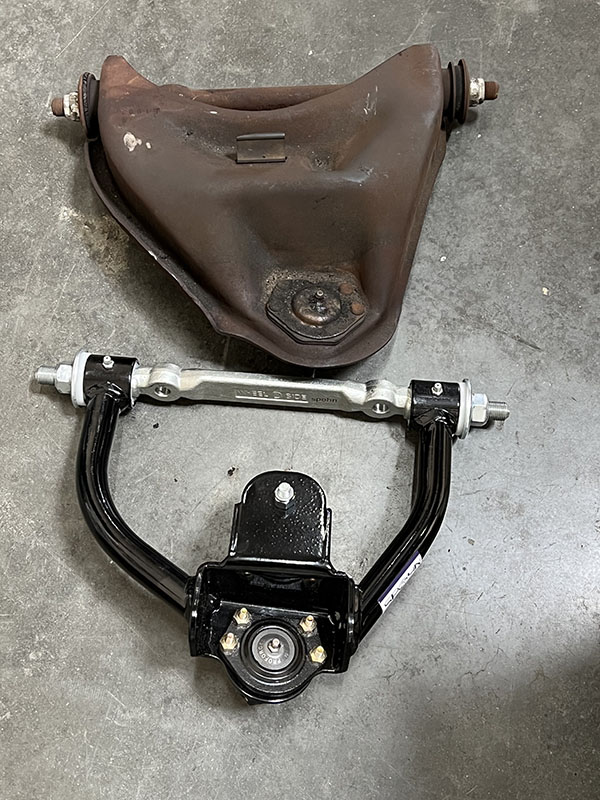
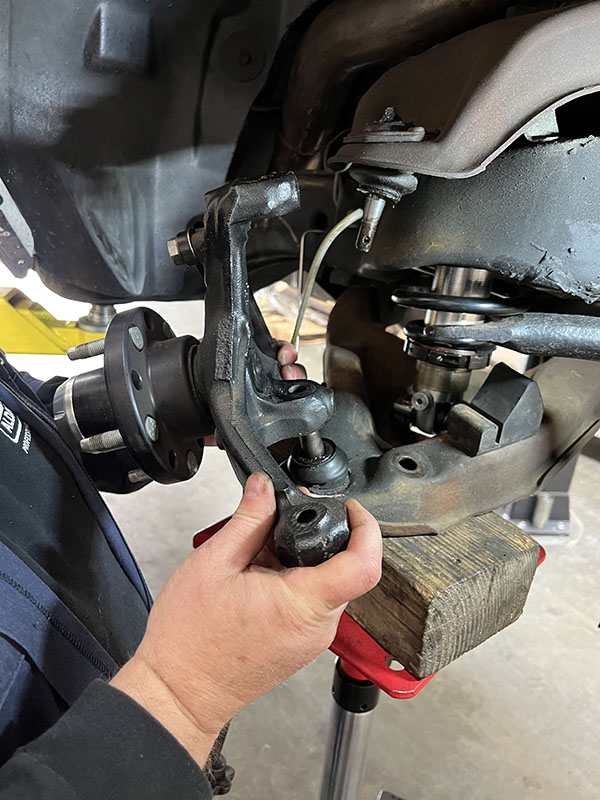
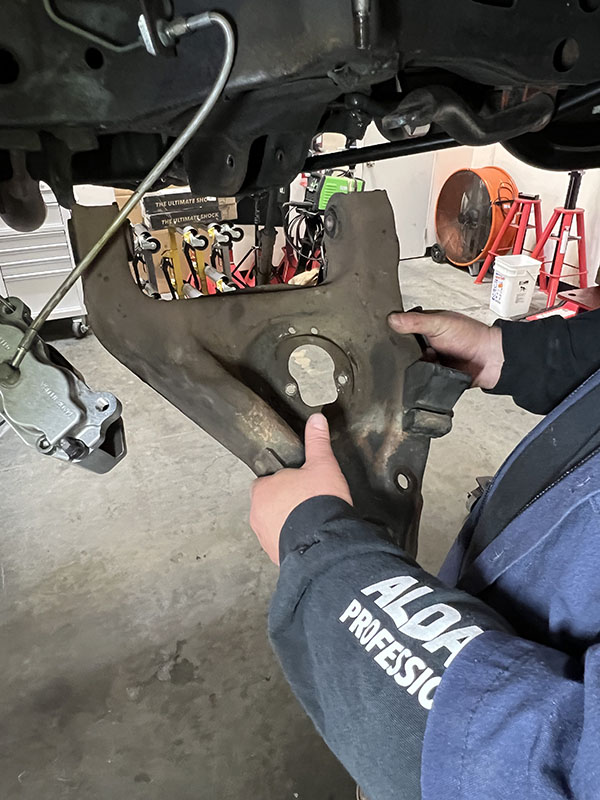
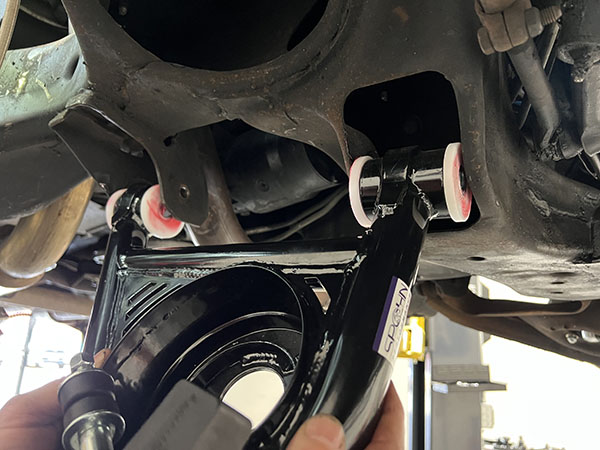
Another important point is that there are right and left A-arm designs – it is critical that you don’t confuse them. The old, upper, passenger side A-arm (above) is replaced by the lower Spohn Performance unit shown here. Note that the shorter tubular A-arm section goes towards the front of the car.
Spohn assembles the upper A-arm with the offset cross shaft Wheel side out. This allows for maximum positive camber. On our stock height G-body we had to rotate the cross shaft 180 degrees because we had 3 degrees positive camber and would of needed a huge stack of shims to align if the bolts were even long enough. When we rotated the cross shaft we were able to adjust the camber to our desired ¼ degree negative.

As promised, we reinserted the alignment shims in the same amount and placement as was noted when we removed the original A-arm. Regardless the amount of care we take to put the shims back as we found them, the suspension MUST be realigned on a professional alignment rack when we are done to achieve proper driving safety and handling performance.
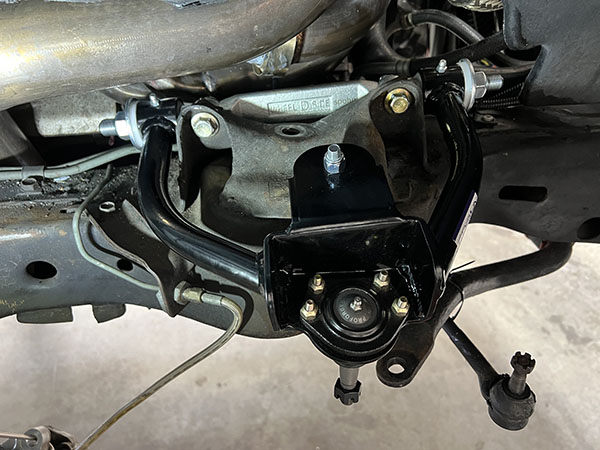
Once in place, the Spohn Performance tubular A-arm will look like this. We torqued the attachment bolts to 55 ft. lbs. before moving on with the assembly.
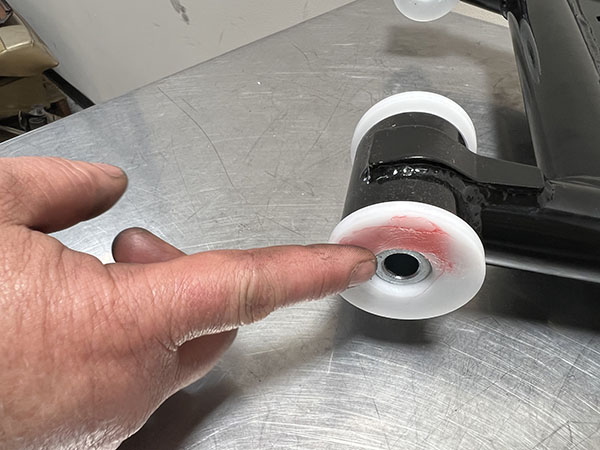
Before installing the lower A-arms, we lightly coated the Delrin bushings with bearing grease to help them slide into position.
The Spohn Performance A-arms slip into position in this way, up from the bottom. These mounts should fit snuggly in position without any side-to-side play.
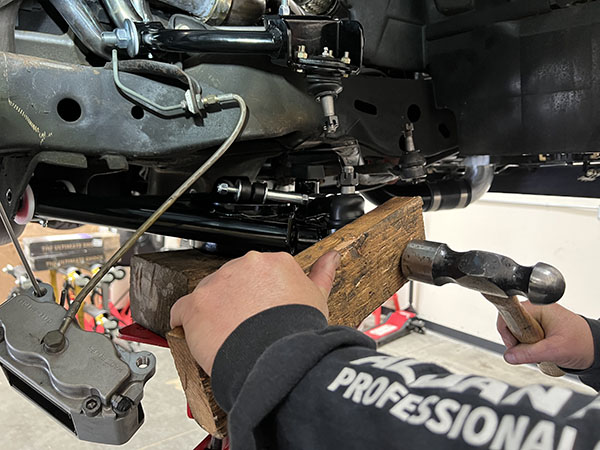
To get the A-arm fully into position, we used a block of wood and tapped on the outer edge of the A-arm until it lined up with the holes in the chassis. Never hammer on the part and if the A-arm will not fit correctly open up the chassis mounts.
Using a large punch, we centered the bushing in the boltholes. This makes slipping in the new bolts from Spohn Performance much easier.
The hardware kit from Spohn (comes with the Aldan American kit but a separate part number if ordering off Spohn website) includes high strength hardware. Make sure that the washers, in particular, are correctly installed according to the supplied directions.

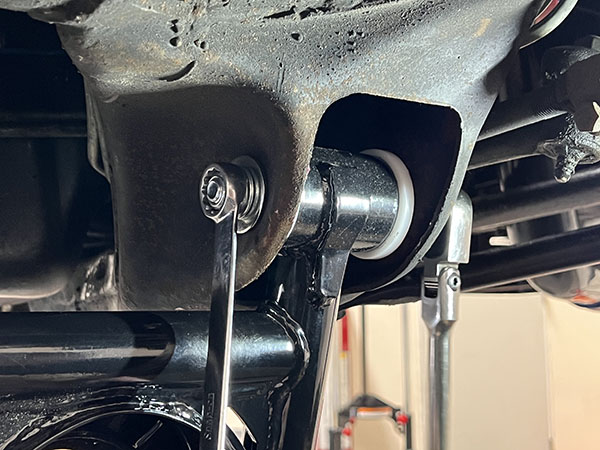
As with all frame-associated parts, we torqued the fasteners to spec. In this case, we torqued A-arm mounting bolts to 70 ft. lbs.
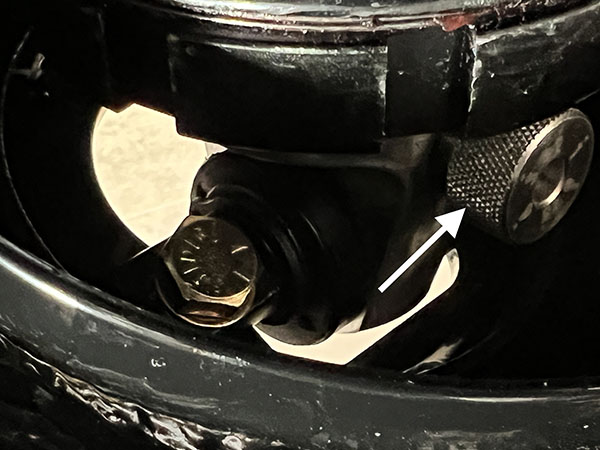
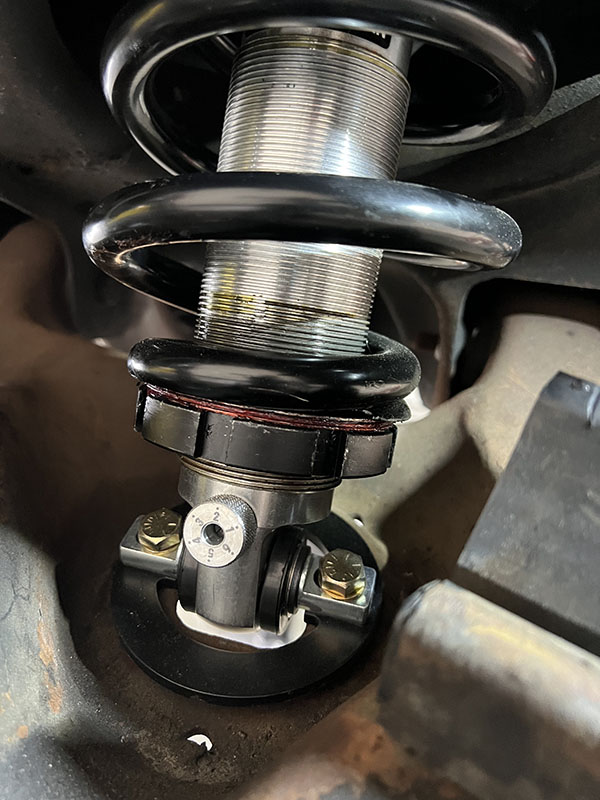
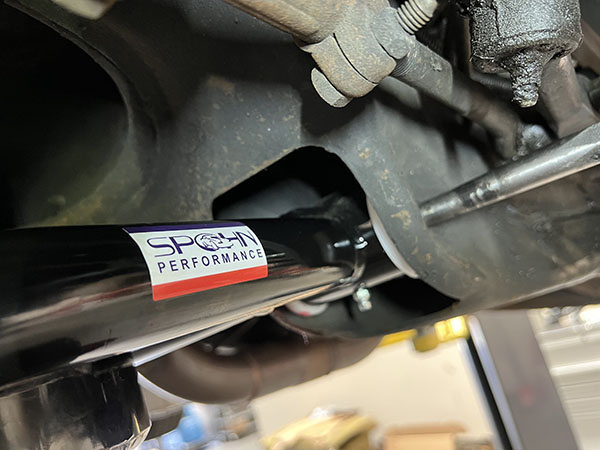
With the Spohn Performance lower A-arms, the T-bar used on the Aldan American coilover is different than standard. The Spohn Performance lower A-arms have a smaller opening than the factory parts and require a shorter coilover T-bar. If you order the complete kit they will already be correct for your applications. For added assurance, the correct T-bar for this application is black anodized rather than the standard silver coloration found on most of their coilovers. We left the compression adjustment knob (arrow) at 2, where the owner had set it from previous driving experience.
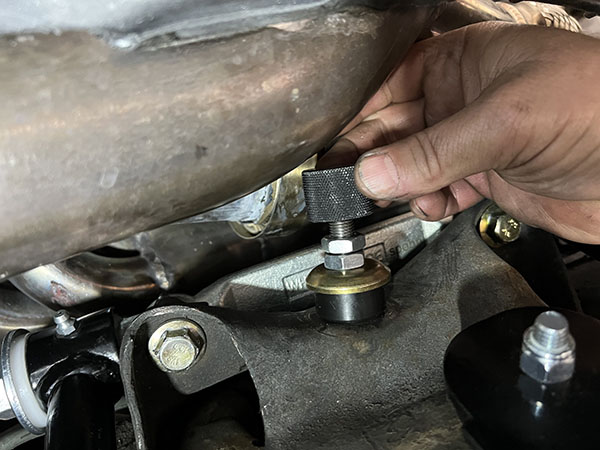
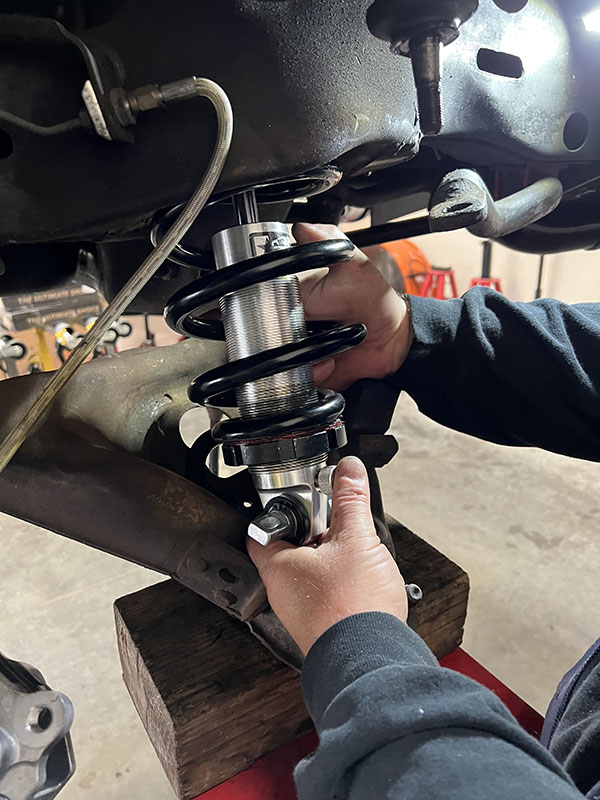
The rest of the Aldan American coilover installation goes as is standard pressing the top of the shock through the hole in the Spohn Performance upper A-arm and attaching the hardware in this manner. As a starting point, we turned the upper rebound knob counter clockwise until it stopped then 11 clicks clockwise to set it in the middle. The rebound setting has 20 points of adjustment.
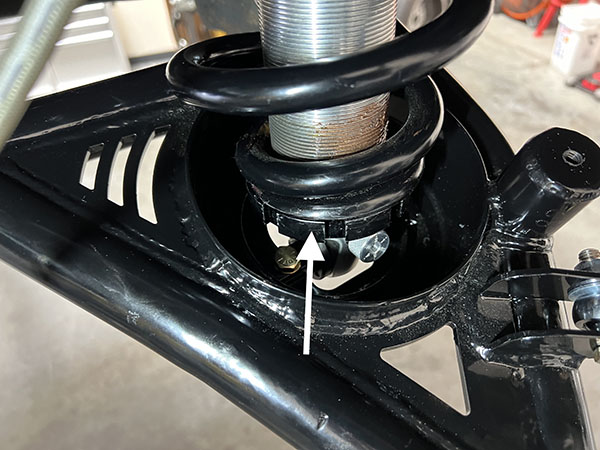
This collar (arrow) rides on the Aldan American coilover allowing for adjustment of vehicle ride height. During coilover installation, we ran the collar down to the bottom to make them easier to install then used the Aldan American spanner wrench to turn it up about an inch from the bottom as a starting point. By turning the collar even more, you can adjust ride height down as much as two inches but must to make sure that your tires and wheels clear all fender openings and suspension parts.
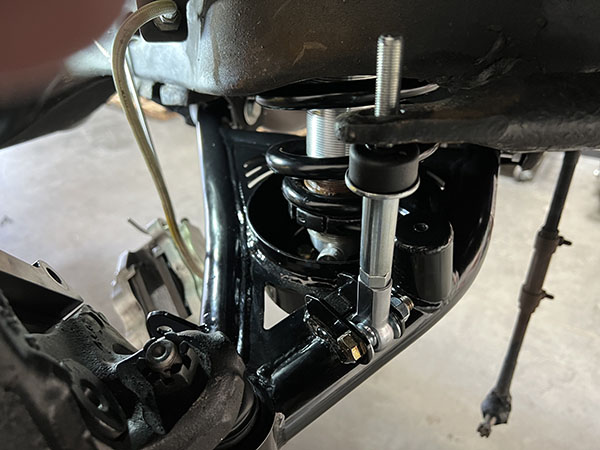
After reinstalling our spindle, we turned to the new sway bar end link that comes with the Spohn Performance lower A-arms. This link connects to the sway bar using the standard bushing system on top but has lots of adjustability through the threaded rod and heim joint that mounts to the lower A-arm. This end link design greatly improves the effectiveness of the sway bar on handling.
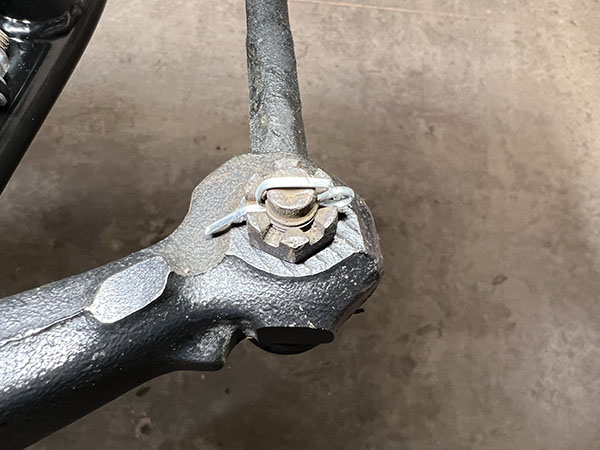
As with all of the castle nuts found in the suspension, make sure to tighten them fully then back off slightly to install new cotter pins. This shows the proper way to finish off a cotter pin connection safely.
Our completed suspension, less the brake rotor and caliper, looks like this when installed. We retorqued all of the bolts after a brief road test. Remember to align the front end or a professional rack as soon as possible.
From here the sky is the limit – or at least what is safe with your tire and wheel combination. If any parts conflict when driving, the car is too low and needs to be raised. In the end, the Regal is car more versatile than ever before in ways no GM engineer 45 years ago could have ever imagined.
Related Videos
G-BODY SETUP | BUICK REGAL COILOVERS & SHOCKS
VEHICLE SPOTLIGHT | G-BODY SETUP